Hey all, Nick Here!
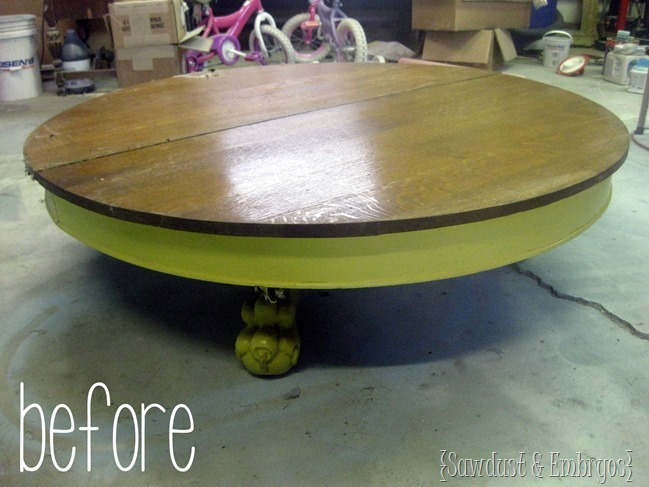
A while back Beth and I acquired this sweet claw foot table from an elderly couple. (what IS it about antique tables being painted yellow?!)
Long ago they had chopped it down from a full-size dining table into this sweet coffee table. I knew that I wanted to restore it to its original purpose the second I set eyes on it. Don’t get me wrong… it was a nice coffee table. I am guessing as low as it set that it was probably modified some time in the seventies.
The table top just sat on the base and was pretty wobbly… this aided in my ability to persuaded my lover into letting me redesign it.
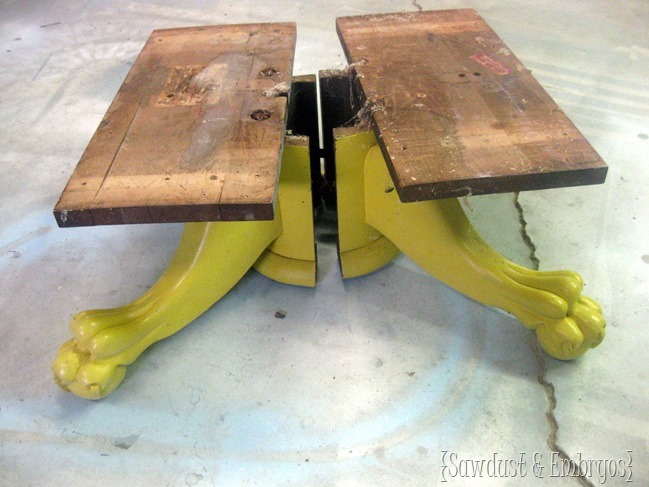
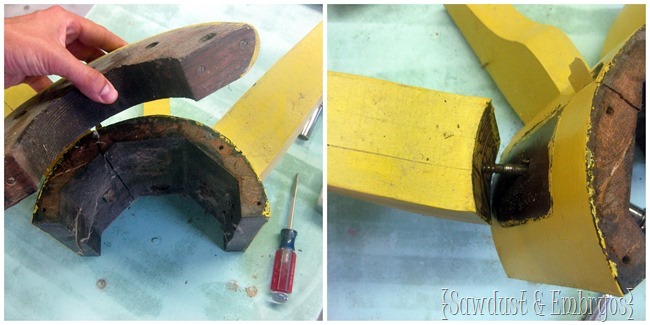
First step was to disassemble and take count on what we actually had to work with. Everything was held together with “New Seng” hardware, dating this piece back into the early 1900’s. I am thinking between 1908 and 1917 based on the patents of the hardware.
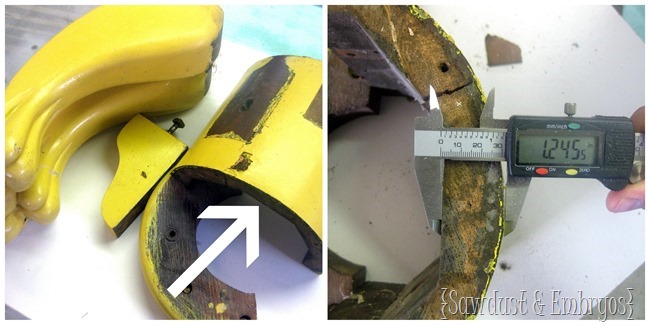
Notice the arrow, yeah that piece would have originally been around 26” not 10”. This is the piece we will be redesigning and it is a good thing we are too because the wood was split in a few different critical areas.
The pedestal was built out of white oak that measured 1 1/4” thick. With a 1/16th” oak veneer wrapped around it.
Knowing that we intended to paint the piece, we went with Poplar wood. This still gives us the strength we need, while saving use about 50% on cost (if we went with oak).
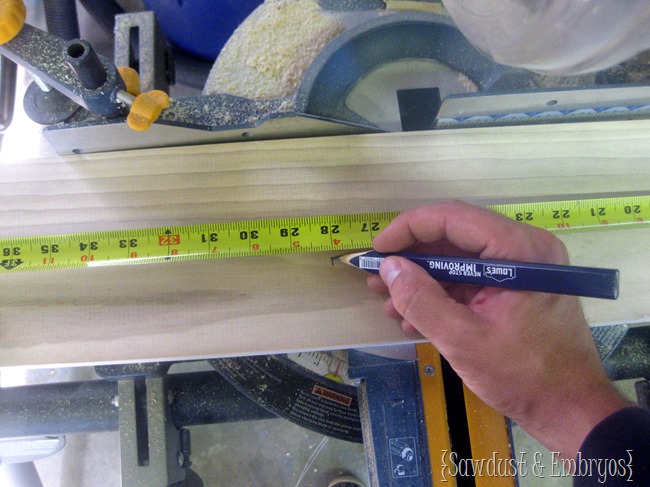
We purchased our lumber from Lowe’s and cut them down to 28”.
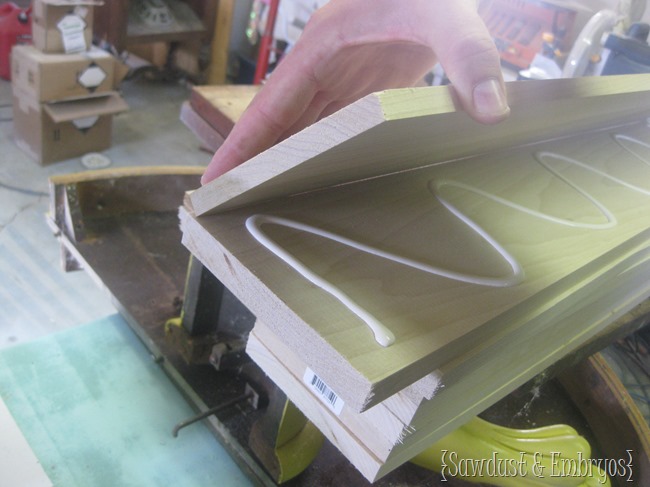
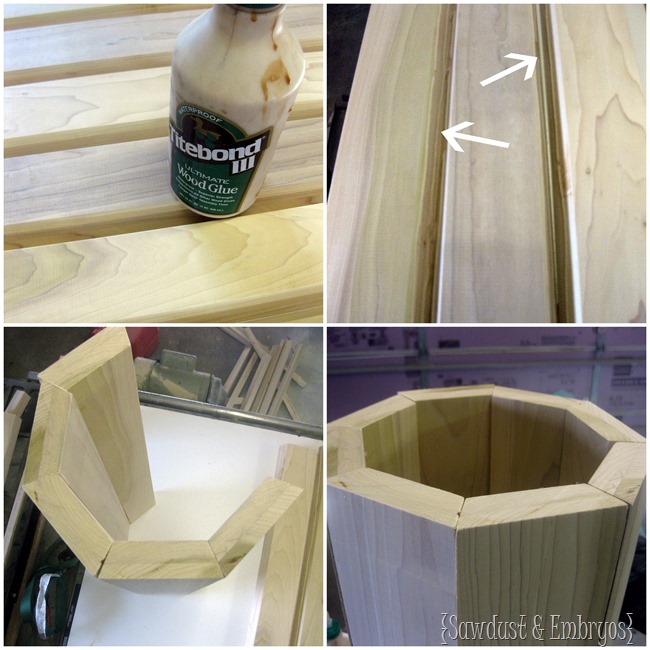
Because it is difficult to find 1 1/4” pieces of lumber we, purchased 1” and 1/2” Boards gluing them together.
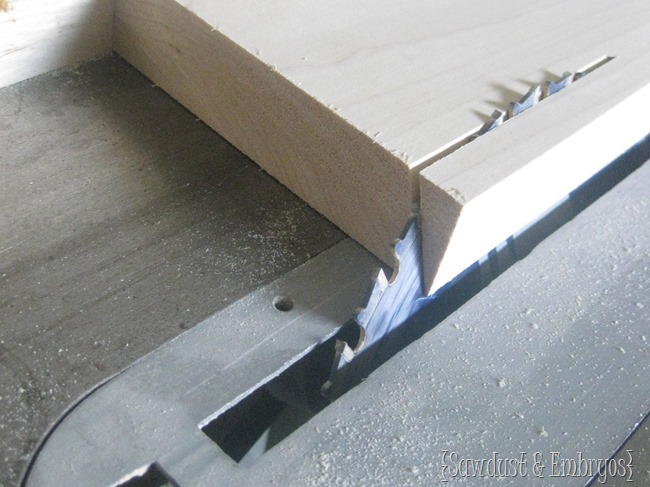
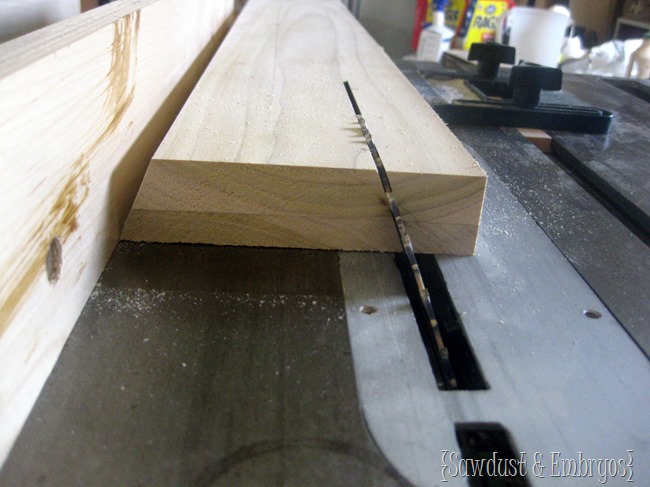
Once the glue was set up, we set the table saw to have a 22.5* angle, ripped the one side measured 3 7/8” and cut the other side. Like so:
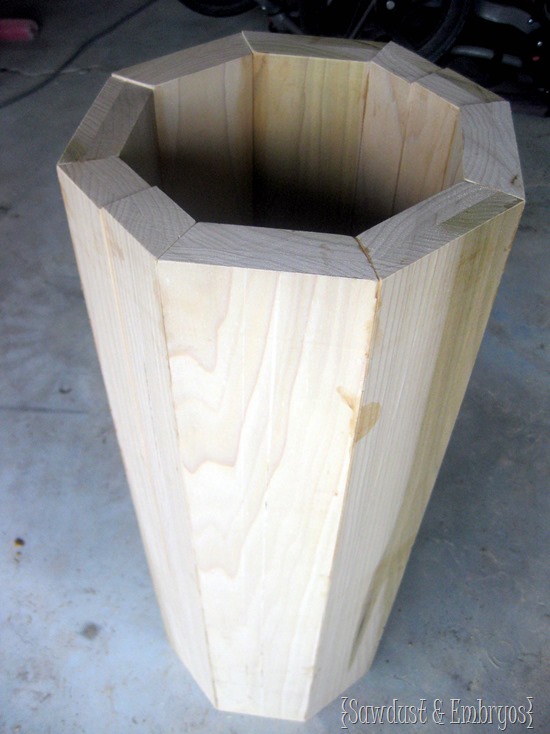
Once all eight pieces have been ripped down at 22.5* angles, we glued each joint using Titebond III and proceeded to assemble.
Once it is assembled we took several ratchet straps and cinched them around the lumber, aligning and manipulating as we went.
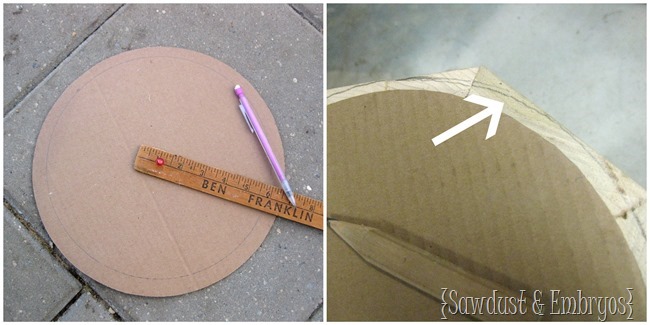
Using my handy dandy yard stick, I marked a 10” circle on a pizza cardboard, cut it out, then trace on the top of the pedestal.
Next up… sand until it’s round! JUST KIDDING. Can you imaging how long that would take? Sorry, not pictured is me buried in a sea of wood shavings. That’s right we hand planed this baby to be cylindrical. In all honesty it didn’t take long with a really sharp plane and a little muscle. You can get this thing done in a couple hours, and lets be honest… there is not substitute for running a hand plane down a piece of lumber. Ok maybe one, but we’ll keep it clean folks.
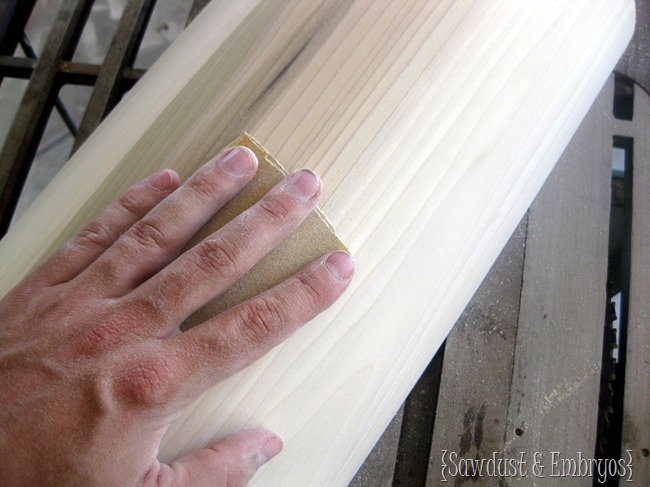
Once I hand finished with the hand plane, I got out the orbital sander and worked my way through 80 and 100 grit to smooth out the remaining rough edges and finished it off by hand with 150 and 220.
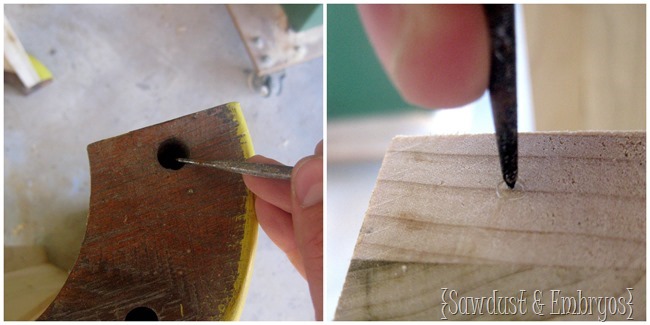
Now that I’m done sanding, I marked the location of the holes with a scratch awl and center punched the drilling locations.
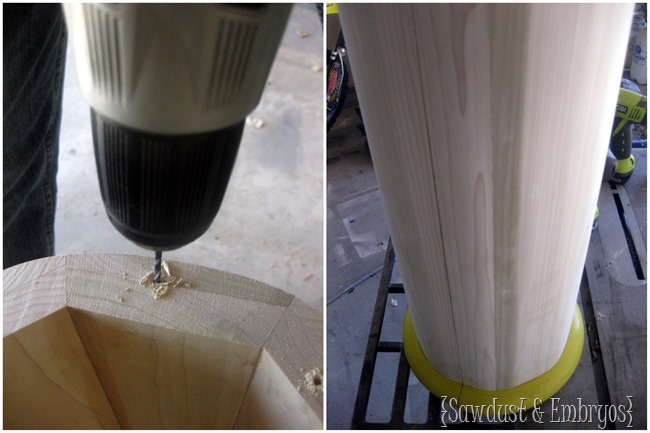
Then we used a 7/32” drill bit to drill pilot holes. This keeps the wood from splitting when you assembly the rounded base.
We assembled the base using wood glue and 1 1/4” Kreg Screws.
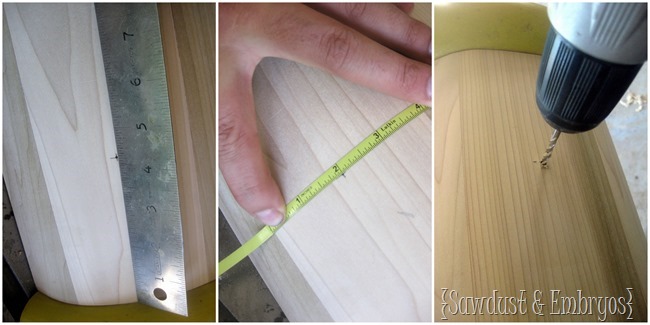
Then we laid out the hole location for each legs 3/8” Studs. Drilling a a start drill also 7/32” and then 3/8”. I actually ended up using a Kreg Pocket-hole drill bit.
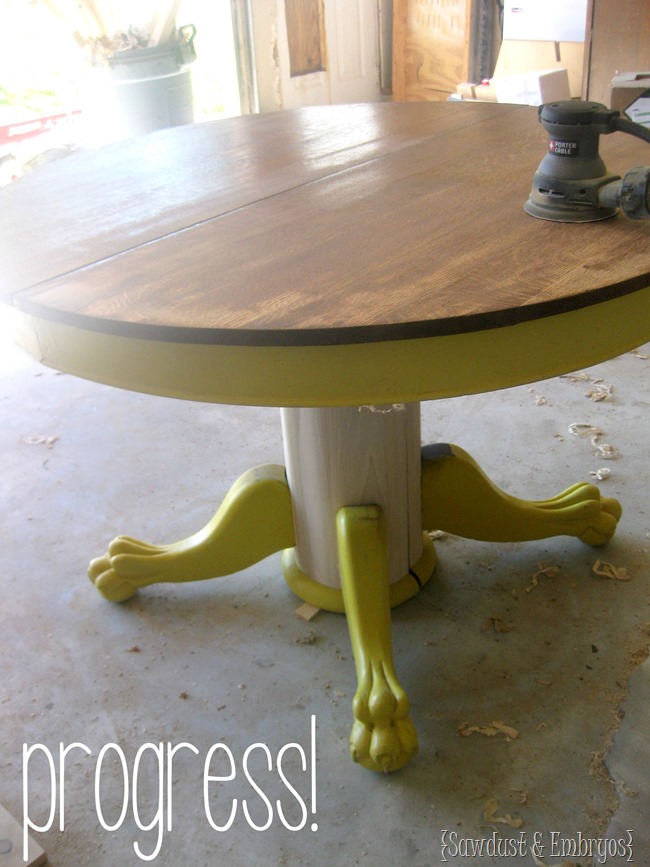
Assemble the legs and the top supports and we put the top back on.
At this point, we’re done with the ‘rebuilding part’, and ready to dress ‘er up!
We’ll be painting the base and apron of the table, and Beth will be stripping the top surface to do her signature stain design! It’s going to be awesome! Stay tuned!
Disclosure! we’re SUPER HONORED to have been chosen as a “Lowes Creator”, and were provided with a Lowes gift card to HELP with the cost of supplies… but as always, all ideas, thoughts and opinions are 100% our own. Because that’s how we roll yo.
You can also sign up to receive a free Creative Ideas Magazine, which is loaded with inspiration! There’s also a magazine app so you can have inspiration on the go!


I have this same table, handed down from my Great Grandaddy & also used for family holidays due to the number of leaves. I want to cut it down to use a coffee table, but the column has been reinforced by various people over the years. It’s not in pristine condition, but of Great sentimental value. It’s currently upside down & almost minus the column…
As everyone above has said, I’ve had this coffee table in my family for years! It was my grandparents first dining room table that they cut to coffee table size at some point. I remember it being avocado green before they had it dipped down to natural oak color. I received it after their passing, used it for many years, painted it white and then it has sat in two pieces in the garage over many moves. I can envision as you have worked your magic above. Thank you!
OMG! I have this table, it has been in my father’s family for generations! It had been sitting in my basement for years with paint can rings on the top and this summer I finally restored it. I love it and it came with 8 leaves, so I used it last Thanksgiving (with a table cloth, so no one could see the ugly top) and the entire family could fit around it. When I saw those claw feet I recognized it immediately! Nick you did a great job, it looks just like the original (or mine). I would be happy to send you photos if you’re interested. Looking forward to seeing your finished product!!
NO WAY! That’s crazy! Would love to see pics! Our email is sawdustandembryos@gmail.com
OMG! I have this table! And I don’t live too far from you (just across the Mississippi River into Illinois) It has been in my dad’s family for generations and it has been sitting in my dirty basement with paint cans rings on top. This summer I finally restored it and I love it! It also has 8 leaves so at Thanksgiving I was able to get the entire family around one table. If you would like photos I would be happy to send them. Looking forward to seeing your end result!
I wrote this comment above not (Leslie@House on the Way)! Sorry Leslie!
Can’t wait to see the finished product! Looks fab so far!
Love it!
Those are some claws on that table! More like dragon feet. Seriously, your post about how to make a round column was interesting – we own a Victorian house and had to do very much the same thing to replace the bottom of one of the porch pillars. The top half was fluted, but fortunately the bottom was a cylinder – about 12 inches across. (It had rotted away at the bottom). Probably it had been turned back in 1909 when the house was built. Have you guys ever done any porch posts? I am thinking of doing a much smaller version of our columns for the side and back porches.
“…but we’ll keep it clean, folks”. HAH! Loved this post, what a great transformation!