So remember awhile back I mentioned that our girl Gina gave us an entire bedroom set that she wanted out of her basement? Well we just finished the last piece! BUT, to refresh your memory on the matter… HERE’S the post on the night stand, and HERE’S the post on the upright dresser!
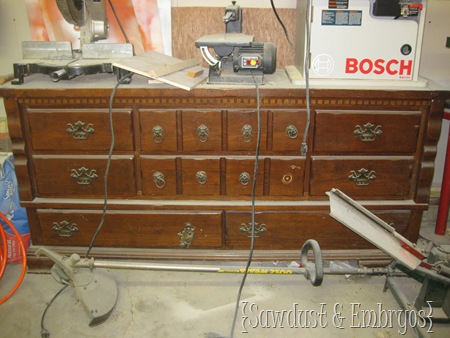
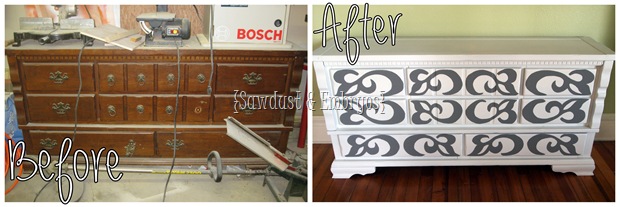
And nowwwww, for this long/low dresser to finish things off! (Don’t mind all the power tools adorning it’s surface… we used it as a workbench for quite some time)
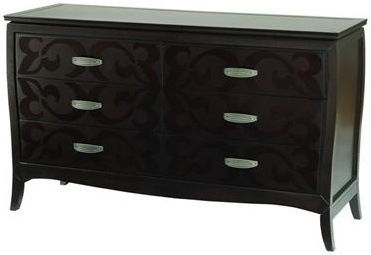
As you can see, there’s nothing really special about it. But it has good bones. And our faithful client, Brenda, was on the hunt for a dresser for her girl Raven’s bedroom. After sending her pictures, and corresponding back and forth about a design, Brenda decided she wanted the dresser white with a gray design… using this photo as inspiration for the design:
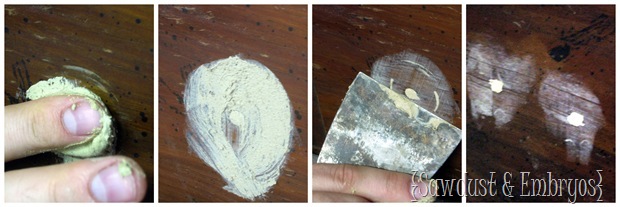
Loving this idea, and excited to get right to work, we started by removing all the hardware and patching the holes with wood putty (this stuff is our fave).
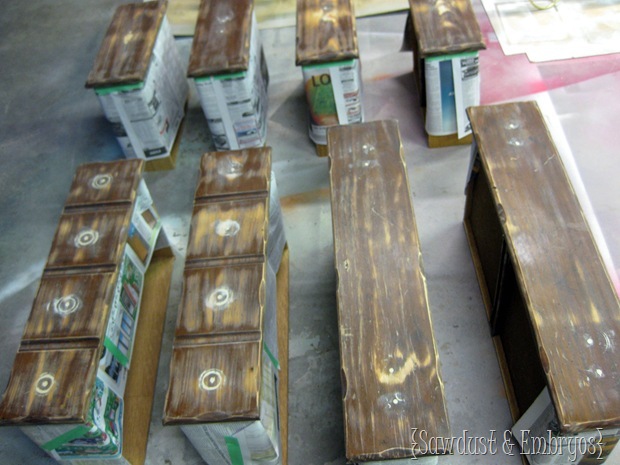
Brenda is wanting to put her own hardware on, and is willing to drill new holes, so we just sanded ‘er smooth and blasted ‘er with Kilz oil-base.
Between priming and painting, we always lightly sand (with 220 grit) to knock down any crustiness left by the primer. We’ve found that this makes a big difference and makes our finished product ultra smooth and, well… awesome.
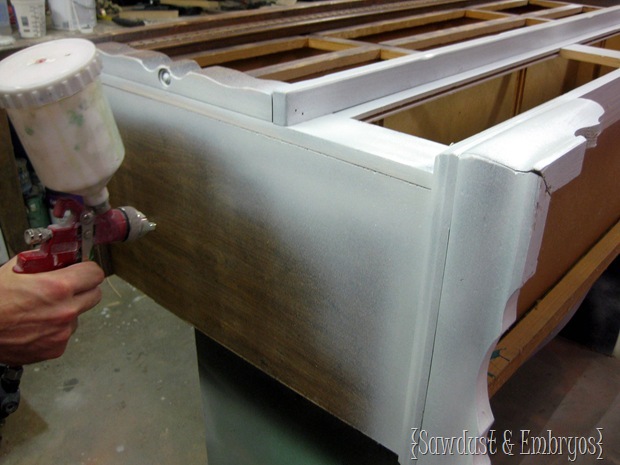
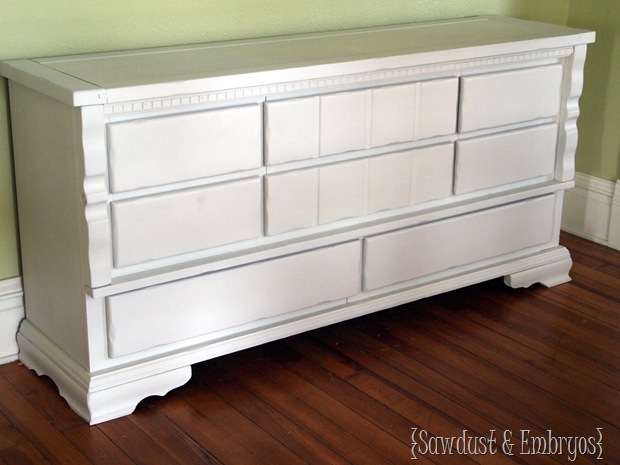
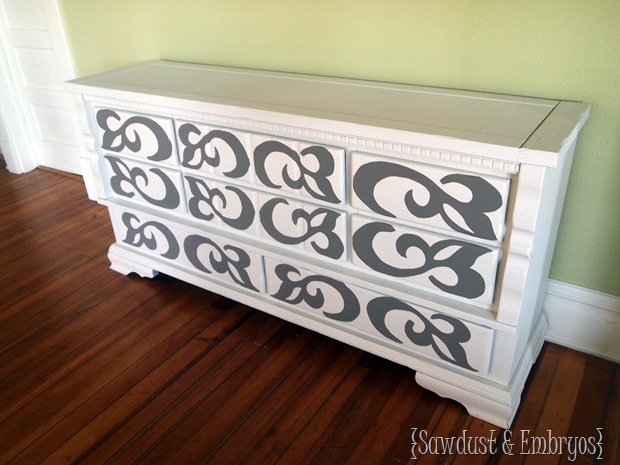
We painted the whole thing white using RustOleum White spray paint and let it dry overnight. Then we hauled this bad boy into our dining room for it’s detailed facelift!
While studying our ‘inspiration photo’ Nick realized that the designs on the front are (waitforit) the letters ‘c and d’ of our Wingdings 2 font.
Ha! Don’t you love knowing that? I do.
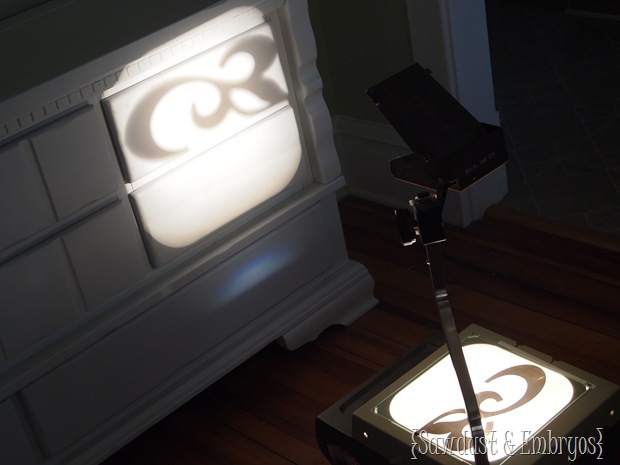
We resized this image in Picnic so that it fit with the ratios of each drawer (3 ratios for 3 different size drawers), blew them up and printed them onto a transparency, and blasted the image onto each drawer with our overhead projector.
NOTE: I don’t know if every library still offers this service, but I called our local library in Marshalltown, IA out of curiosity, and they have an old-school overhead projector that they loan out FOR FREE. So check your library, it can’t hurt! Or if you just want to buy one, this one is an awesome value!!)
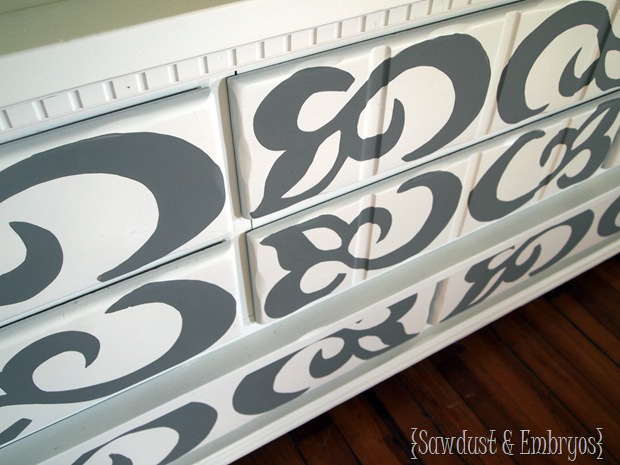
I traced the design on with a pencil, and didn’t take a single photo of this process OR the painting of the design. Because Nick was away on business so I couldn’t sucker him into playing photographer. So you’re just going to have to picture it. Sorry? Yep, sorry.
It took 3 coats in all, and we I just used the leftover gray paint from Marcy’s Dining Set.
And then we sealed everything with water-based Polycrylic. (the oil base [polyurethane] is slightly more durable, but it leaves a yellowish tint, so on white furniture we always use the water base)
I love how crisp and clean it is all dressed in white, and the custom the gray details provide. This baby is gonna look awesome with any color scheme!
Guess Nick is going to have to find another workbench to keep all his power tools… HA! He’ll live I think.
~Bethany
*this post contains affiliate links




gorgeous dresser!
This turned out incredibly beautiful. I LOVE IT.
Very cute. I am featuring your ombre dresser at somedaycrafts.blogspot.com and I am linking to your blog. You are very talented.
The scrolls remind me of a Christian fish
super cute
Looks great! Nicely done once again!
Absolutely love this technique! Awesome work!