I probably should discuss the fact that we had a wonderfully successful and super cute Birthday Party for my little chickies. We almost didn’t have one, because it’s not like they’ll remember it or anything. But my friend Nicole pleaded with me that it will be so fun and adorable. And she’s very persuasive!
I LOVE to entertain, but party planning? It makes me break out in hives. I get really anxious with all the little details to remember and have in place. And when you live 30 minutes from civilization, you need to have your ducks in a row. There’s no last-minute trips to the store to buy plastic forks or frosting.
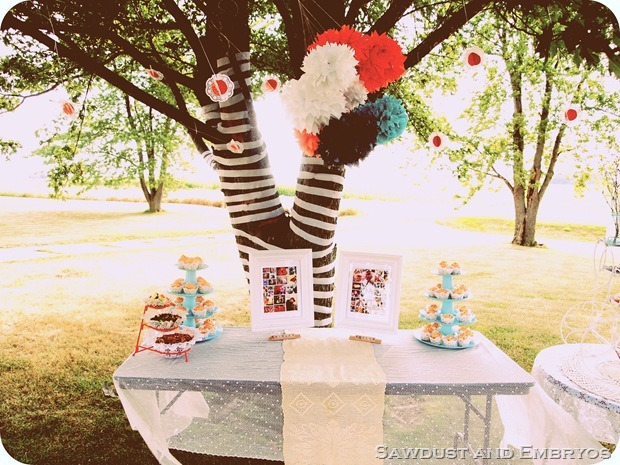
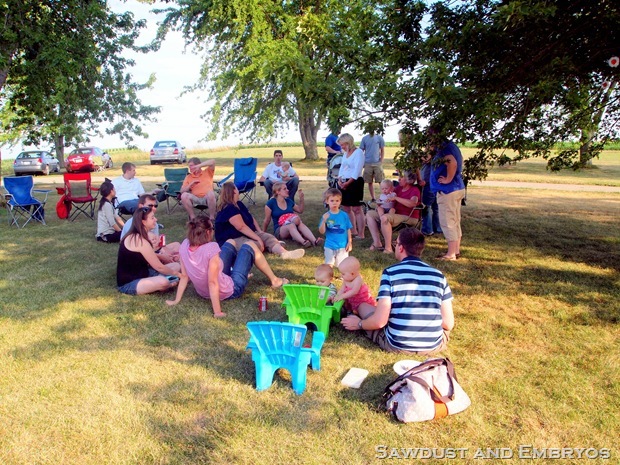
My sister, Anna came out to the homestead that day and helped me set everything up. The location we chose, under one of our Soft Maple trees, was charming like a canopy and all… but the lighting for pictures left something to be desired.
Note to self: plan your parties in such a way that the sun isn’t behind the subject, acting as a backdrop.
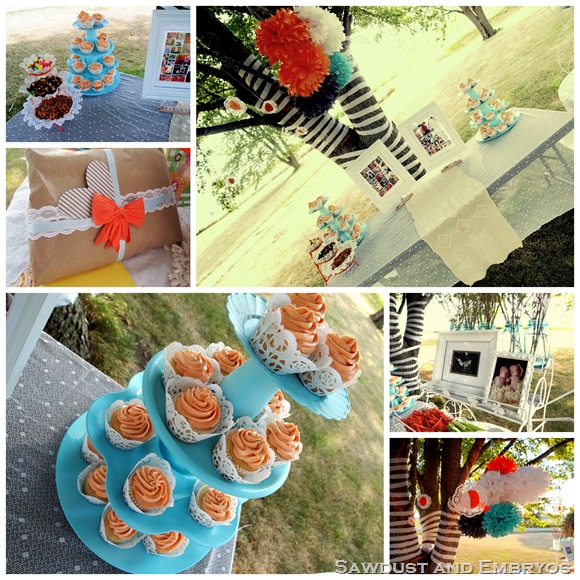
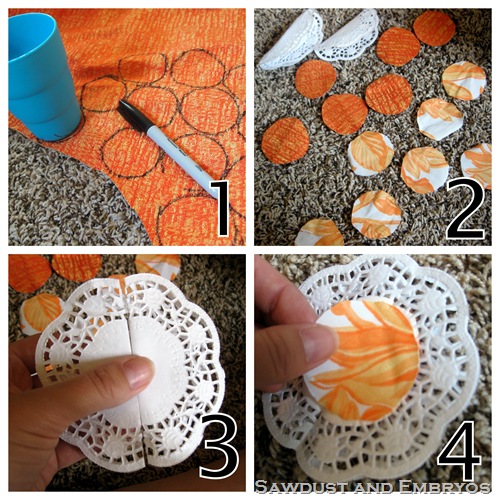
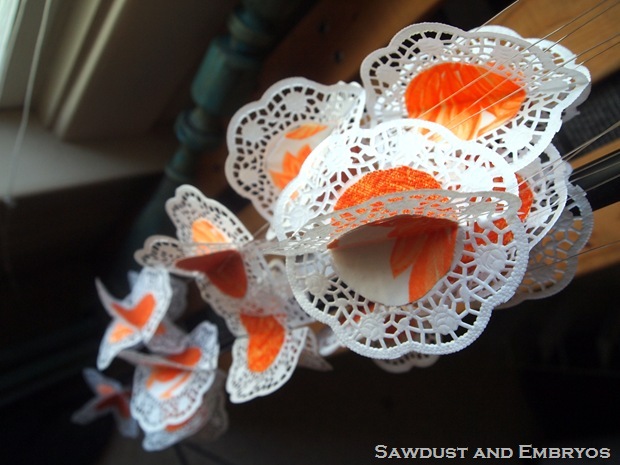
I’m sort of distraught that you can’t see how super cute this all was, but I’ll share pics anyway! It’s hard to see in the photos above, but I made these sweet little doily/fabric things that we hung from the tree in various places with fishing wire. This was a Pinterest project found here.
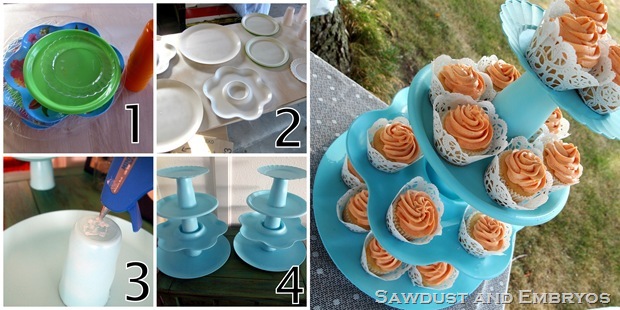
Nick helped me DIY these cupcake stands, using cheapo plastic plates and platters from the dollar store. I just primed and painted, and we glued them together!
The cupcakes were just from a box mix. And the frosting I made from scratch. BEST FROSTING EVER. I should post the recipe on here one of these days. (UPDATE! I posted it in the comment section!)
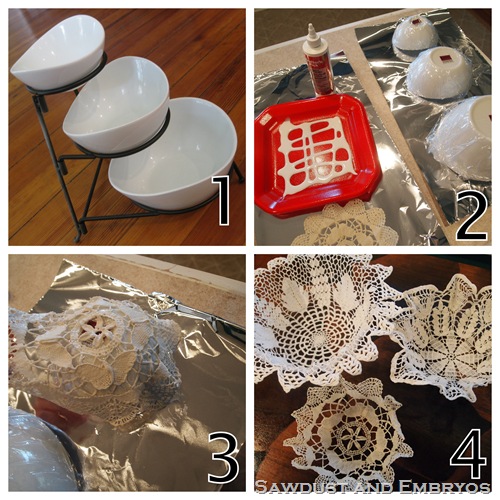
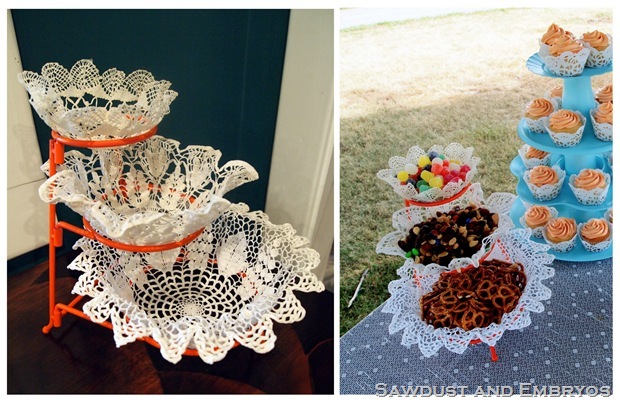
I also have a little 3-tier bowl thing that I decided to make doily bowls to use with. This might have been my favorite element at the party!
The base got primed and painted orange…. LOVE.
My sister and I whipped up some tissue paper poofs to hang over the main table.
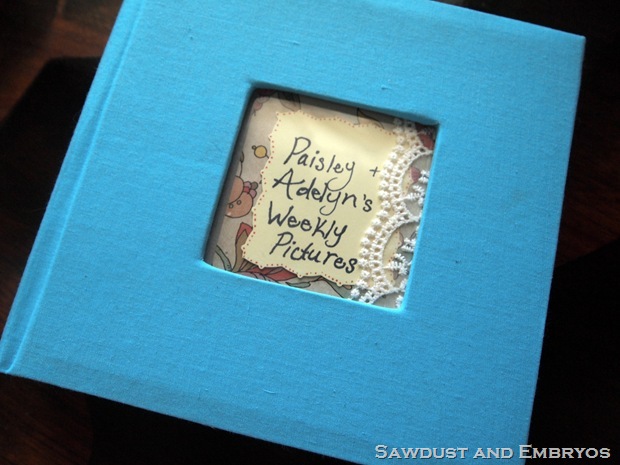
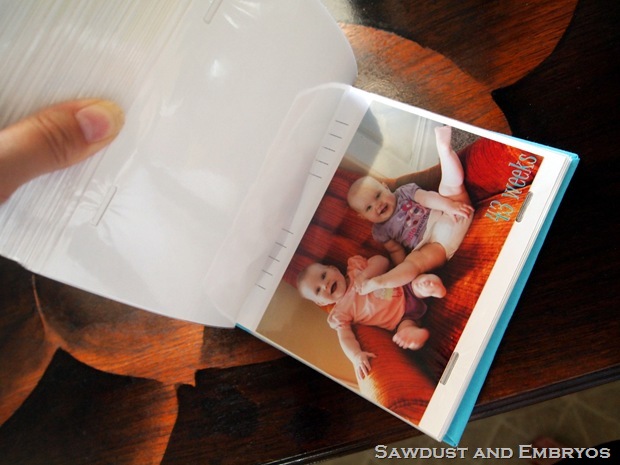
I set out a little photo album with all 50 photos from their Weekly Photoshoots in the orange chair. It’s so fun to flip through to see how they’ve grown, and how their personalities have developed.
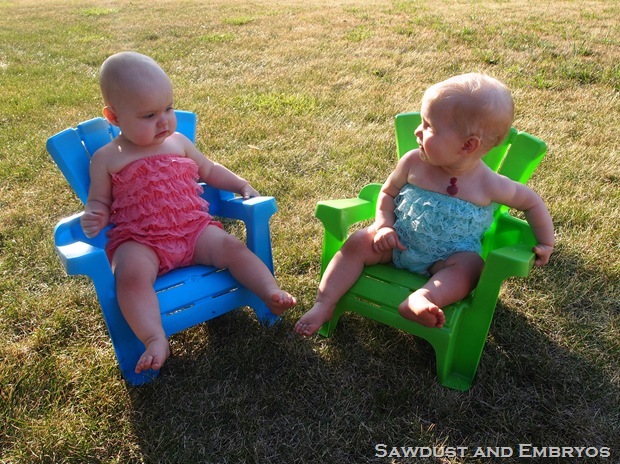
The girls got another opportunity to wear the adorable lacy rompers that we bought for their photoshoot with Molly Long!
The weather was finallllllly PERFECT! Even if it was just for that one day!
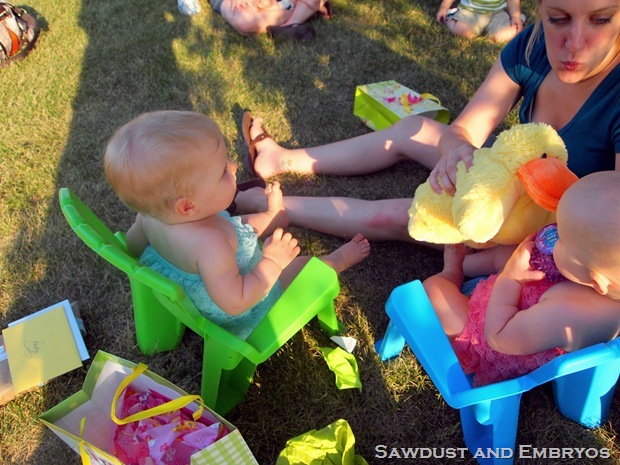
We had our closest friends and family celebrate with us… a celebration of one full year of pure joy with our two little blessings.

Very creative way to set the mood for the party. They are as cute as can be.
One the tiered cupcake stand what did you use as the risers to hols the plates apart?
Chris =]
I just used Dollar Store plastic plates and cups! 🙂
so sweet, I love how nice it looks, I just don’t know where you find the time! Happy Birthday pretty babies, it’s been fun watching you grow. Mary in NY
Half & Half is half cream half milk! Here in the US, we can buy it as a little carton in the milk isle. I would think you could substitute whole milk, but I don’t know how it would affect the recipe. Hope this helps!
Question from an Aussie… what’s half and half? Often see it in recipes online but have no idea what to substitute.
everything is beautiful, thanks for sharing.
Awesome party! You are so dang creative, girl. Thanks for posting the frosting recipe!
Crystal
wooooooooowwwwwwwwwwwwwwwwwwww
Here’s the frosting recipe (from my friend Megan!)
Scratch Cupcake Frosting
1 cup unsalted butter (softened)
4 cups powdered sugar
pinch of salt
1 1/2 T vanilla extract
1/4 cup half & half
Cream butter until pale in color and fluffy. Gradually beat in powdered sugar and salt until mixed well and completely incorporated. Beat in vanilla. Pour half & half in and mix on med-low speed for 2-3 minutes. Add food coloring!
It’s SOOO whippy and delicious!
Decorations were absolutely adorable! And the cupcakes looked amazing, I LOVE homemade frosting (I rarely buy store bought)!
So very cute and so very creative! I can’t believe that you can pull this all off with one year old twins! Amazing!
So cute! I love everything you did!
Oh and if you get the chance to share that recipe I would love to have it 😉
What a milestone! You did a fantastic job and the pics are great!!! I showed my daughter who shares the the birth day..she turned 19 and she loved what you did! She thought is was very creative and trendy and that’s saying alot! So happy you have that memory!! Thanks for sharing!!! xoxo
So adorable! Thanks for sharing your life, Nick’s and your precious little girls with all of us strangers!
Alexus
So cute and creative! I can’t wait for my babes’ party! However, I am wondering what the heck I am going to do as their b-day is the day after Christmas. I have to figure out when, where and what the theme should be. Something tells me they are going to despise the timing of their birthday as they get older.