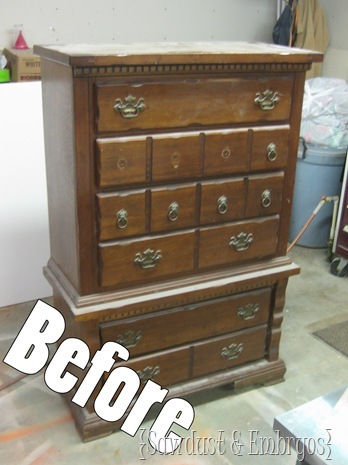
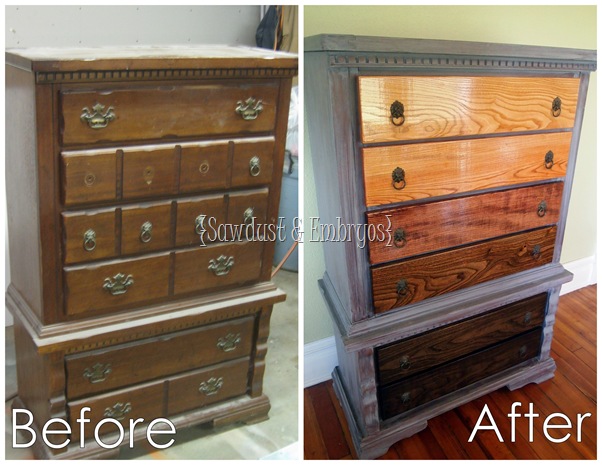
As promised, we’re back with the reveal of the sa-weet dresser we’ve been working on! This dresser came to us by way of one of our readers… wanting to clean out her basement. We’re all about helping take things off people’s hands. Here’s the ‘Before’.
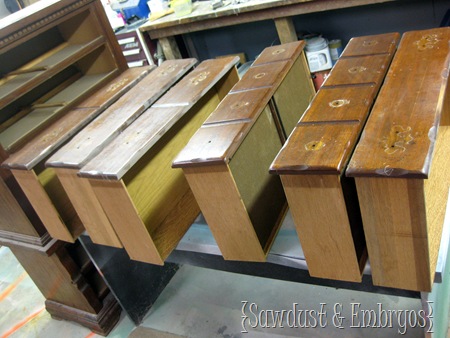
We had decided we wanted to do a little ‘Ombre’ staining on the drawers kinda like this that I pinned awhile back, but we didn’t care for the way each drawer was a little different… having hardware randomly placed, and random grooves.
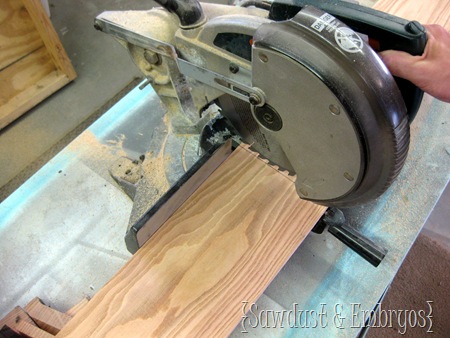
We really wanted the drawers to be uniform. So we bought some wood to replace the drawer-fronts, and cut her to size! It’s called ‘Coffee Wood’ … how cool is that? LOVE the woodgrain.
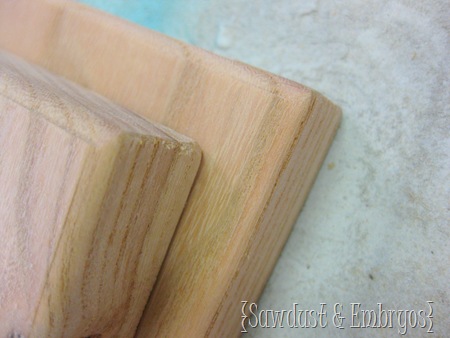
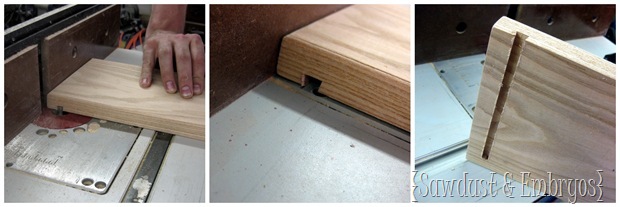
Once all our drawer-fronts were cut, Nick rounded the edges ever-so-slightly with the router, and I sanded everything down till it was smoooooth as a baby’s back-side.
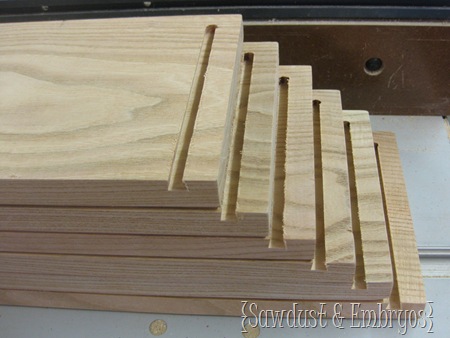
Then, using the router again, Nick made grooves that with slide perfectly onto the drawer!
Here’s my Beloved’s attempt at taking a super artsy photo. So cute.
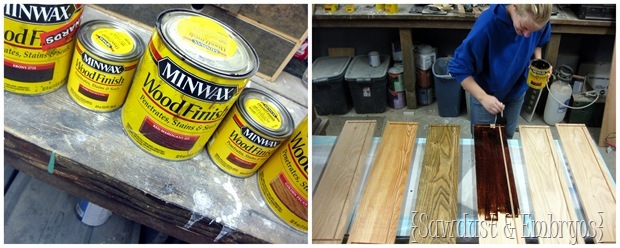
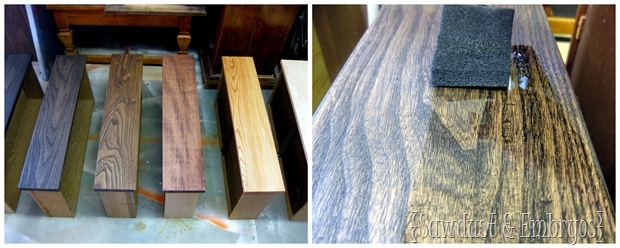
Next was the fun part by FAR! We gathered our stains, organized them from lightest to darkest, and stained the drawer-fronts, one at a time! Notice one drawer didn’t get ANY stain, because it’ll be the ‘lightest’ in the Ombre progression!
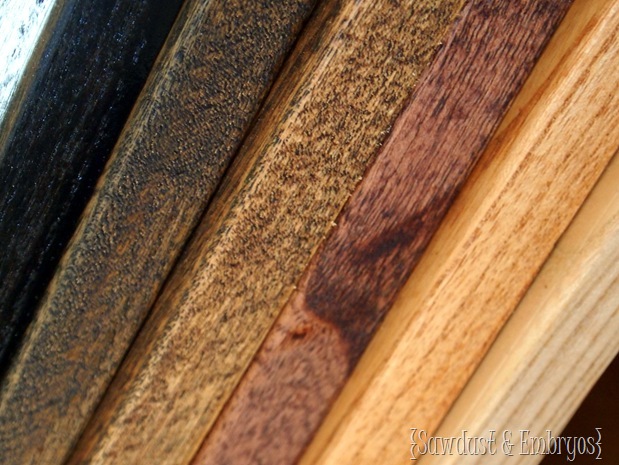
Leaving us with this beautiful madness:
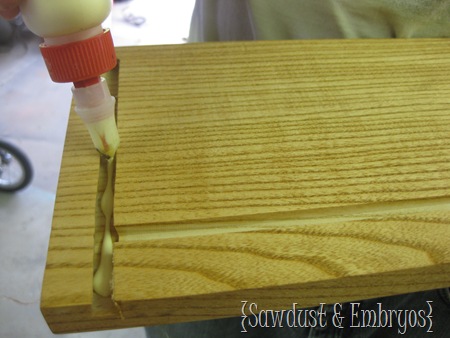
Then each drawer-front got slathered with wood glue.
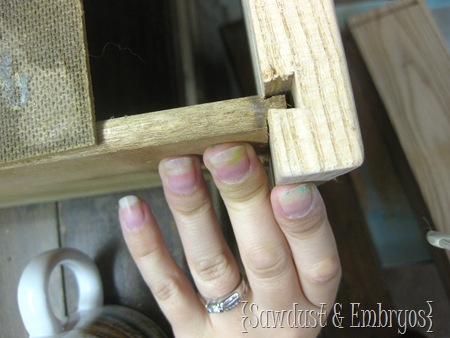
And slid onto the drawers for a perfect fit!
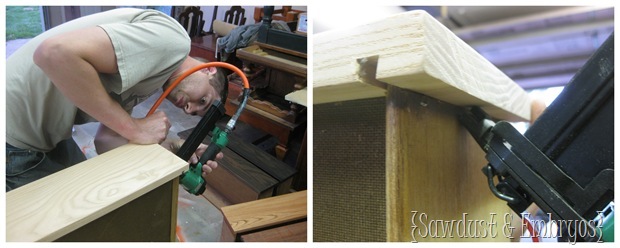
Nick used his new fancy staple gun to make sure things were all nice and secure.
Next, we lined up all our drawers to admire them. And each drawer got not one, not two… ok I’ll just tell you: SIX coats of poly. The grain kept soaking it up, and I wanted it to be SUPER glossy. So every 4 hours, I’d head back out to the garage, lightly sand with 220, and slap on another coat!
Now that our drawers were FINALLY complete, we had the body of the dresser to deal with. You know we love the look of paint and exposed wood living in harmony, but we didn’t want to just paint the body. It just seemed too boring.
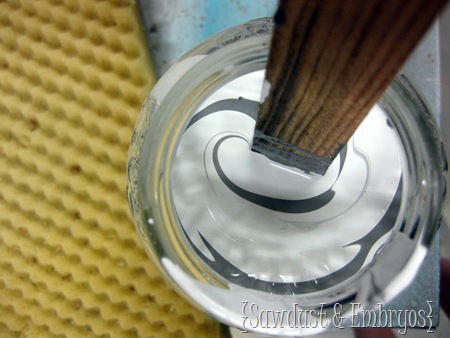
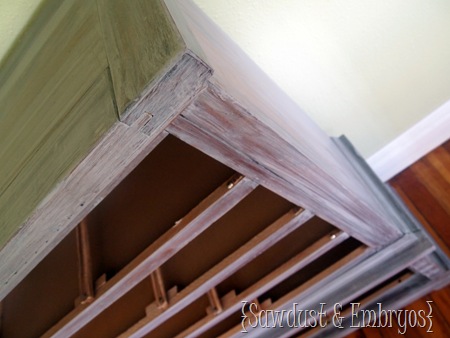
We wanted to do something that would REALLY contrast the sleek beautiful woodgrain of the drawers, so we decided to do a shabby ‘paint-wash’. We’ve never tried this before, so we just kinda winged it. I mixed equal parts primer and gray paint (leftover from this sweet china cabinet), and dumped in a little clear glaze to thin it out.
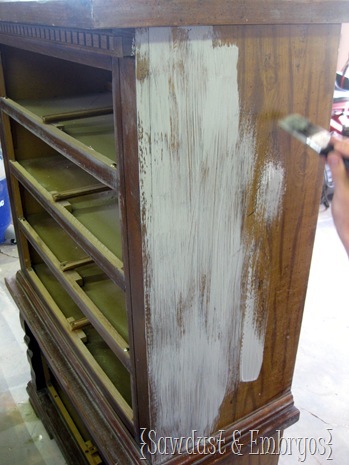
Then, we just went at it folks…
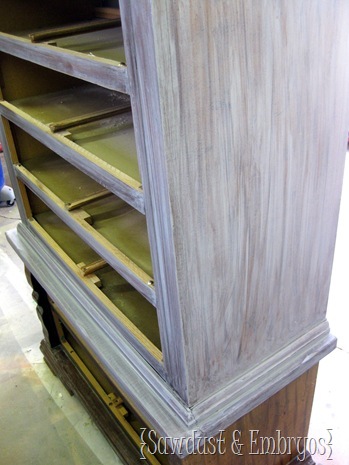
After Nick brushed it on, I immediately wiped it with a dry clean cloth in the direction of the woodgrain. There was a learning curve with this, because it was easy to wipe of too much or not enough.
This is such a fun technique, and has such a cool effect! SO Restoration Hardware… don’t you think?
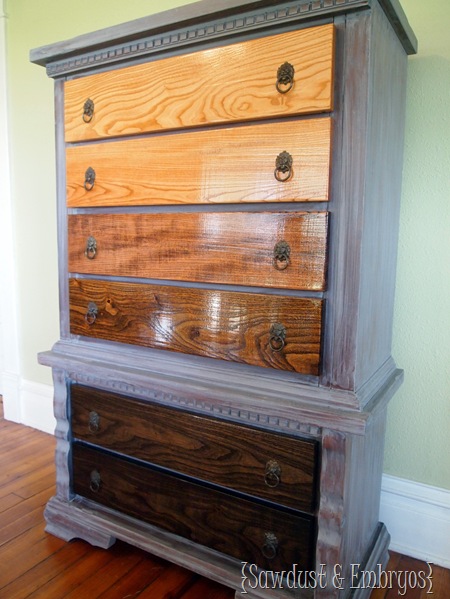
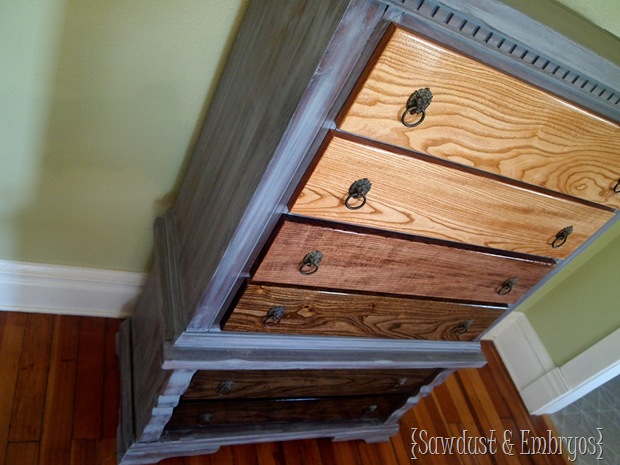
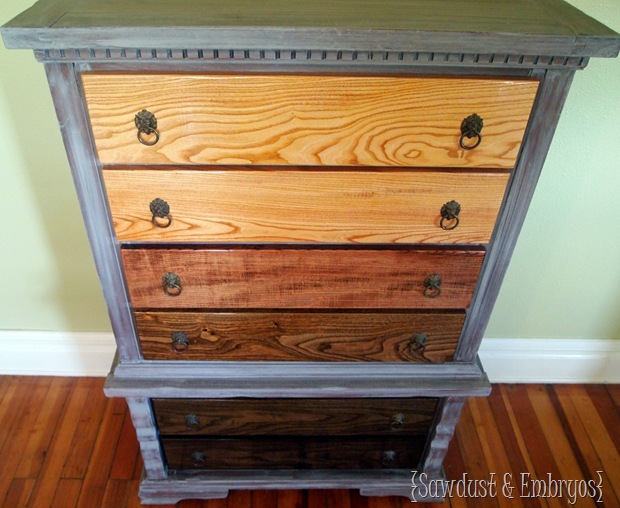
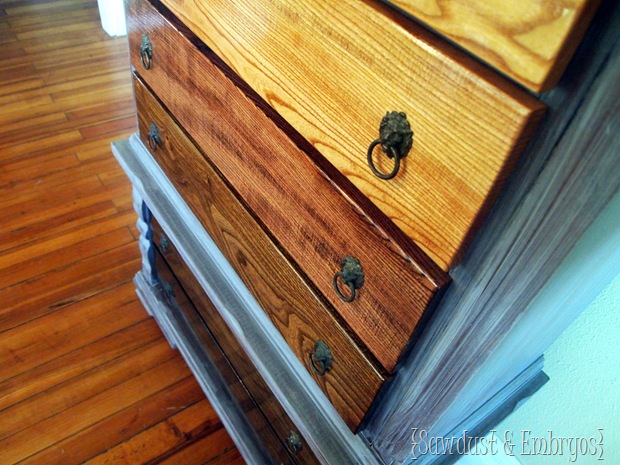
And finally, after drilling hardware holes and replacing the original hardware (!!), we popped those drawers in and stood back to admire!
For some reason, the lighting in these pictures makes the first two drawers look very similar in color. So try to ignore that.
We pretty much love how this bad boy turned out. And hope he finds a nice home soon.
And for good measure… a Before/After shot!


You should’ve kept the original look of the drawers. Other than that great job!
Nick needs to wear eye protection using that stapler.
I’m preparing to attempt my first gray-wash on a dresser. Did you sand at all prior to painting or skip that step?
Hi Joy! We did lightly sand the dresser before graywashing, because the finish was a little shiny. If the piece you’re graywashing doesn’t have a shiny sealer on it, it should be fine without sanding. Does this make sense? Good luck to you!
Yes, it does make sense. Thank you! The older gentleman working in the paint section at our nearest Lowe’s store, however, was not helpful. When I asked him where I could locate clear glaze, he was lost and tried to sell us gloss instead. We did find it on our own, but the were out of the clear glaze, so I won’t be getting to this project as quickly as I had hoped. We are in the middle of a complete room remodel, so when we do finish, I’ll be sure to share pictures.
Love that Restoration Hardware look but didn’t know what it would take to get it! Great job and thanks for the inspiration!
My dresser is extremely similar to your “before” dresser. I always thought there wasn’t much that could be done to it but after seeing your “after” I am excited to try.
Perfect, I totally agree with it. This blog has good stained dresser information and for that I thank the writer of this blog.
Beautiful! So beautiful in fact, that I’d have to agree with Renee. Paint your beautiful whitewash job white so we can focus on the beautiful ombre and not be distracted. One beautiful thing per piece please! Haha.
LOVE!! Y’all did an amazing job!
I think this is the first of your projects that I didn’t really care for. LOL Maybe it just needs to grow on me?? My thought would be to stain all the drawers the same colors but in darker colors going down. But that’s just me. 🙂 I still think you guys are furniture makeover masters! 🙂
I love your creativity! How do you determine pricing on these items when selling?
Love the ombre! My personal opinion, which I am sure you don’t care about, is that I think I would like it painted white. I know, I know, boring but I think I would like the pop the ombre would give off of the white. That being said, it is really beautiful and what a ton of work. Very impressive!
Been following your blog for about three weeks now. Not sure which i enjoy more, seeing these amazing transformations which really inspire me, or the pics and videos of your beautiful little miracles. Always look forward to both!!
Brenda
Wow I love what you did with this and so happy the dresser will find a new home soon 🙂 Thanks for taking this off our hands!
This is really unique! I wasn’t sure how the finished product would look as I scrolled through the post, but it turned out awesome.
Loving ombre everything right now!!!!
Great job on the dresser and impressed by changing out the drawer front, well done!!!!