When we shared the final reveal of our kitchen, there was one thing about it that I wasn’t 100% happy with. If you’re thinking it was the fact that I painted my cabinets chartreuse, you’d be wrong. It was the backsplash. Installing a backsplash wasn’t a priority, and I grew to regret that decision.

You might remember that I have a thing for painting backsplashes to LOOK like tile, and this was actually the third time I had painted the backsplash in our kitchen (first time, and second time) over the past 8 years. So when we made the bold decision to go with brightly colored kitchen cabinets, I knew that we needed a subtle backsplash to properly compliment the cabinets. Remember the hex stencil meant to look like shimmery white hexagon tiles?
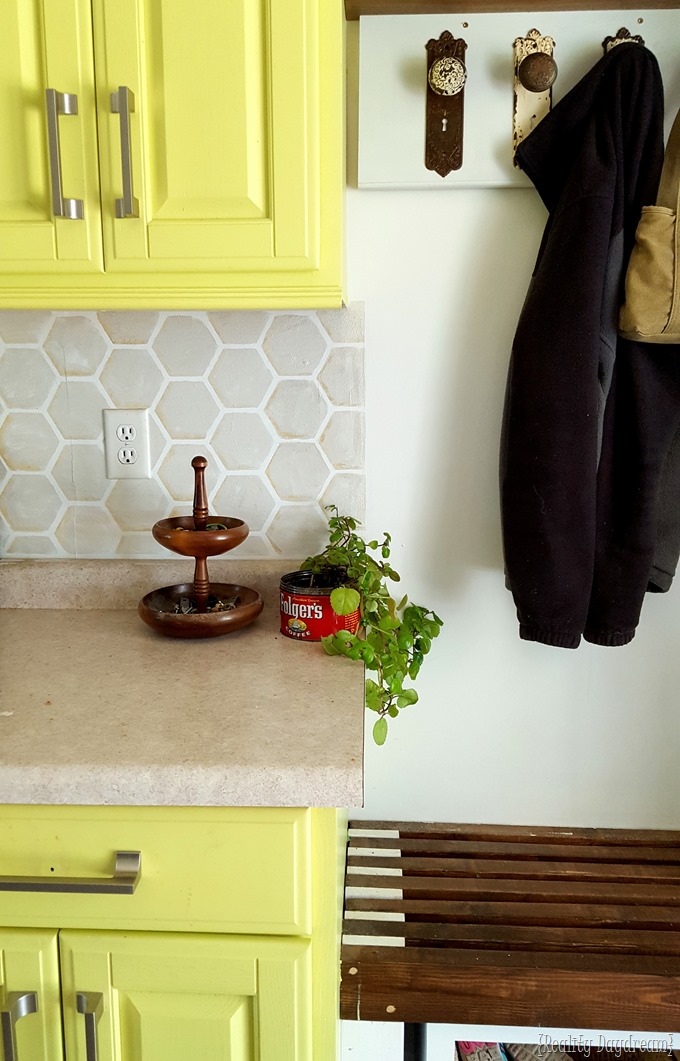
I just never loved it.
So over the past year, I’ve been keeping my eyes peeled for JUST THE RIGHT THING. I didn’t hate the painted hexagons enough that it was an emergency, so it was nice being able to leisurely make a decision on installing a backsplash. And since I was ready to pull the trigger on real tile, there’s a permanency that comes with that and I didn’t want to get it wrong!
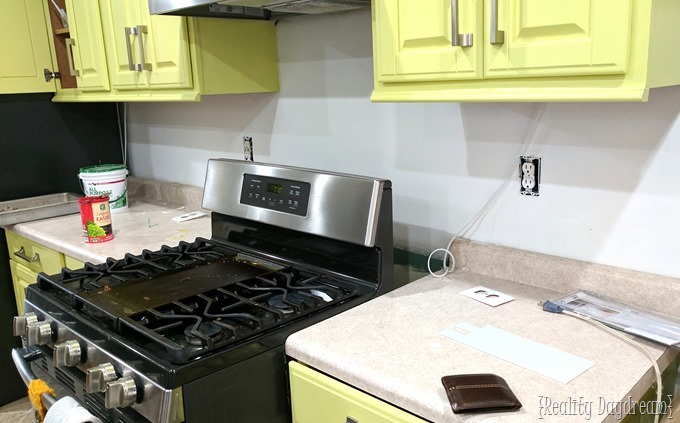
This was one backsplash that wasn’t painful to paint over. And I’m glad it wasn’t actual tile, because then it would take a lot more than just paint. Removing tile is a hot mess! Two coats of primer, and we’re ready to make some magic happen…
 *This post is sponsored by Aspect Tile. Thank you for supporting the amazing brands that make Reality Daydream possible! This post contains affiliate links.*
The reason we needed to paint it white rather than just installing tile over it is because we chose these matted white glass tiles! So the substrate needs to be white, lest you can see through to the other side. You’ll see what I mean in a few.

Installing a backsplash has never been so easy.! The amazing thing about these glass tiles is that they came in sheets with an adhesive backing that you can apply directly to your backsplash WITHOUT applying any mastic (or thinset or mortar… whatever you call it)! And you don’t need to do anything to prepare the backsplash beforehand, other than cleaning it to make sure it isn’t greasy. Obvs.
One invaluable tool that we used is our self-leveling laser level that helped us easily line everything up and keep things level and perfect.
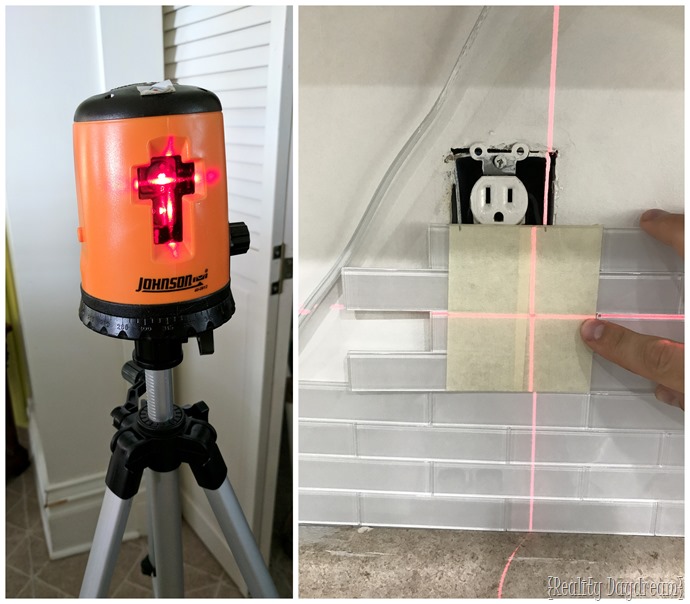
In the above image with the outlet, you can see that we wrapped masking tape around parts of the tile sheet to make it easy to make where the cuts need to be. Then it’s easy to run ‘er through the wet saw. We don’t have our own wet saw, but we borrowed this one from my brother, and it was awesome! And I’ll tell ya, cutting through glass sounds a tiny bit intimidating, but it’s pretty simple and dareisay FUN!

Usually the term ‘peel and stick’ implies something faux, but there’s nothing faux about these glass tiles! And there’s nothing faux about how happy I am that we didn’t have to mess with sticky mastic/thinset/mortar. Literally, just peel, and STICK!

Once we got into a bit of a rhythm, we did the whole base row all the way across, and the worked our way up.
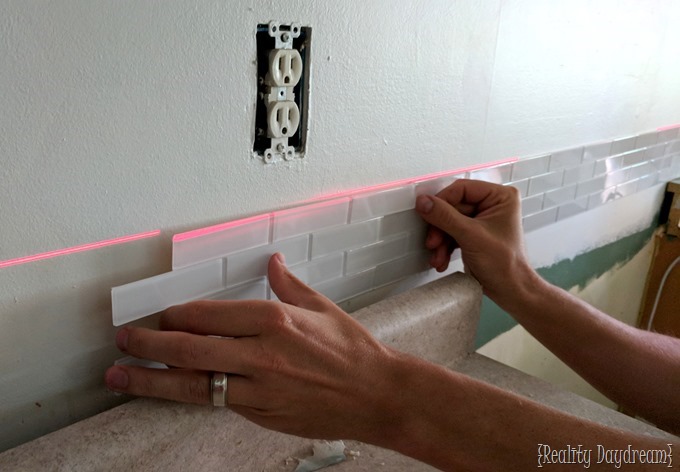
There are spacers you can purchase for your outlets to bring them out to meet the new depth of the backsplash, but these tiles are narrow enough that we were able to just pull them forward and still use the same screws.

Once everything is slapped on the wall, it ain’t coming off. AND you don’t have to grout it. Just apply some silicone caulk where the backsplash meets your counter, and YOU’RE DONE! #highfives
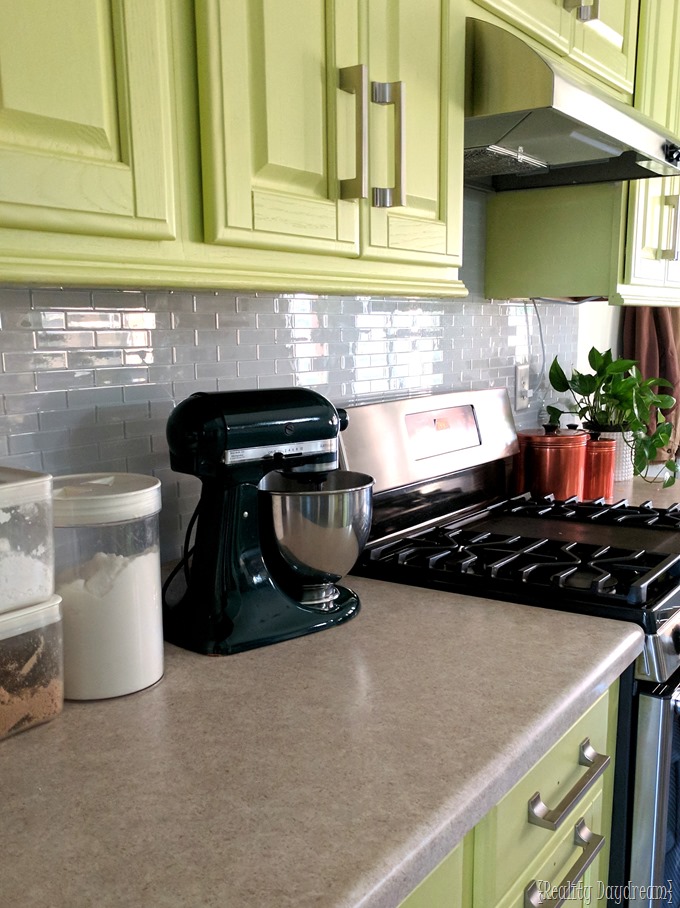
I think a installing a backsplash is truly what makes a kitchen feel finished and polished. Like the perfect jewelry to compliment an outfit.
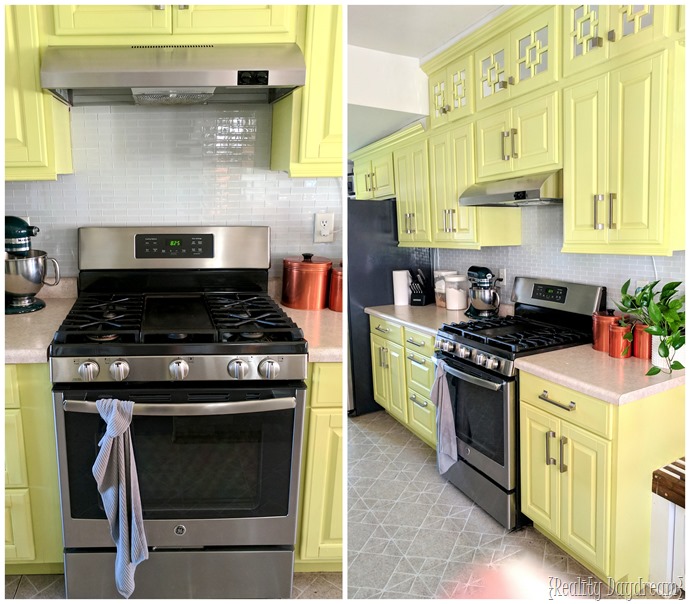
We DIYed almost everything in our kitchen, so if you’re wondering about a product, paint color, or tutorial click here.

I’m so glad we built our cabinets up to the ceiling and extended them across our ‘mudroom’ area of the kitchen. It really brings the two areas together and looks so cohesive… even though I desperately wish I had an ACTUAL mudroom.

Y’all, I know that my mudroom bench (above) should have some decorative pillows on it to be truly worthy of the internet in this Pinteresty world we live in. But I would just like to proclaim that having throw pillows on a mudroom bench is absolutely the most ridiculous and impractical thing in the history of ever. Can I get a witness?
This was a fun, non-messy backsplash installation, and we have a beautifully polished look to show for it! Be sure to check out the other types of stone, glass, and metal backsplash tiles they offer at Aspect! And huge thanks to them for sponsoring this post! <3
~Bethany
~~~~~~~~~~~~~~~~~~~~~
Thanks for pinning!


Glad you had a positive experience with our products! It’s always great working with bloggers like you who go above and beyond. Your kitchen looks beautiful!
Do these damage the walls when you take them off? I wonder if you could use them in a rental.
According to the FAQs on their website, they said it IS possible it could damage the wall while removing. ‘Caution is advised when removing tile to eliminate as much old adhesive as possible. Some repairs may be necessary if this happens.’
My goodness how awesome!!! Love the kitchen and tile! But I must say your whole kitchen is beautiful Thank you for sharing and God bless
I LOVE IT! I’ve always loved your ballsy citron kitchen and now it IS like a little jewel box. Hooray!
Wow, I love you glass tiles backsplash, bar stools, bench, coat hoots. So many beautiful things in your kitchen. Nicely done.