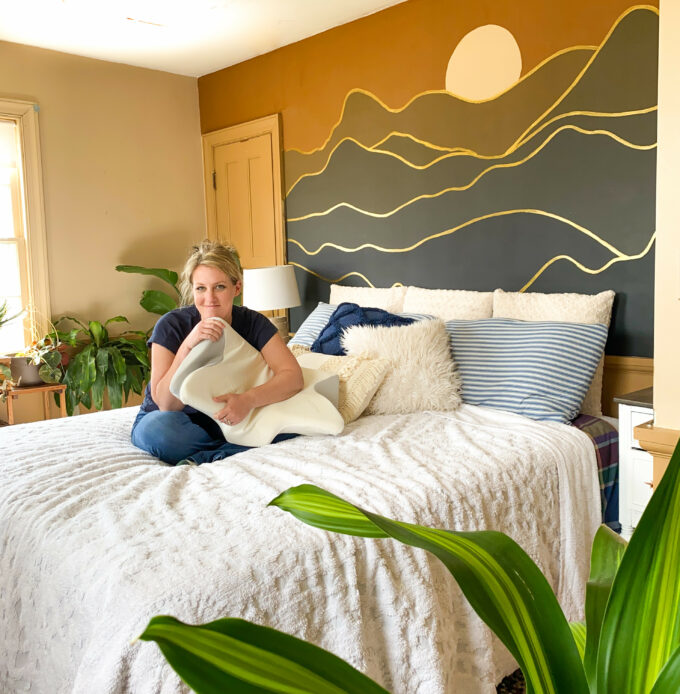
I realized I never shared a tutorial for my mountain mural here on the blog! Sometimes I’m just in the moment and only share things in real-time on Instagram, but I need to remember to share an actual tutorial here too. Y’all have been asking about it!
This mountain mural is SO EASY, even if you’re not great at painting. You don’t even even need to have a steady hand. Think of it more as a coloring page than art. Don’t be intimidated!

*This post contains affiliate links.*
First, let’s talk about drawing out your design on the wall. I’ll tell you how I did it, and then I’ll give you an alternative in case that intimidates you. 😉
I found a few inspiration pics on Pinterest with layered mountain murals, and just kinda sketched out a design that I liked with a pencil onto my wall. If that freaks you out and you prefer a template, you can download my template below and use a projector (like this one) to project the mountain mural onto your wall.

Okay… paint colors! You can go with ANY color scheme you want for this mountain mural! Don’t feel like you have to do exactly what I did. But if you want it to gradually go from one color to another like mine does, here’s what I did:
Start out with two quarts of paint. These are the colors that will be the very top and very bottom on your mountain mural. My FAVORITE paint brush for murals is this one. It is so comfortable t hold and makes nice crisp/clean paint lines!

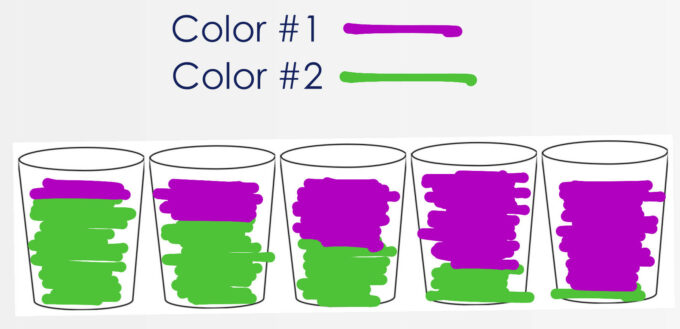
For the other layers, we’re going to get that gradual ‘ombre’ effect by mixing our paints in the following rough ratios. Try not to be jealous of my vast graphic design skills:

We used red solo cups, and I wish I had gotten a photo of it all, but what a hot mess. You’re gonna need a lot of stir sticks too!
Since we’ve already painted on the first and last color, we want do paint them on in alternating stripes so that they have time to dry before we come in and do the layer right next to them.

I decided to lave the sun unpainted (it just the off-white color the wall was previously), but you can do whatever you want with yours!

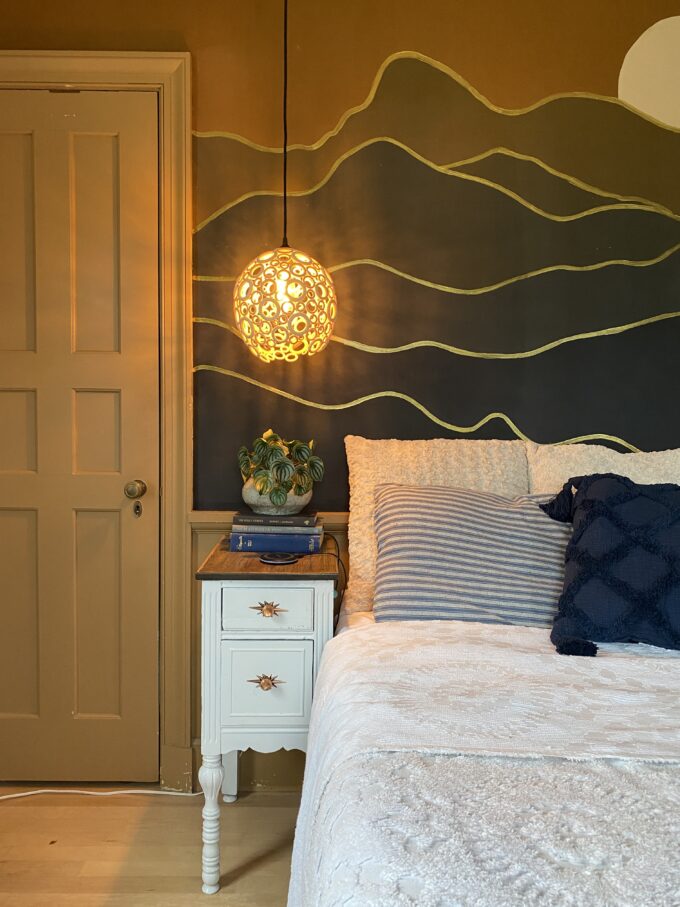
I came back the next day and added a little gold border with this metallic paint a craft brush, and I think this made SUCH a difference! So classy!


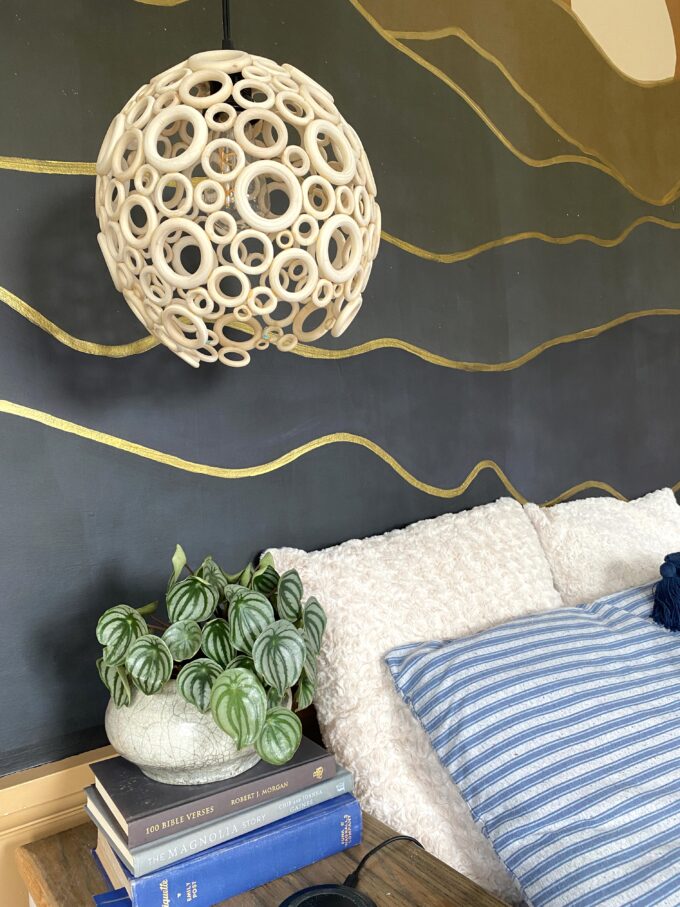
Look how cute our DIY Pendant Light looks over the night stand!


I hope you loved this tutorial! As always, please tag my in your projects!! We’re @RealityDaydream in all the places!
~Bethany
…PSSSST! Be sure to check out our other murals we’ve painted here and here!
~~~~~~~~~~~~~
Thank you for pinning!


Hi! Is there anyway you can share the names of your primary 2 colors? Thank you!
Love it! Thank you! You really picked out perfect colors!