We’ve been trucking along in the kitchen, friends! If you’re new to our kitchen saga, or just need a refresh, click here! In our last kitchen update, we left you with this picture of our newly-drywalled kitchen, and a very happy little girl celebrating with a cartwheel.

At this point, every little thing feels like a HUGE milestone. And the flooring is definitely that! But there are a lot of steps that go into doing it right (and we added radiant heat!), so we’re going to chat about that today!
This post is sponsored by our friends at Schluter! Thank you for supporting the fabulous brands that make Reality Daydream possible!
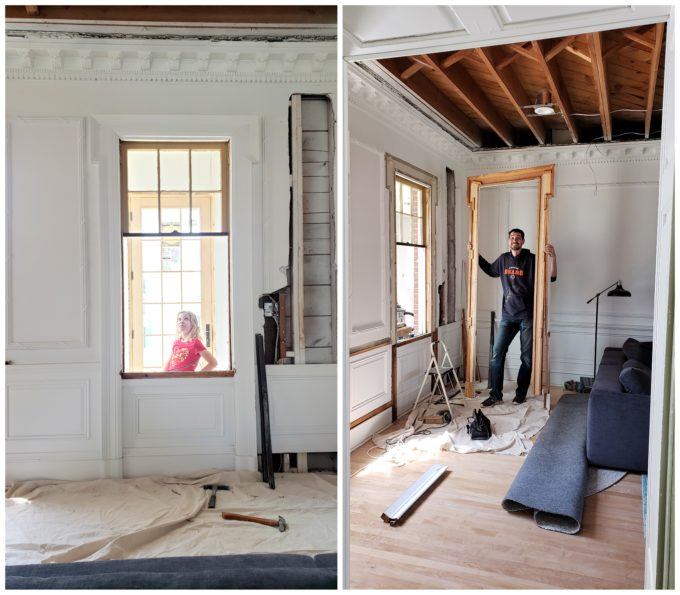
But before we could jump into flooring, we had to remove windows and trim between the kitchen and the living room, and two between the kitchen and dining room to become doorways. In the dining room, this involved having someone come and cut through the brick to make these windows into doorways. (and YES we’re leaving the original exposed brick that used to be the exterior of our home!)

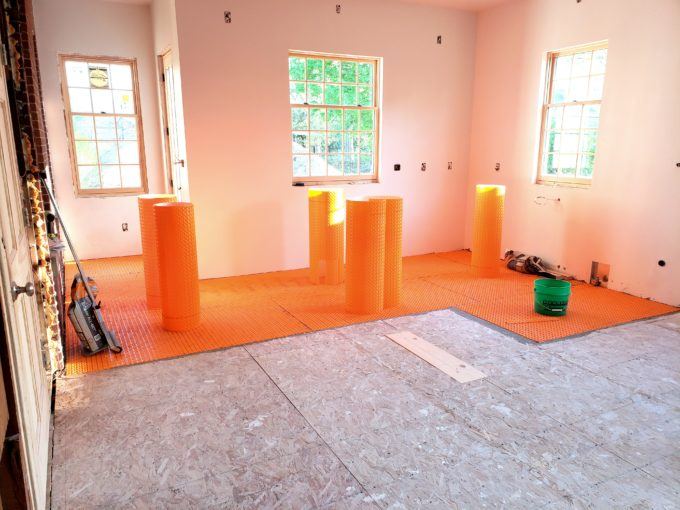
Then we began prepping the floors for Schluter!

Schluter recommends the following PPE while handling their thinset: gloves, dust mask (while mixing the thinset), and knee pads. We installed the Schluter membrane, being sure to check coverage every once in a while. Schluter has a great set of installation video’s and training options.
We also made a video sharing the process in more detail than what’s here in the blog post.
We used the roll of Ditra Heat and found it to be a lot more manageable by cutting it into 6ft lengths.
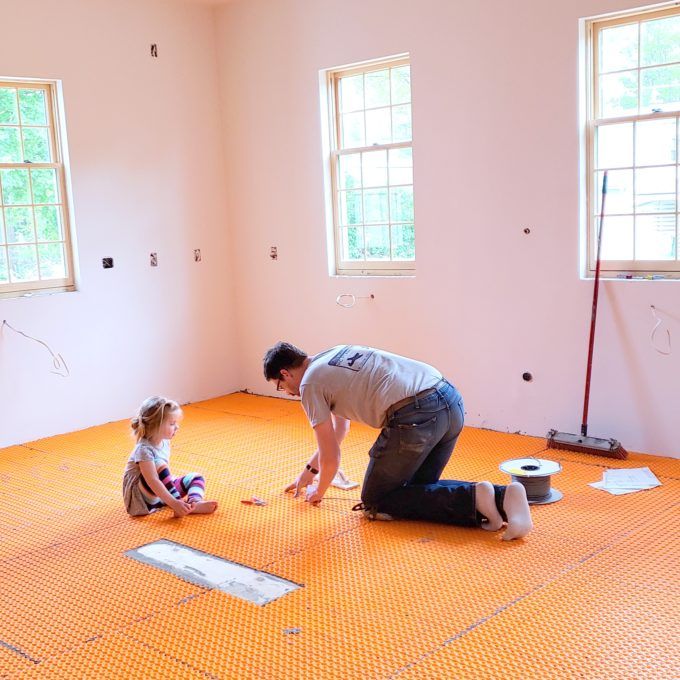
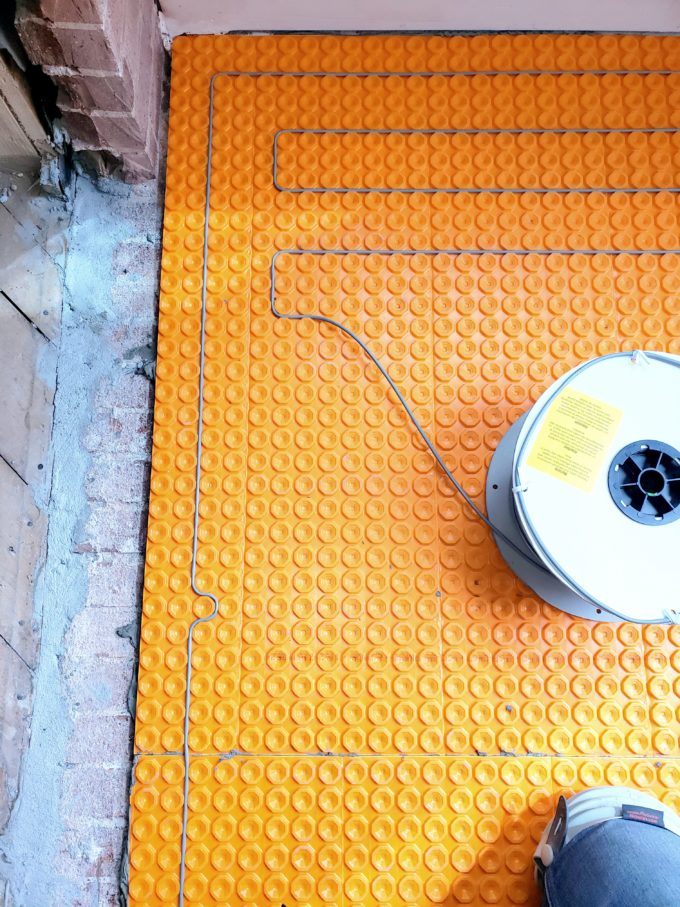
We installed the heating element; weaving it back and forth being sure to stay away from walls, floor registers, and cabinets per the recommended amount. The kids loved helping with this part too!
We laid a row of tile out to determine placement to the first course

After marking where our first course would go, we applied Kerdi Band. This seals the floor to make it waterproof! This is a big perk, since we are having our washing machine and dishwasher in the kitchen as well.

On these large format tiles we combed both the floor and the tile with thinset. This gave us good coverage of the tile.

We used a tile leveling system to help keep all the tiles level. Cypress likes to help. This pic was taken before she took to her hair with a pair of scissors. You watch our Instagram Stories, right?! 😉

It felt soooooo good to grout and call this floor DONE!
In this pic below, we still haven’t calked the soft-joints, so that’s why it looks like we forgot to grout in a few places.

I’m not gonna lie, being at the point where we can put up cabinets is THE BEST. We couldn’t have heaved these upper cabinets up without help from our friend Dana (and these Multi-Prop Work Supports from Rockler – THANK YOU!)
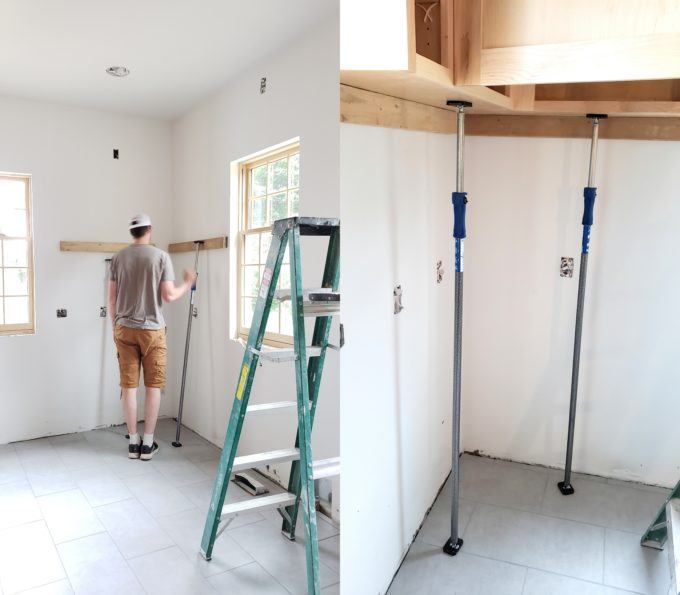

Having cabinets go to their new homes, one by one, felt like the single biggest milestone YET. For the first time we’re seeing the actual vision of what we’ve been working for for soooooooooooo long.
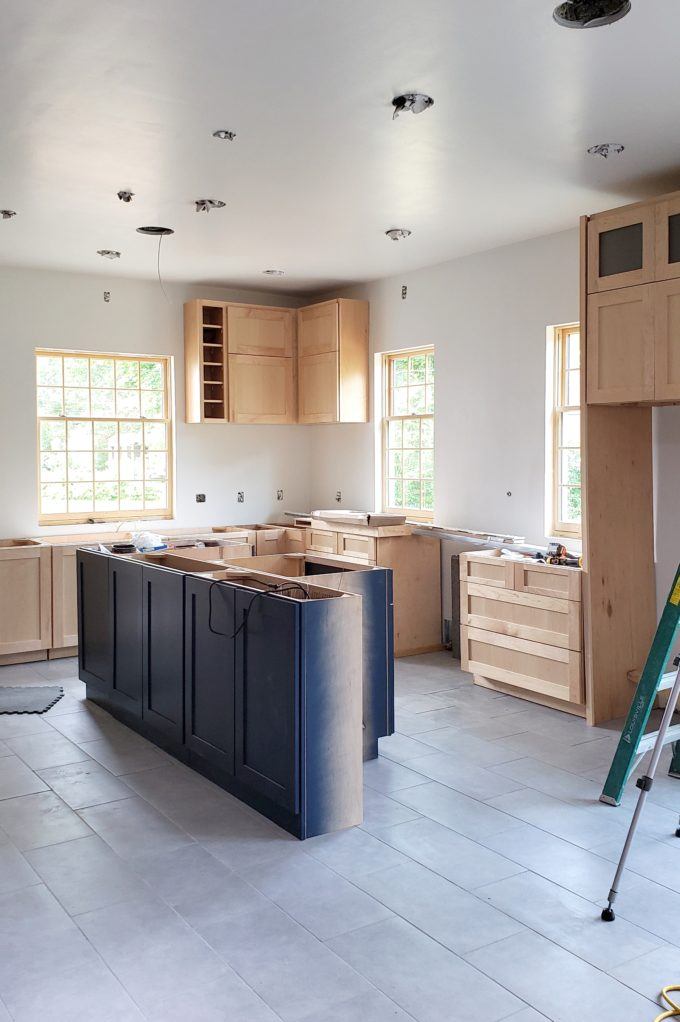
It was at this point that I couldn’t help but just go stand in the kitchen and stare at it multiple times a day. It took us all by surprise how much larger the room feels with cabinets in place!

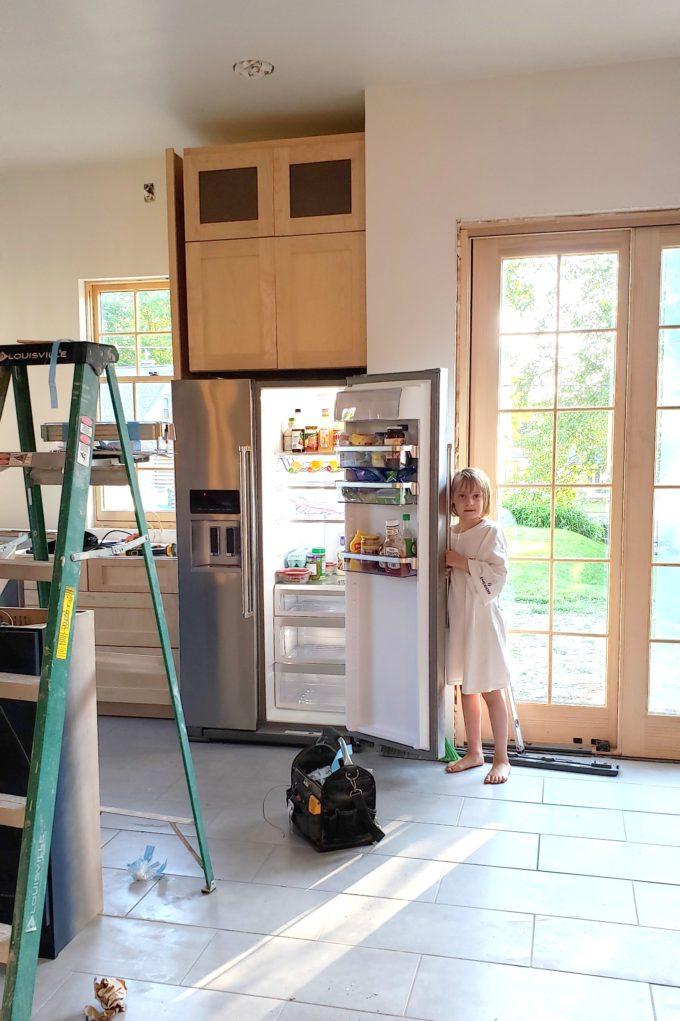
We got the appliances in place AND FUNCTIONAL! Cooking on my new range instead of a hotplate was EVERYTHING I hoped it would be. It was surreal emptying out our mini fridge into our full size fridge. And felt like there was excessive space. LOL! We went with Kitchen Aid Appliances through Build.com, and are SO happy with them so far. I’ll share more about them in our reveal post, but here are links to the range, fridge, and dishwasher. We were honored to work with Build.com for many elements of this kitchen, but I’ll go into more detail on that for our big kitchen reveal post!
We let the girls organize the new fridge, and then secretly reorganized it later.
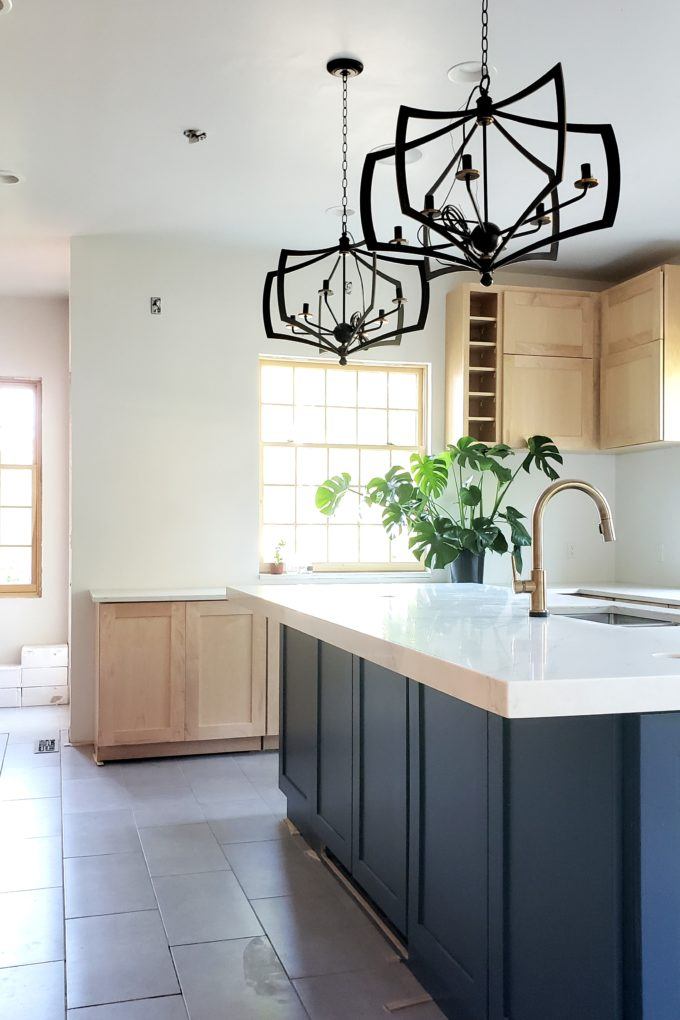
Nick finished the ceiling lights, and got our giant pendant lights installed! They aren’t hooked up yet, but I love that they make SUCH a big statement, yet look so classic!

We also got our counters installed just a couple days ago… they’re London Sky Quartz, and I’m Sooooo obsessed. Shiny white with subtle gray veining is EXACTLY what I wanted!
We still need to install the chunky shelf below the corner cabinets, finish plumbing the sink, dishwasher, and pot filler, install toe kicks, pulls on the cabinets, lights above the windows, hood above the range, crown molding above cabinets, and last but not least, BACKSPLASH! (which I’m SO pumped about.


Keep following our Stories over on Instagram for real-time behind the scenes kitchen action, as well as just general family tomfoolery! We’re @RealityDaydream!!
~Bethany
Related:
-

If you've been following along on the 'gram or Youtube, you know we've been turning…
-

If you follow our adventures on Instagram (we're @RealityDaydream!), you know we pulled the trigger…
Those light fixtures are so cool!
It’s looking amazing!! Who did you use for your cabinets?
We had them custom made from a company called Millbridge in Waterloo, IA. ?
This is the first time I heard of a pot filler so of course I had to Google it. Once I saw what it was I startled the dogs because how freaking genius is that! Your kitchen looks gorgeous even with your list of things still to do.
Oh girl… Isn’t it brilliant? I can’t wait until mine is hooked up and I can use it!!! To go from no running water to having a pot filler might seem a bit extravagant tho ?