Last week, on my lunch break, I went thrifting. It was… well let’s just say it was super fun. Finding awesome stuff and ridiculously low prices is gratifying to me in a way that I can’t explain. And so I shant.
I bought this weird floral wall-hanging thing. I almost didn’t buy it, because $4.99 seemed a little pricy to me. But I just couldn’t help but see the good in her, and all the things I could do to improver her.
This is what she looked like to begin with. Not bad… just needing a bit of a makeover is all.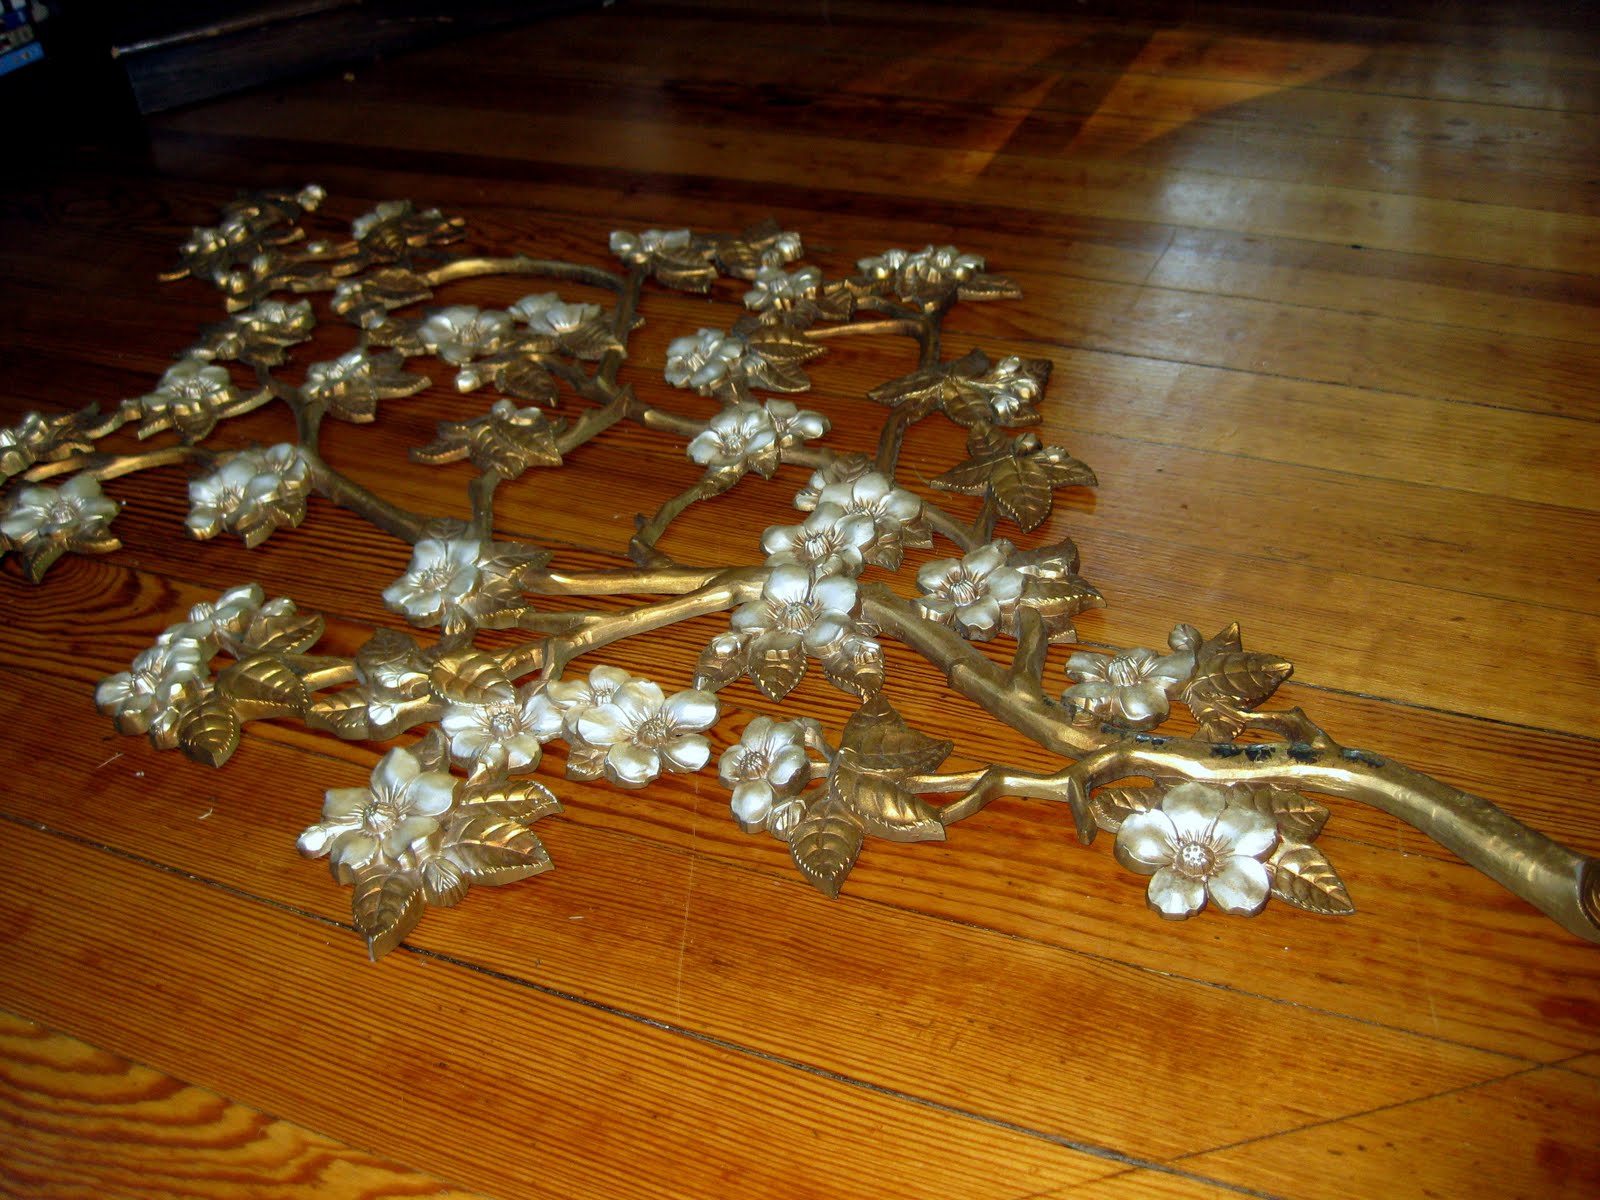
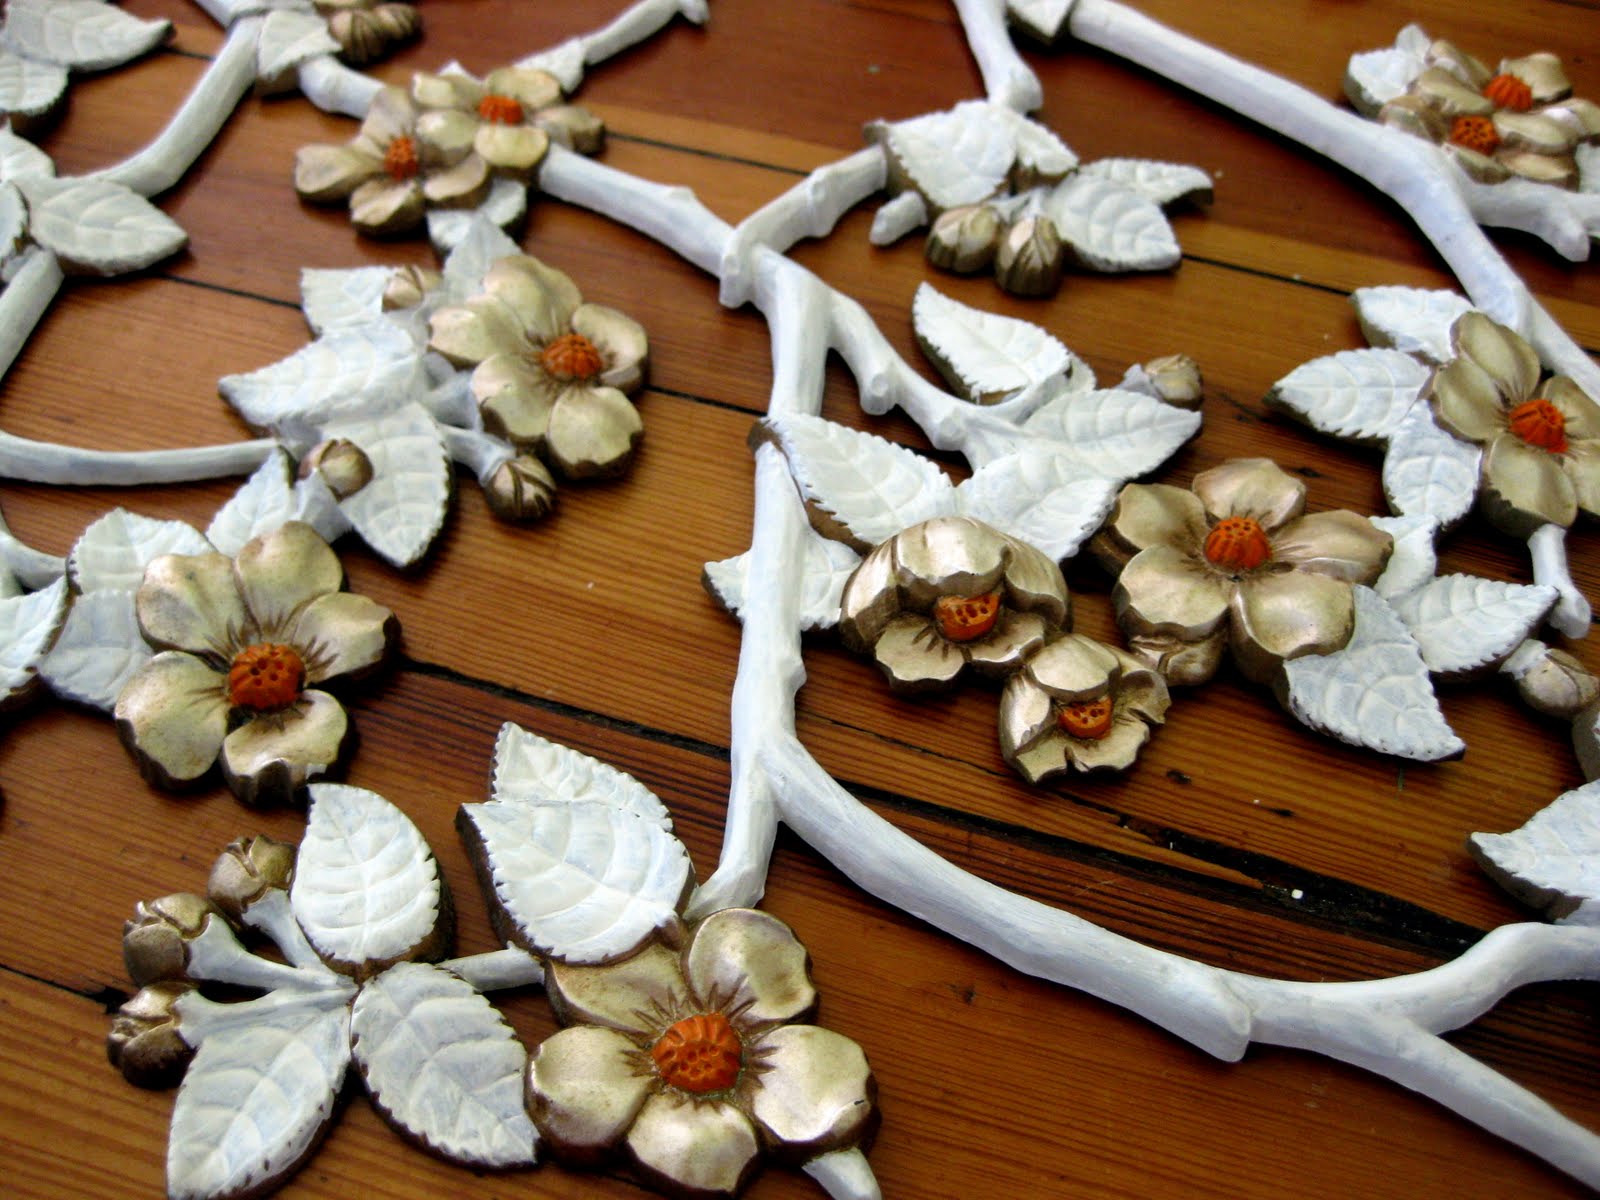
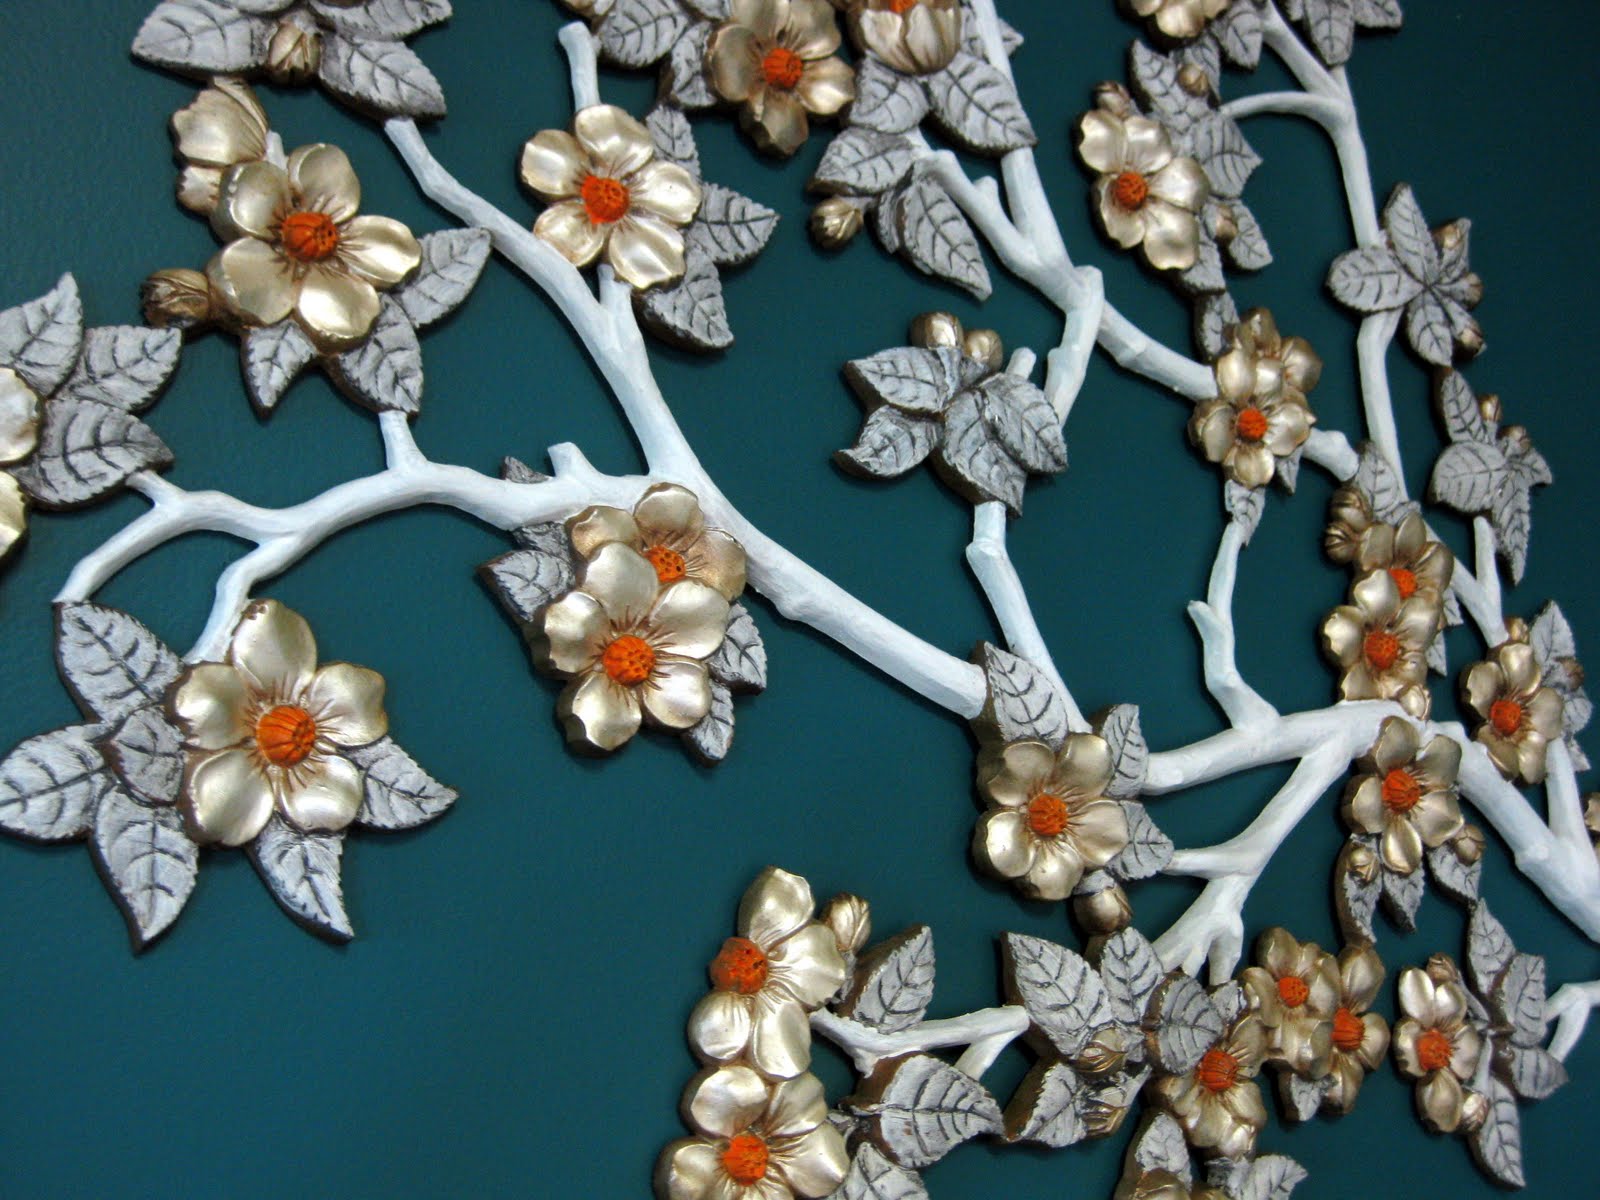
I started by doing what any normal person would do… add orange paint. Duh.

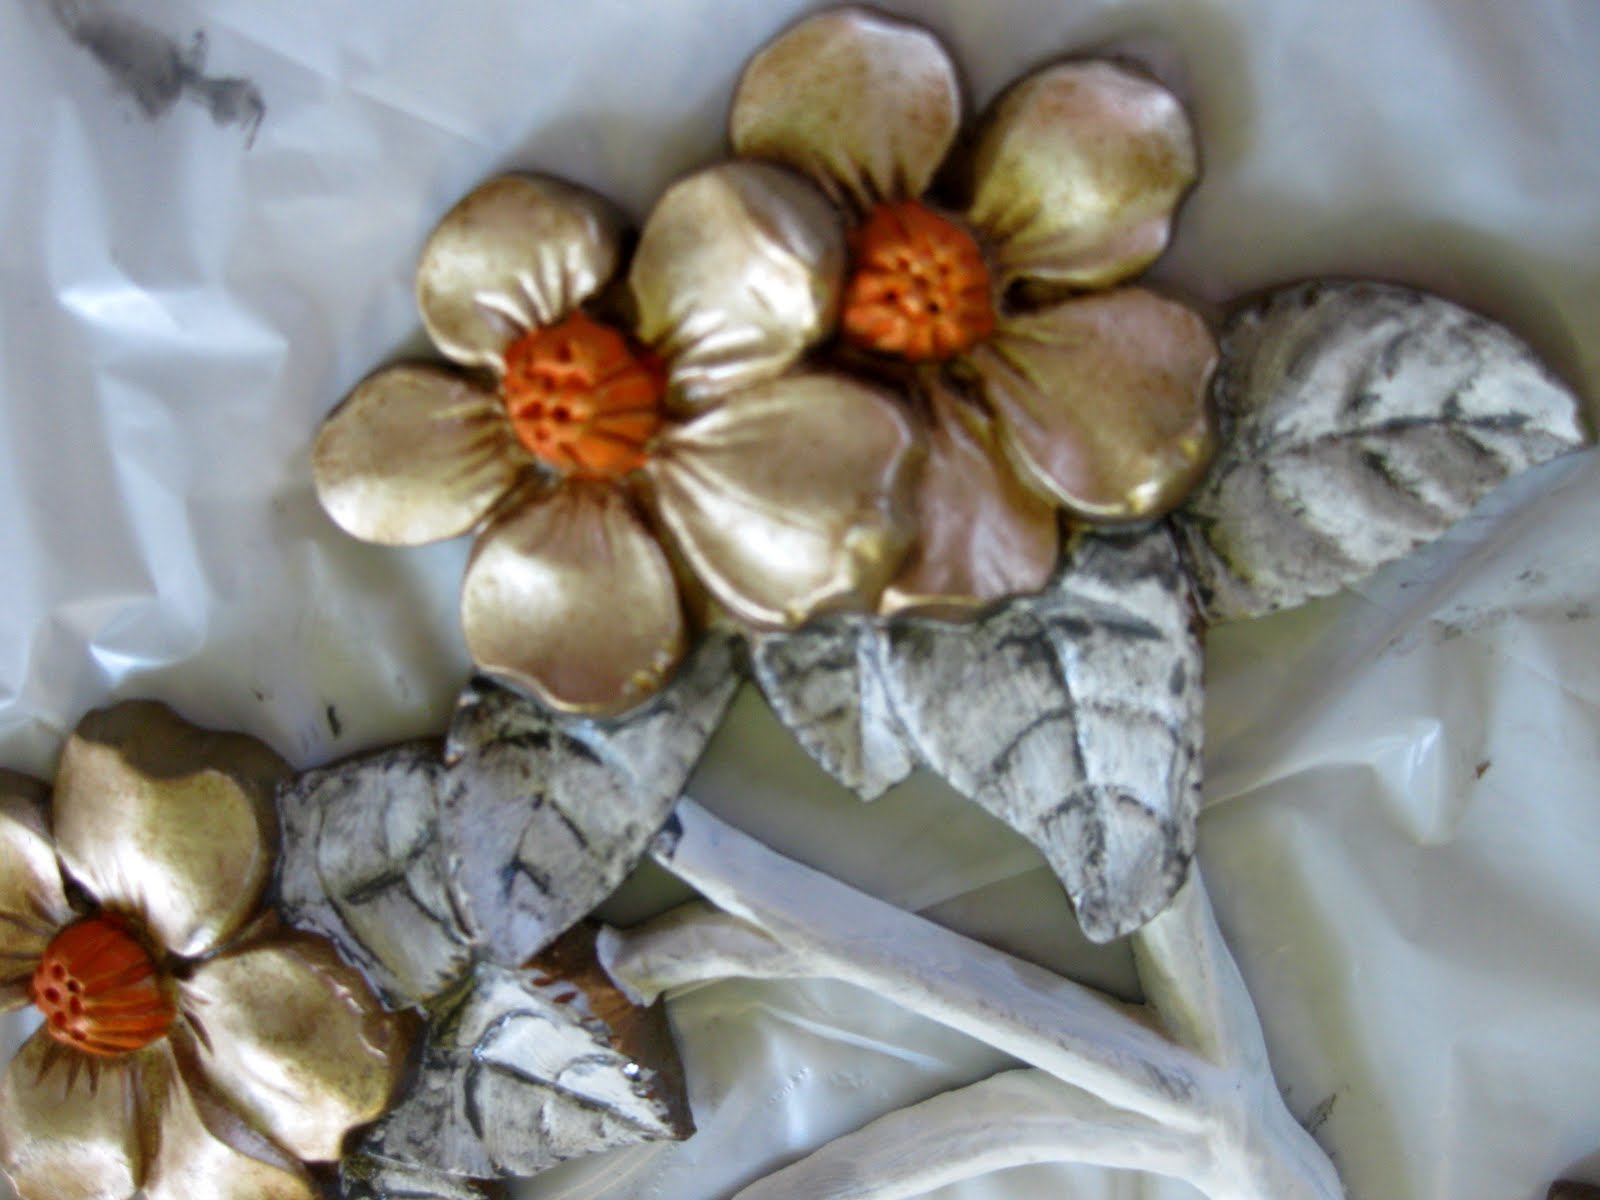
Then painted the branches and leaves white, while leaving the sides of the leaves the original bronze. I also left the petals of the flowers their original shimmery metallic color.
 At which point I slapped on a little tinted glaze to the leaves, followed by wiping it off with Nick’s dirty sock… leaving the glaze in the cracks and crevices. ‘did you just say crevices?’ Yes, yes I did say crevices.
My process is shown in the following 3 pictures:


I love the way it turned out.
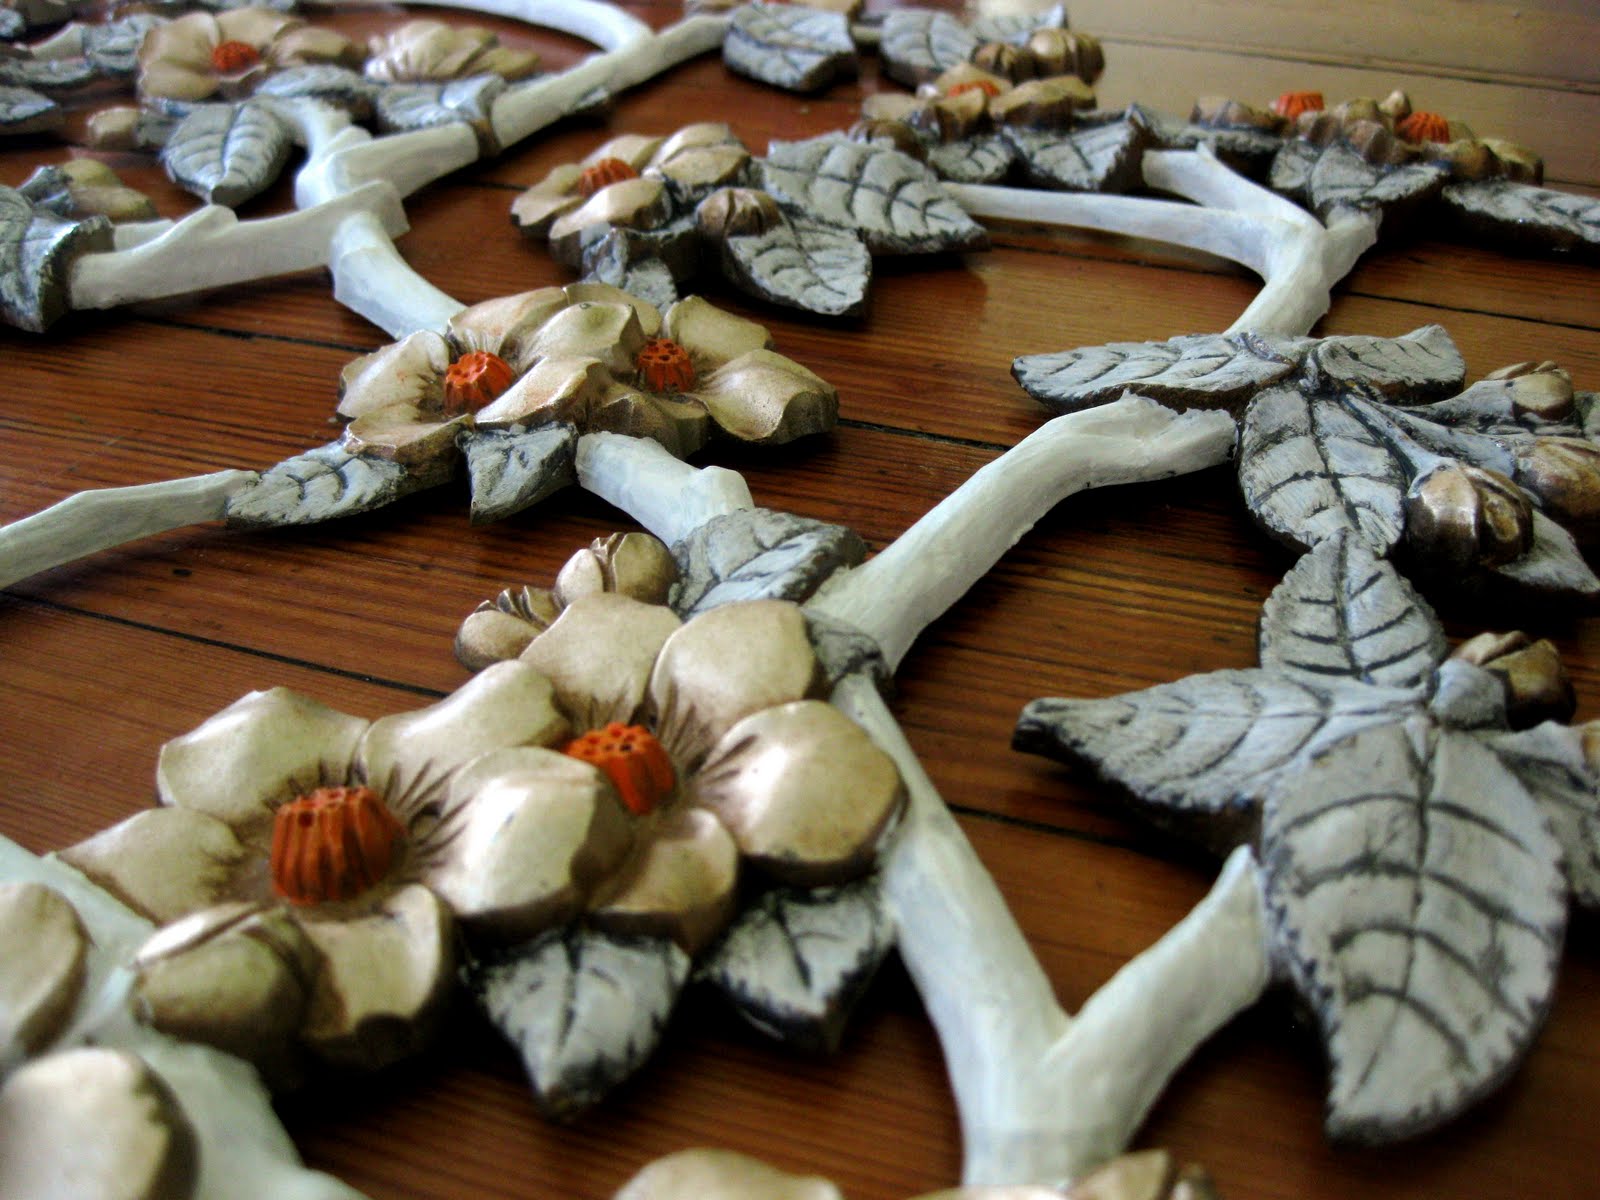
Love love LOVE the way it turned out.

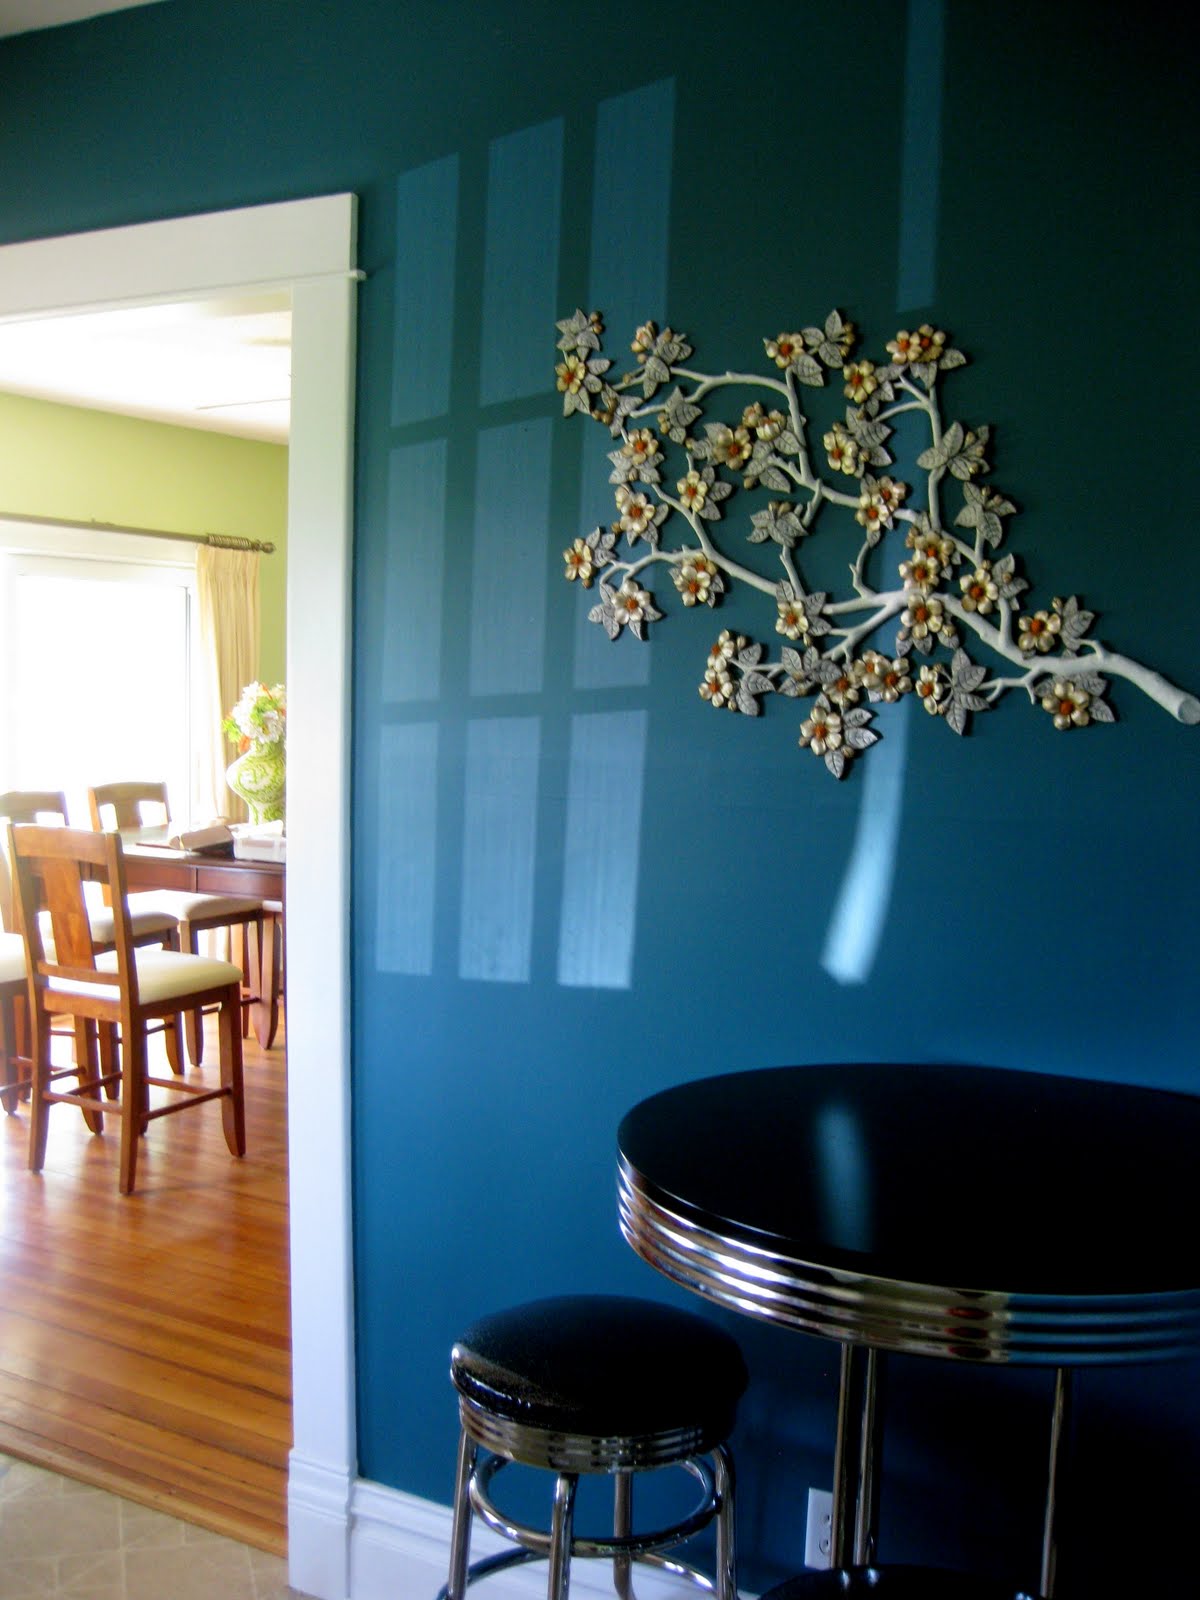
And she will live in my kitchen.

Making sweet music with the chic dark teal walls.
And they will live happily ever after.
The end.
Related:
-

If you follow our adventures on Instagram (we're @RealityDaydream!), you know we pulled the trigger…
-

Howdy friends! We've been using and abusing our Sven Sofa and Armchair from Article for…
-

WHAT A JOURNEY! What a labor of love! What a pain in the booty! I…
Hello, from Down Under (in NZ)! 🙂
What an improvement over the original! I admire your creativity.
I can’t tell what the floral thingy is made of (metal or coated resin/plastic), so can’t determine what sort of paint you used. It looks like you painted directly on it without priming first, is that correct?
Would you mind sharing what type of paint you used – not necessarily, the brand, as we probably will have different paint companies in NZ, just the sort of paint used.
Many thanks 🙂
Ooo New Zealand? I’ve ALWAYS wanted to go there!! It’s on my bucket list. 🙂
This floral piece is just made from molded plastic, and since I knew it wouldn’t be getting much wear and tear, I just painted directly on it without priming.
I used acrylic and latex paints on it. It’s still hanging in my kitchen almost 3 years later… and I still love it!
Wow, beautiful. It’s like a live recreation of that japanese-looking Van Gogh flower painting! (http://en.wikipedia.org/wiki/File:Van_Gogh_Almond_blossom.jpg)Were you consciously inspired by this painting?
from bane to blessing!
I’m speechless. That looks absolutely amazing.
Good work!
that is amazing!
haHA! thanks Ang! I just bought a quart of glaze and had it tinted (just like paint) gray. I actually wanted it to be black, but they said they couldn’t do black. It’s the technique you use to ‘antique’ something. Like a piece of painted furniture, just slather on some tinted glaze and wipe it off. It’ll just stay in the cracks. Comprende? I’m doing my TV stand next. 🙂
also, while showing matt he was expecting me to tell him you bought this for five bucks and sold it for fifty.
I am beyond belief jealous….. and inspired…. and what do you mean by tinted glaze?
Nice!