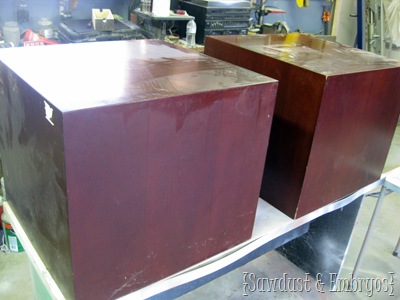
Today I have a fun project to show you! My old place of employment (pre-baby), McFarland Clinic was getting rid of their big clunky cube-like-end-table-things that have magazines on them in the waiting rooms, and upgrading to something… well, I don’t know what they’re upgrading to. But they were so over these things…
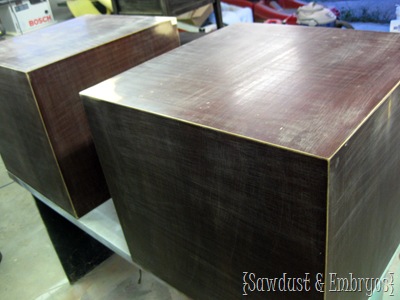
My friend Dana swiped them for us before they got tossed. My first and only thought was to paint them white and put big black dots on them so they look like a pair of dice. (LOL #dying) Luckily, Nick had a brighter idea. As usual, we sanded them down to get them ready for primer.
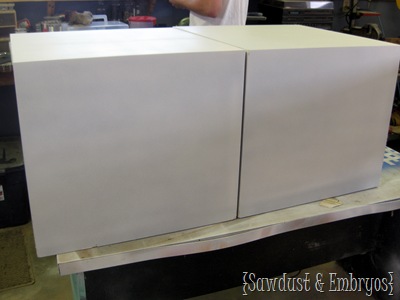
And we primed them with Kilz and then painted white with this satin-sheen spray paint.
Then, we slapped on a vinyl that we ALSO acquired from Dana (!!)… (you can purchase her vinyls here)
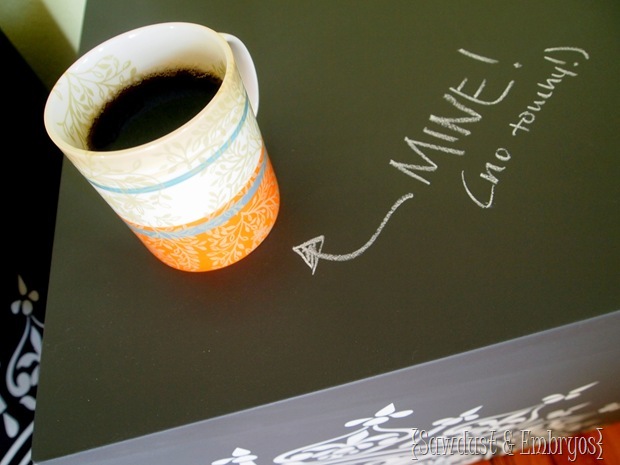
And proceeded to paint with CHALKBOARD PAINT! We used this chalkboard paint with our paint gun. But you could also use this spray paint version of the same chalkboard paint if you don’t want to hassle with a paint gun!
UPDATE… you can now buy CLEAR chalkboard paint (here) that you can paint over any color paint (like a sealant), or even over raw wood! Sooooo awesome! I have so many ideas swimming in my head now! 😉
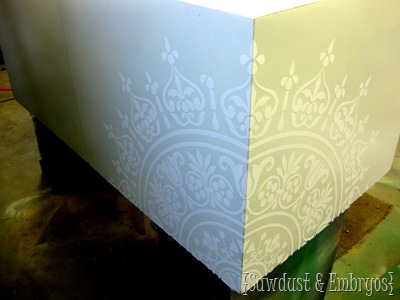
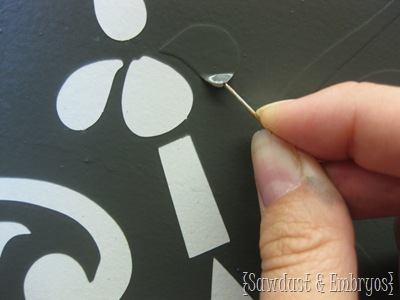
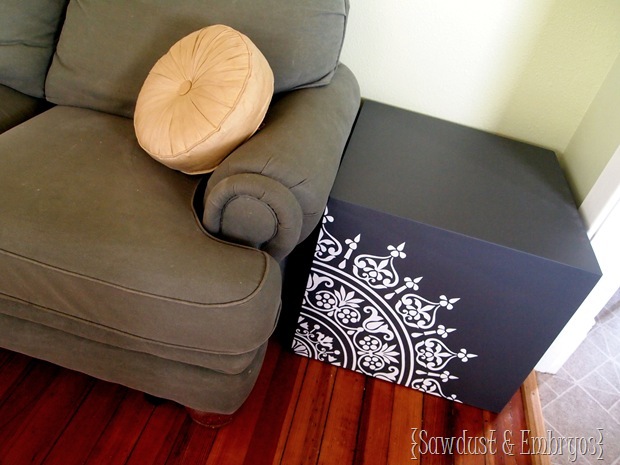
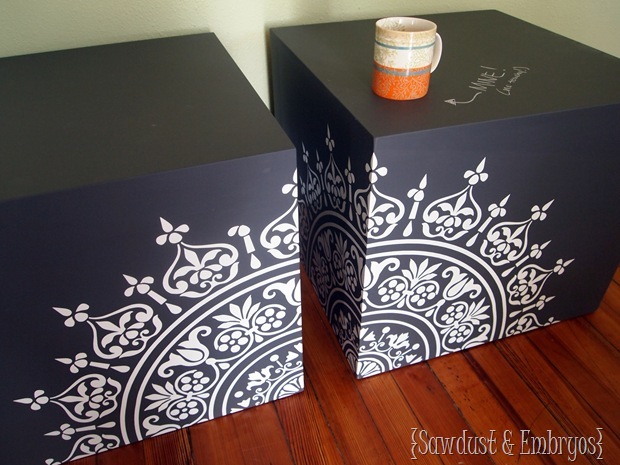
Then, you guessed it, we peeled off the vinyl so that the white paint showed through, like so…
We used the same techniques from our Children’s Profile Plaque Tutorial. If you decided to give this vinyl/painting business a try, be sure to follow our step-by-step instructions. Each step REALLY does matter!
Since we used chalkboard paint, we chose not to poly/seal these pieces… cause otherwise they couldn’t be used as a chalkboard!
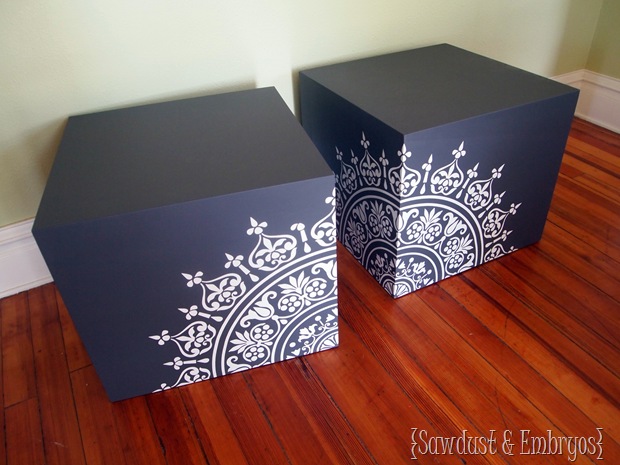
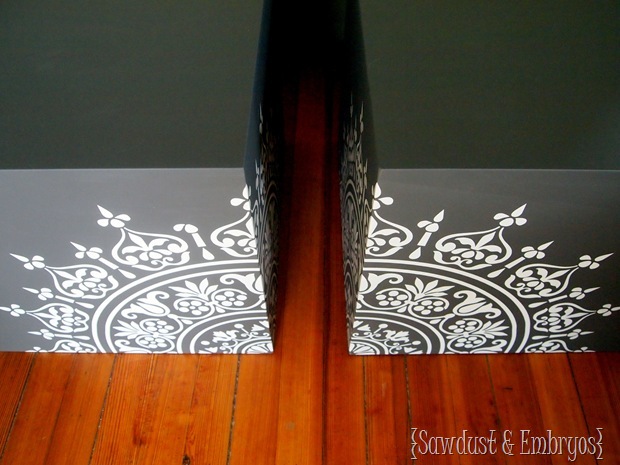
We love that these two pieces can be placed together and used as a coffee table, or separately as end tables or night stands!
They went from being so clunky and bulky, to being so chic and modern! Nick has the best ideas!
Remember… unlike most furniture transformations, you DON’T want to seal this with anything since it’s chalkboard paint. You don’t want to compromise that chalk-friendly finish!
Is anyone garage-saling today? The girls and I are thinkin’ of hitting some up later this afternoon… wish us luck!! And HAPPY WEEKEND!
~Bethany
*this post contains affiliate links



I would love to buy one of your tables or have a table I already have done. Where can I buy one? Your work is so unbelievably beautiful. You make an ordinary table into a fantastic piece of art to be cherished and passed on. Please let me know. Thank you so much for sharing your gift!
I have been looking all over the internet to figure out how to paint that shiny lacquer/veneer/I don’t what wood stuff and this is the perfect tutorial for a noob like me. Thanks so much!
Those are super neat!
I’m just reading your site for the first time and I love your creativity…especially your work with the staining technique and vinyl technique. Love the cube/chalkboard paint tables. I’d like to use this vinyl on my kitchen table, where do I acquire one, please? I know you get them from Dana, but Dana who? Thank you very much. Sharleen
HI Sharleen! My vinyl lady’s (Dana!) email address is dashoop@hotmail.com. She does amazing work and is super affordable! Tell her I sent you! 🙂 And please send me pics when you’re done. I’d love to see it!
Question for you. You said you put a poly on after the stencil was in place so the paint would not bleed under. Did you have to do any additional prep work or can you just paint right over the poly? Thanks, Tina fyi…love your site!
Tina, when we first started using this technique, we didn’t sand after polying over the vinyl. But since then we’ve learned a lot about refinishing furniture and the importance of not painting over a glossy surface. Now, after the poly is good and dry, we sand everything with 220 grit sand paper. You can lightly sand right over the vinyl without compromising the seal.
Hope this helps. If you give it a go, send us pics when you’re done! Good luck!
Those are very nice and beautiful!
Well, stencils are EXPENSIVE! And if I had taken the time to make my own, it would have been far more work than using the vinyl. Plus I love how perfectly crisp and clean the lines end up with vinyl!
Absolutely love these!! I would love to give it at try on a piece of furniture I have. Why do you not use a stencil though verses using the vinyl? Being as inexperienced as I am, I would think the stencil would save some time.
What a great idea! Love them!
I LOVE chalkboard paint! I have always wanted to paint a wall for the boys’ with that stuff. Super cool! Does it come in any other colors besides black?
Really interested… what are the dimensions? I need to know if I can fit them in the car 😉
I think the dice was an awesome idea, but Nick’s idea is GREAT. I think you should offer to sell them back to the clinic! Ha!
Those are STUNNING!!!! Love it!
Very nice, so smart that husband of yours. Mary in NY
Good luck at the sales! We just found out what baby #2 is going to be so I can’t wait to hit up some garage sales this weekend 🙂
Awesome. What are the dimensions on these beauties?
Great idea! They look wonderful. I would have liked the dice too though, for my gambling room.
those are beautiful!! Wow!
I had a couple of triangle shaped corner cabinets for ages. Sadly somewhere along the way I lost the one with no shelf but am hoping the other us still in storage. Since I’ve finally found the perfect thing to do it. Thanks for all the wonderful inspiration.
You’re welcome! Exciting! Definitely email us pics when you’re done! 😉