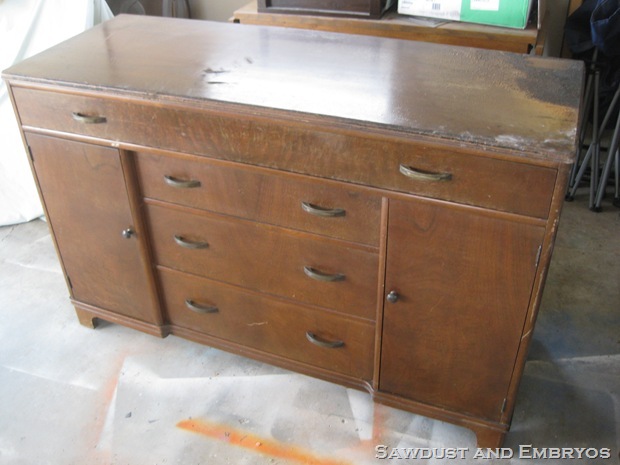
A few weeks ago, we were garage-saling as a family at the Gladbrook City-Wide Sales. At one of the sales, we saw this buffet:
It was nothing special, and it had a broken leg. We thought about it a little, and decided $75 was more than we wanted to pay… especially when we have tons of projects already in our garage waiting for us. So we walked away!
Later that day, I found this lady on Facebook and messaged her to see if the buffet sold, and if not, would she take $35 for it. She responded and said it did not sell, and she’d be happy to take $35… because her husband was threatening to throw it in the burn pile otherwise. So we agreed to come pick it up the following weekend with our truck.
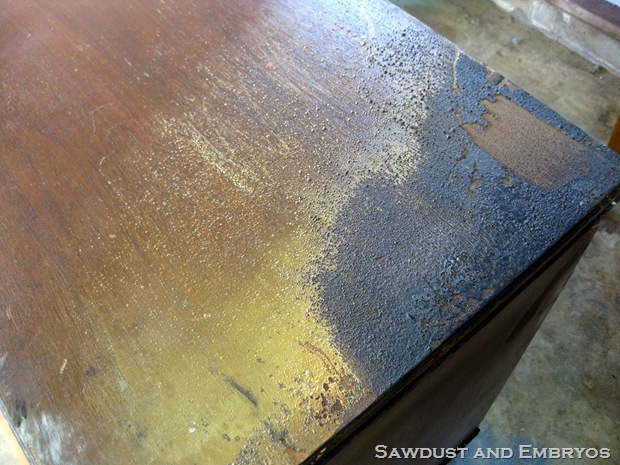
Anywhoooo… when we got the the following weekend, she informed us that her husband hadn’t gotten the memo, and had hauled our buffet behind their house to the burn pile (!!). And while it hadn’t been completely obliterated, there was some significant charring on a portion of the top surface.
Knowing that we’d be able to repair the damage, we gave the lady $15 bucks for good measure, heaved that sucker off the pile of rubble, and loaded ‘er up!
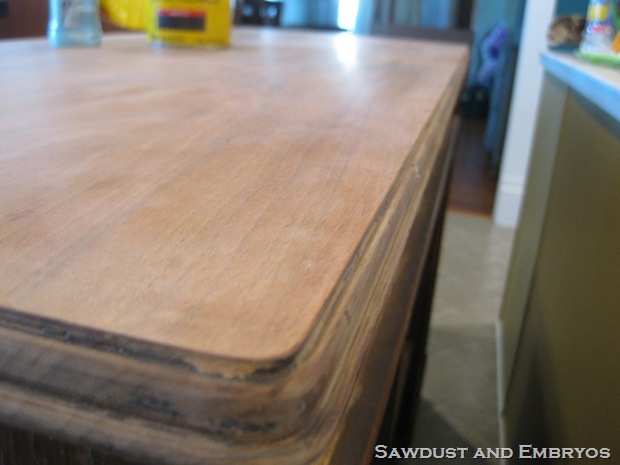
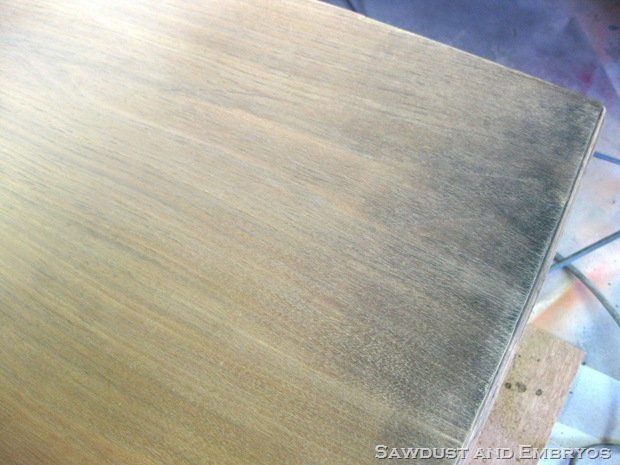
Since we had a plan that involved stain (as opposed to paint) for the top surface, we scraped off all the soot from the burn, stripped the whole top, and sanded it down until it was smooth as a baby’s backside.
There was still a hint of blackness where the burning had taken place… but we kinda liked the character that it added, and the funny story we’d be able to share. AND the fact that we got this sweet buffet for $15 bones!
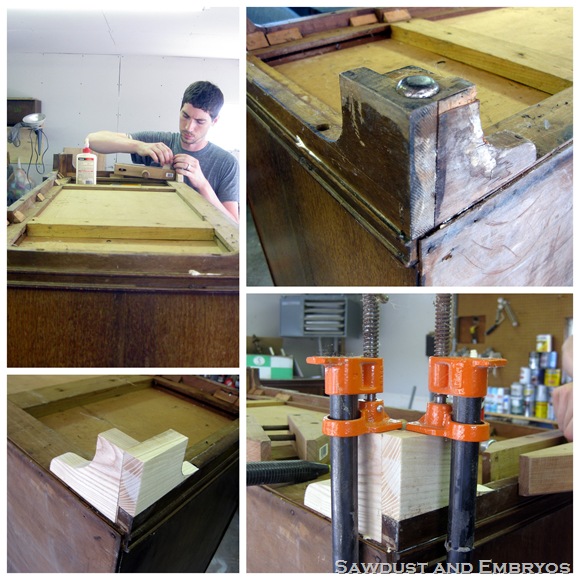
Nick repaired the broken leg like the pro woodsmith that he is.
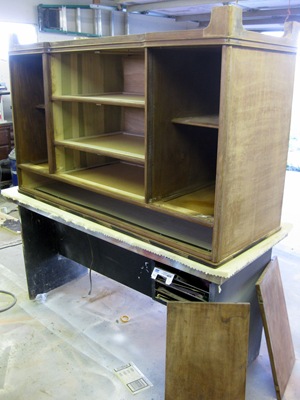
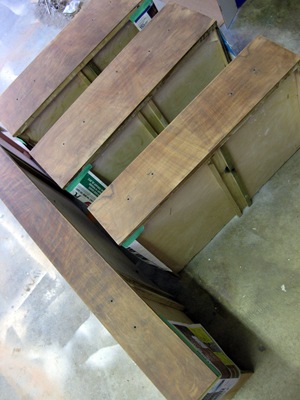
We lightly sanded down the body and drawers with 100 grit sandpaper to allow for maximum adhesion between the primer and the wood (this is not a step you can skip my people!).
 |
 |
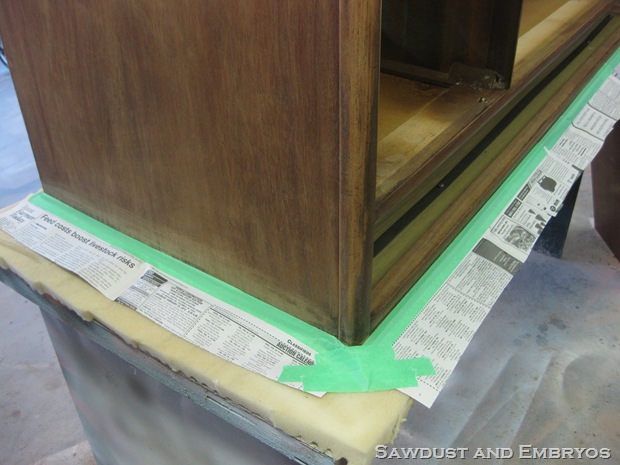
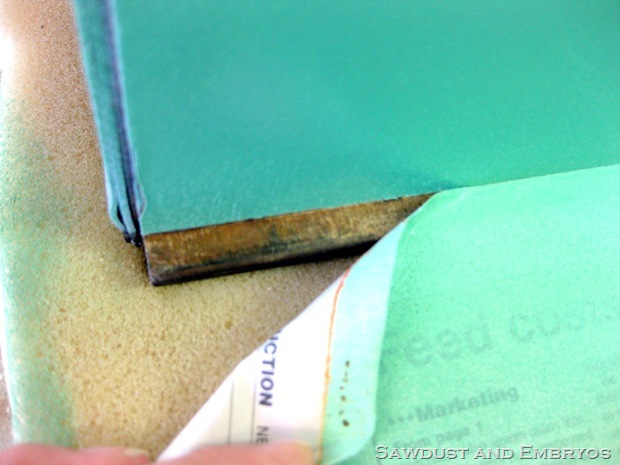
And we taped off the lip of the top surface to keep any paint from getting on it!
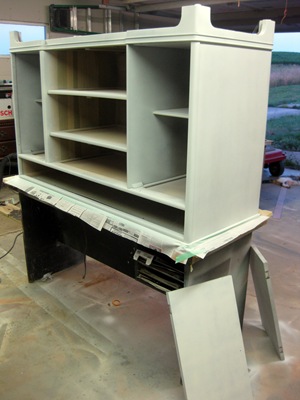
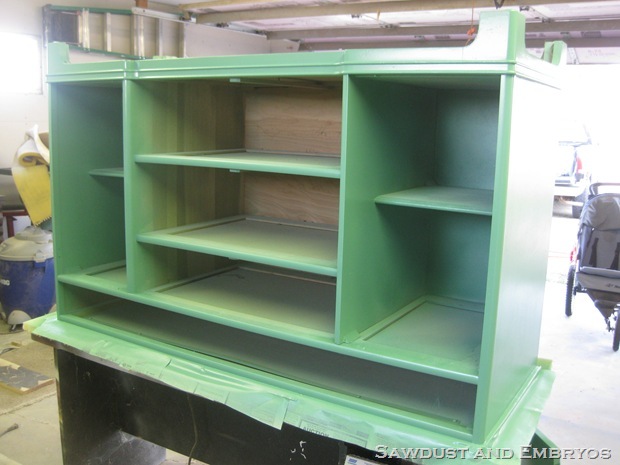
Then we primed with Kilz.
 |
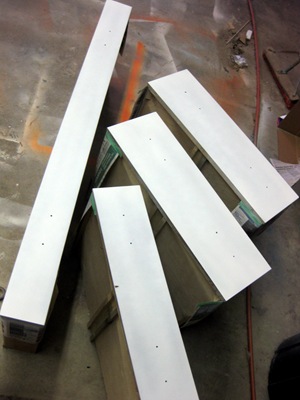 |
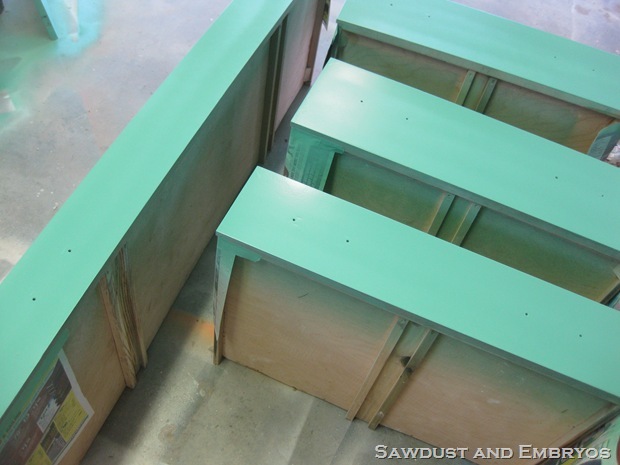
And painted in Sherwin Williams ‘Grandview’.
I love the creaminess of this sea-foamy greenish color.
And our tape held strong and left us with a perfect crisp line between the body and the top surface!
This is the end of ‘part 1’ of our AMAZING buffet transformation… CLICK HERE to see what we did to it next. You won’t believe the after pictures!

what brand is the gun you use? I think I want to get one =)
Sensational…you have inspired me…but the stain/shade thing did not work for me, the wood was too porous…next time I might try a pre treater as suggested on my bottle. still love my ‘new’ tv cabinet. In all it has cost $14 to decorate and I got the drawers for free! Although think the new handles will be where i spend some money- thanks again x Kirsty (Melbourne, Australia)
You have some mad talent! Definitely going to try the stain art!
This is beautiful! I had just found your page a few days ago and was in a hurry to try this technique. Well, I only had a bench at the time and my center flower petals ran together. I played around with it and have made it to where I can probably add some paint and poly and it should be Okay. I have a coffee and an end table to try it on next. Can you give me some idea on keeping that line between the center flower petals? Thanks, Barbara
It may just be the wood you’re using. We haven’t done this technique to know which woods work best. I had SOME stain seepage on this project, but now enough to ruin it. I do know that Minwax has a staining ‘pen’ that you actually draw on. I haven’t used it, but I plan to on my next project. Seems like it would help with making perfect lines and smaller details.
oh my goodness, what a great find!!!
did you spray on the paint coat?
Robin! We got a paint gun a few months back, and we’ve been familiarizing ourselves with it before we write a post about it! We wanted to make sure we REALLY knew how we felt about it before we went into too much detail. Post coming soon!!
I noticed you used Sherwin Williams paint and it looks like you spray painted this. Is there a special spray gun that you recommend?
Unless the surface you’re painting is raw wood, or painted in a matte finish, you absolutely have to sand lightly to rough up the surface so the prime/paint has something to grab onto. If you skip this step, you may not notice it right away… but over time, the durability won’t last, and you’ll have chipping. There is a product called a ‘deglosser’ that is supposed to have the same effect as sanding by taking the glossy sheen off the surface, but we don’t have enough experience with this to vouch for it!
Hi! I want to update my white lacquer Malm dresser from Ikea and I was initially thinking of painting it navy, but now I’m definitely considering the stained top. This project is amazing! Only thing, I’ve never done anything like this before. So I didn’t know that I will have to sand the dresser first. But will I also have to prime it, when the dresser was initially white? And after painting and staining (if I do end up doing that) I have to use a varnish/gloss/something, right? Is it the same product for both paint and stain, or two different kinds?
Sorry for all the questions!!!
-Nabila
Nabila, is the dresser wood or laminate? If it’s a white laquer finish from Ikea, I’m guessing it’s not solid wood, in which case you couldn’t stain it. The good news is, you can PAINT anything! You’ll need to sand it till it’s dull… prime, paint, and then seal with a Polyacrylic (which can be used over paint or stain). Hope this helps! Send us pics when you’re done!!
Huh? Cant skip sanding before priming? We rarely ever sand before priming? And it usually turns out great. I’ve only had problems with one piece but it was with the paint not the primer. Is it because of the primer that you use? I use Gripper. It’s thicker than I’d like it to be but girl it will stick to anything! lol.
I absolutely LOVE what you did with this piece! I’ve seen part 2! AMAZING!
The wood glue we use is called ‘Titebond’, and it works well for us. The most important thing is that you clamp the two pieces tightly together after you apply the glue, and let it dry that way over night.
What kind of glue do you use for repairs? We have a beautiful old 30’s/40’s wardrobe and one of the doors broke at a seam. I want to repair it, but I’ve been unsure how to go about it? Any suggestions?
i love that every single piece of furniture you do is always a surprise! With every “before” picture, I always have NO idea how it’s going to turn out. You are so creative! love it!
I can’t believe you didn’t finish the story now!!!! That is cruel and inhuman punishment to tempt us with a little peek and then make us wait hours until it is done!!!!
By the way, your husband is really talented. You are a very lucky lady to have landed someone like him! I will be by my computer waiting patiently!
Hi Maria, we use the oil base primer by Kilz… as the coverage is MUCH better than their water-based version. Also, don’t bother with their ‘low-fume’ spray version either. It’s terrible! 🙂
What a neat story. I can imagine the wife running out yelling “Nooooooooo” hehe. What kind of Kilz primer did you use?