This adorable antique bi-level end table was one of my mom’s finds. She’s a seasoned bargain-finder, so she likely found it for a steal at a garage sale or something. Either way, we love that she keeps an eye out for things that we could bring to life!
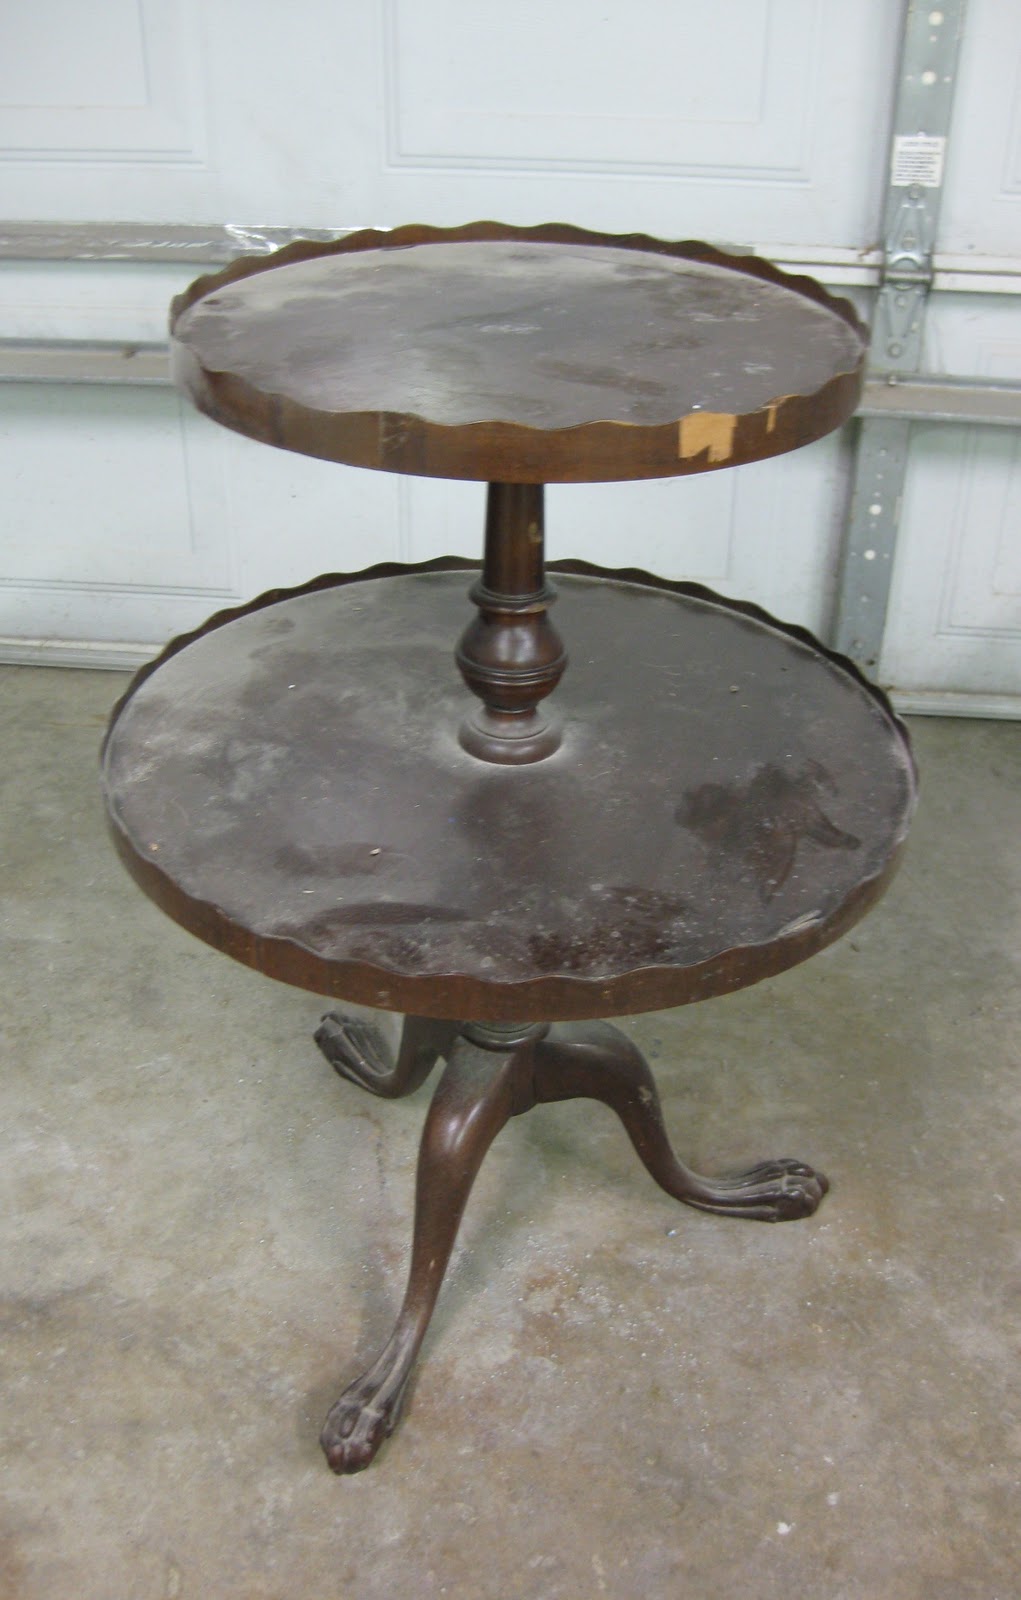
With such a fun retro piece, we really wanted it to pop, and thus applied a nice thick coat of glossy red paint that we had left over from another project.
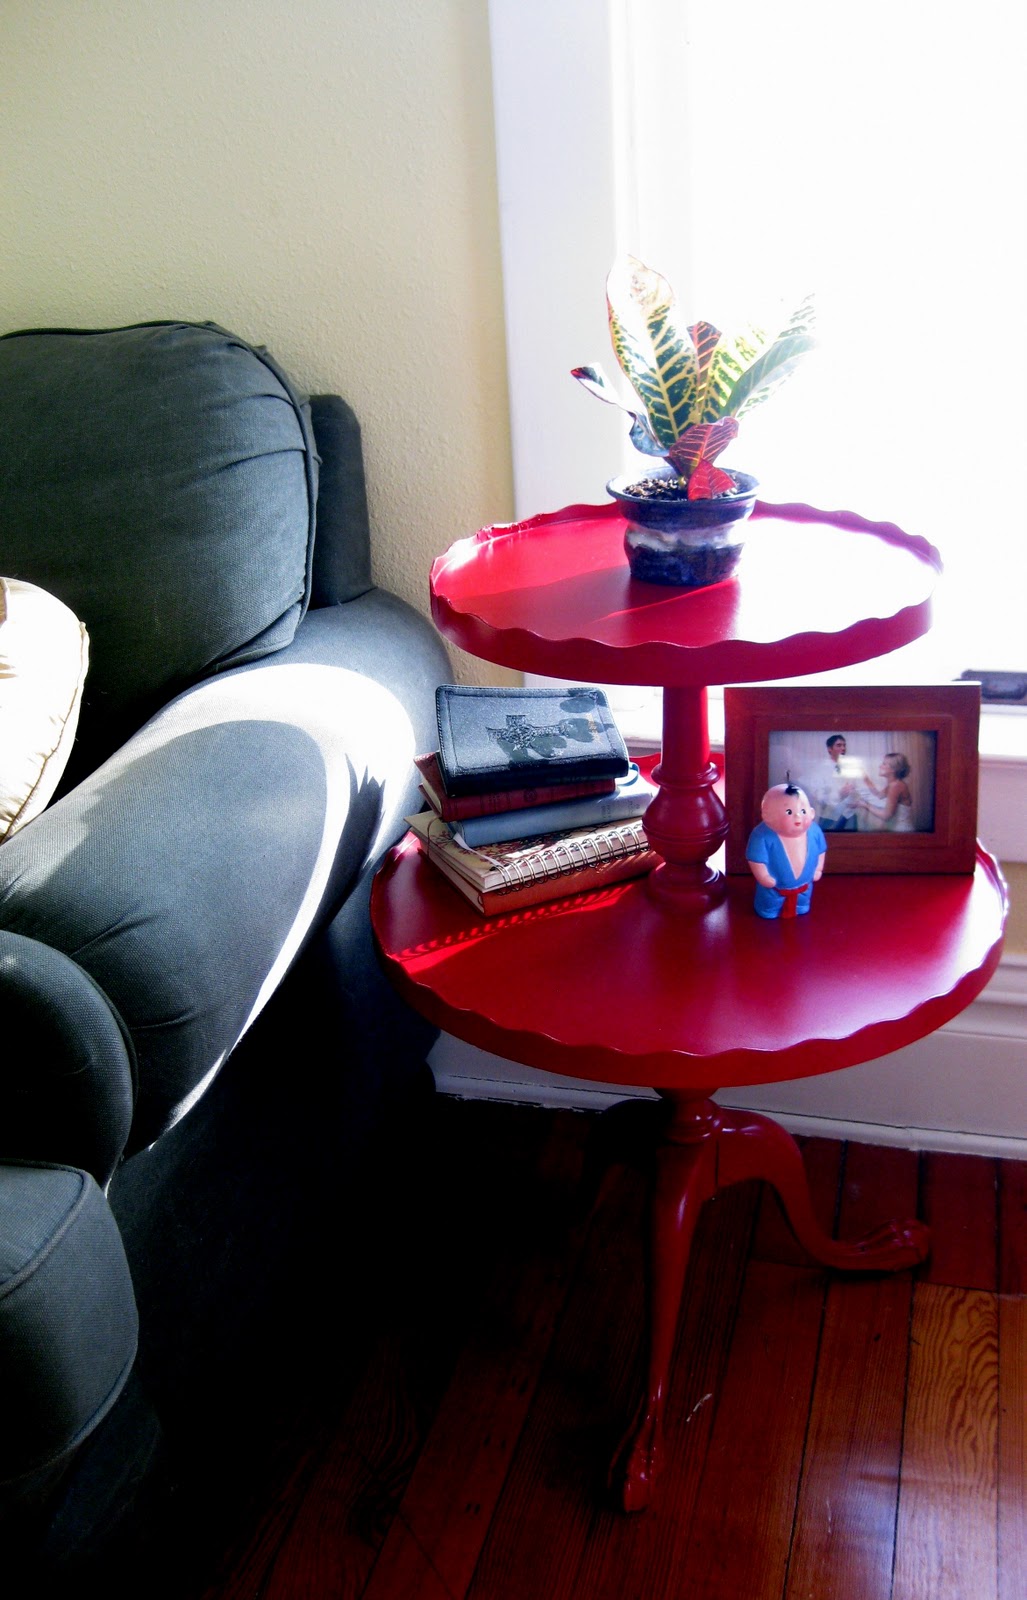
We think it’s perfect!

Related:
-

We've been needing to update our coffee table situation in the living room for awhile…
-

We love the original wood of our library, and wanted to find a desk that…
Wow what an incredibly cool piece,,, that is something that normally you would see at a yard sale & walk right by< but now having looked at all the super ugliest furniture that you turned every piece into something so amazing and fresh & new & different… this site will make me look differently at used furniture that seems ugly or dated & think in a different way of what I could do to make a piece something awesome, cool , beautiful &unique. These colors that i would not have typically thought of but that on certain pieces but its the bright colors that make the piece, the way it pops & looks like you just bought it from some ultra hip urban furniture store & some pieces look from a super expensive antique store, bothof which i could never afford & now i can do this myself GR8!!!,,, I love this site & what you've done…you are really talented & creative,, Thank you, for sharing your talent & creativity by showing us how we too can transform old &or ugly pieces also . Some sites have done this kind of beautiful incredible work on super inexpensive yard sale pieces & make them amazing, but they don't tell how they did it & they just sell the pieces on their website for BIG BUCKS (which is they're right) thanks for sharing your secrets and talent) Im going to some yard sales tomorrow<its Sunday so im sure they,ll be a few…I cant wait to start my first peice , plus it looks like fun&im sure the best part is seeing your finished work of art!…. Thank you! God Bless you both with what your doing here with your website& furniture transformations&craetions, and also in your personal lives as well, I wish you all the best 🙂 !
You’re super sweet! Good luck to you… and be sure to email us pics of your finished pieces!!!
We only sand pieces that have a glossy sheen to them, like a polyurethane finish of some sort, and this one didn’t. So we just primed and painted!! We used Kilz spray primer and Krylon in Cherry Red! We finished it off by sealing with PolyAcrylic on the horizontal surfaces to make it more durable. (PolyAcrylic is similar to Polyurethane only it’s water based, less fumey, and doesn’t have a yellowish tint).
We only sand pieces that have a glossy sheen to them, like a polyurethane finish of some sort, and this one didn’t. So we just primed and painted!! We used Kilz spray primer and Krylon in Cherry Red! We finished it off by sealing with PolyAcrylic on the horizontal surfaces to make it more durable. (PolyAcrylic is similar to Polyurethane only it’s water based, less fumey, and doesn’t have a yellowish tint).
did you sand it down first? What kind of paint did you use and did you have to prime it? I absolutely love it! AND your blog!
did you sand it down first? What kind of paint did you use and did you have to prime it? I absolutely love it! AND your blog!
OMG I WANT IT.
I have one of those tables what you give for it ?
Wow, what a find! I LOVE the bright red!