• Home
  • About
  • Tutorials
  • Recipes
  • Furniture
  • Contact
    • Contact
    • Infertility
    • Disclosure
    • Privacy Policy
  • Shop
    • Facebook
    • Instagram
    • Pinterest

Reality Daydream

The Dream is Free, The Hustle Sold Separately

  • Home
  • About
  • Tutorials
  • Recipes
  • Furniture
  • Contact
    • Contact
    • Infertility
    • Disclosure
    • Privacy Policy
  • Shop

Changing Table

October 5, 2010 by Bethany Sy

Because babies poop, and because homemade gifts are the best… we refinished a baby changing table for our baby niece, Kendall. Here is the before picture:

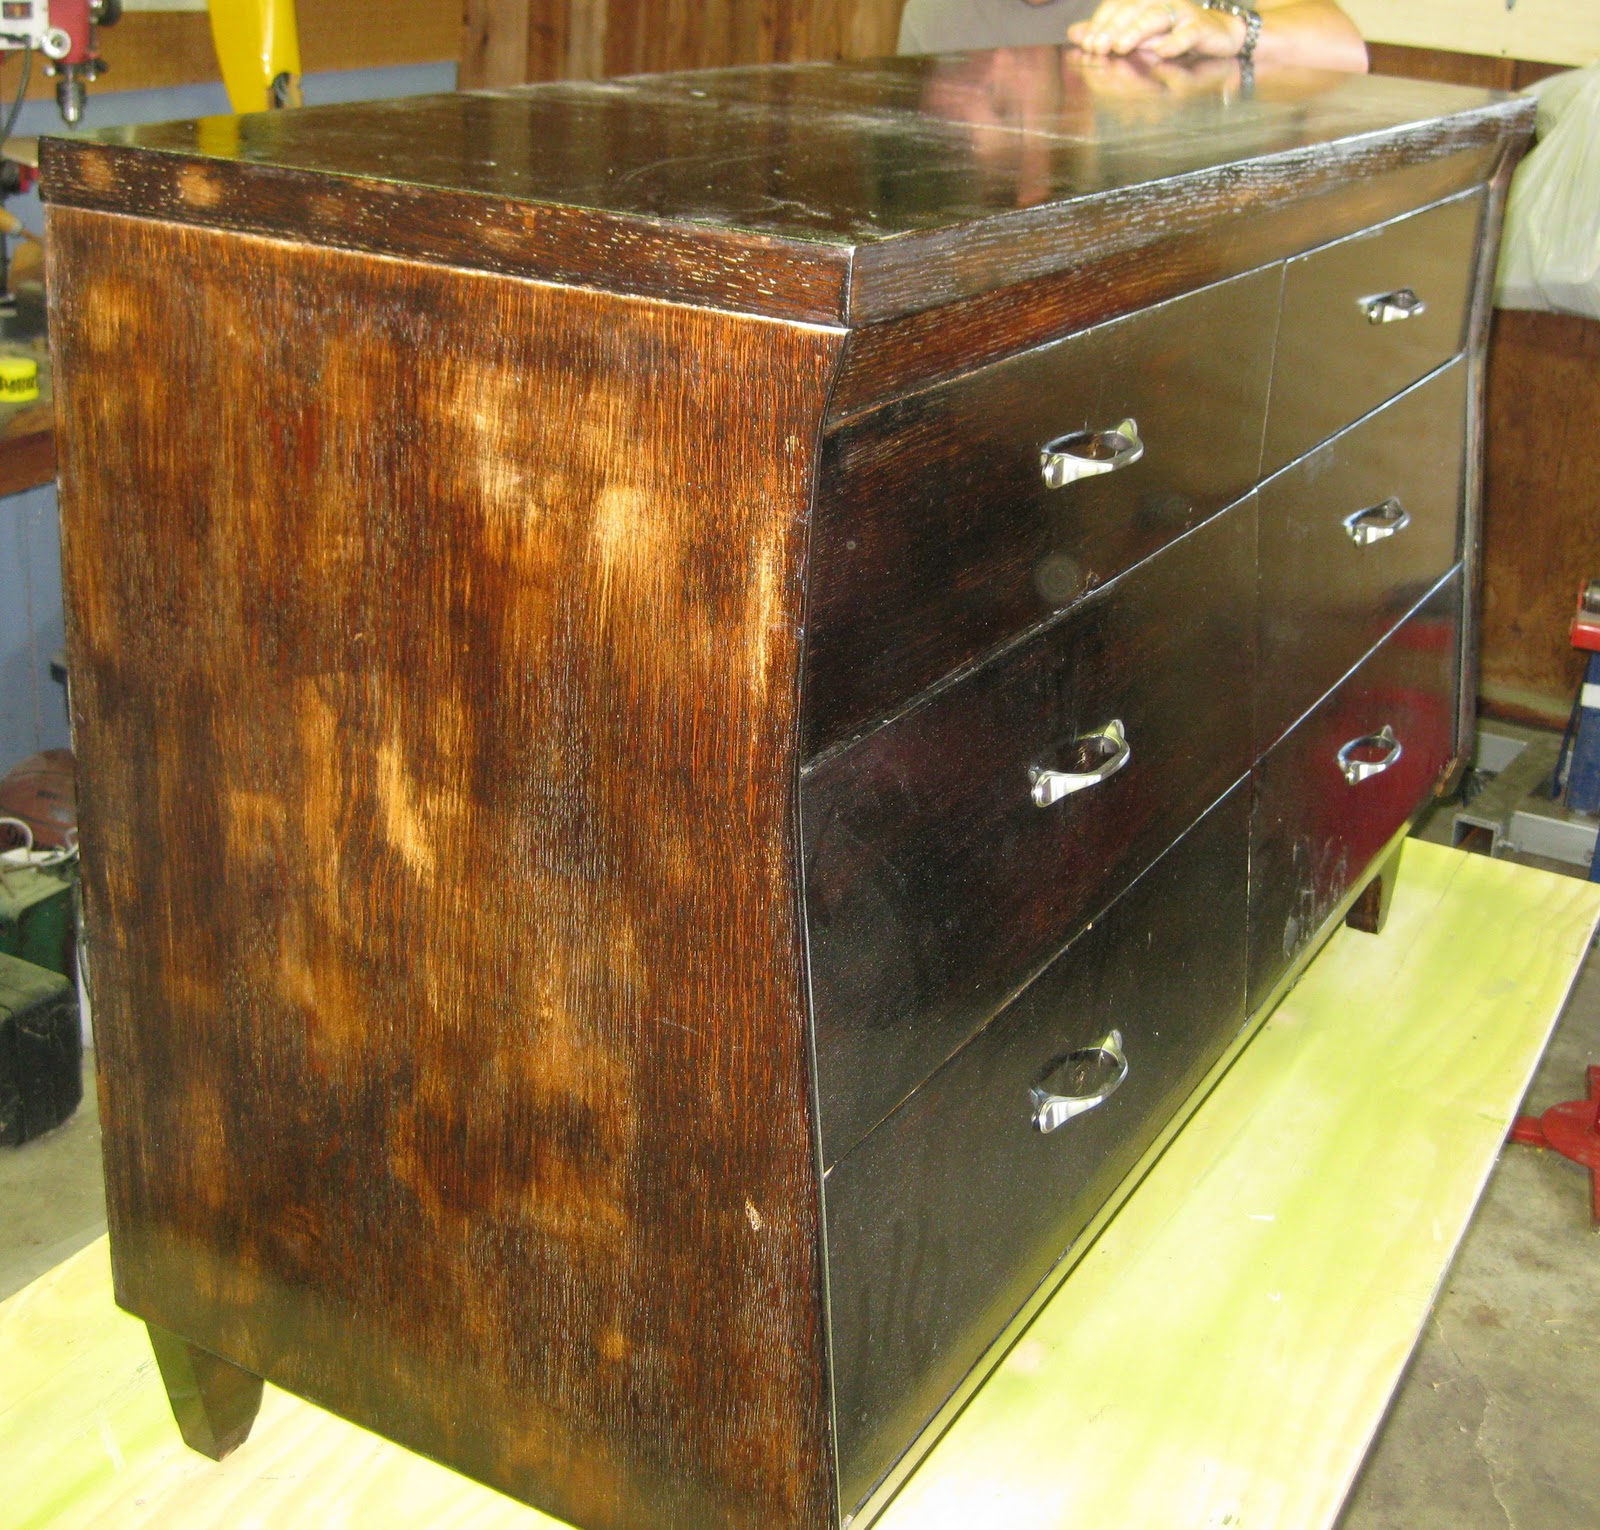
After about 10 minutes of THIS, we went out and bought a cheap electric sander.

We would also like to point out that this piece of furniture also serves as evidence that we are able to appreciate the value of lovely stained & varnished wood.

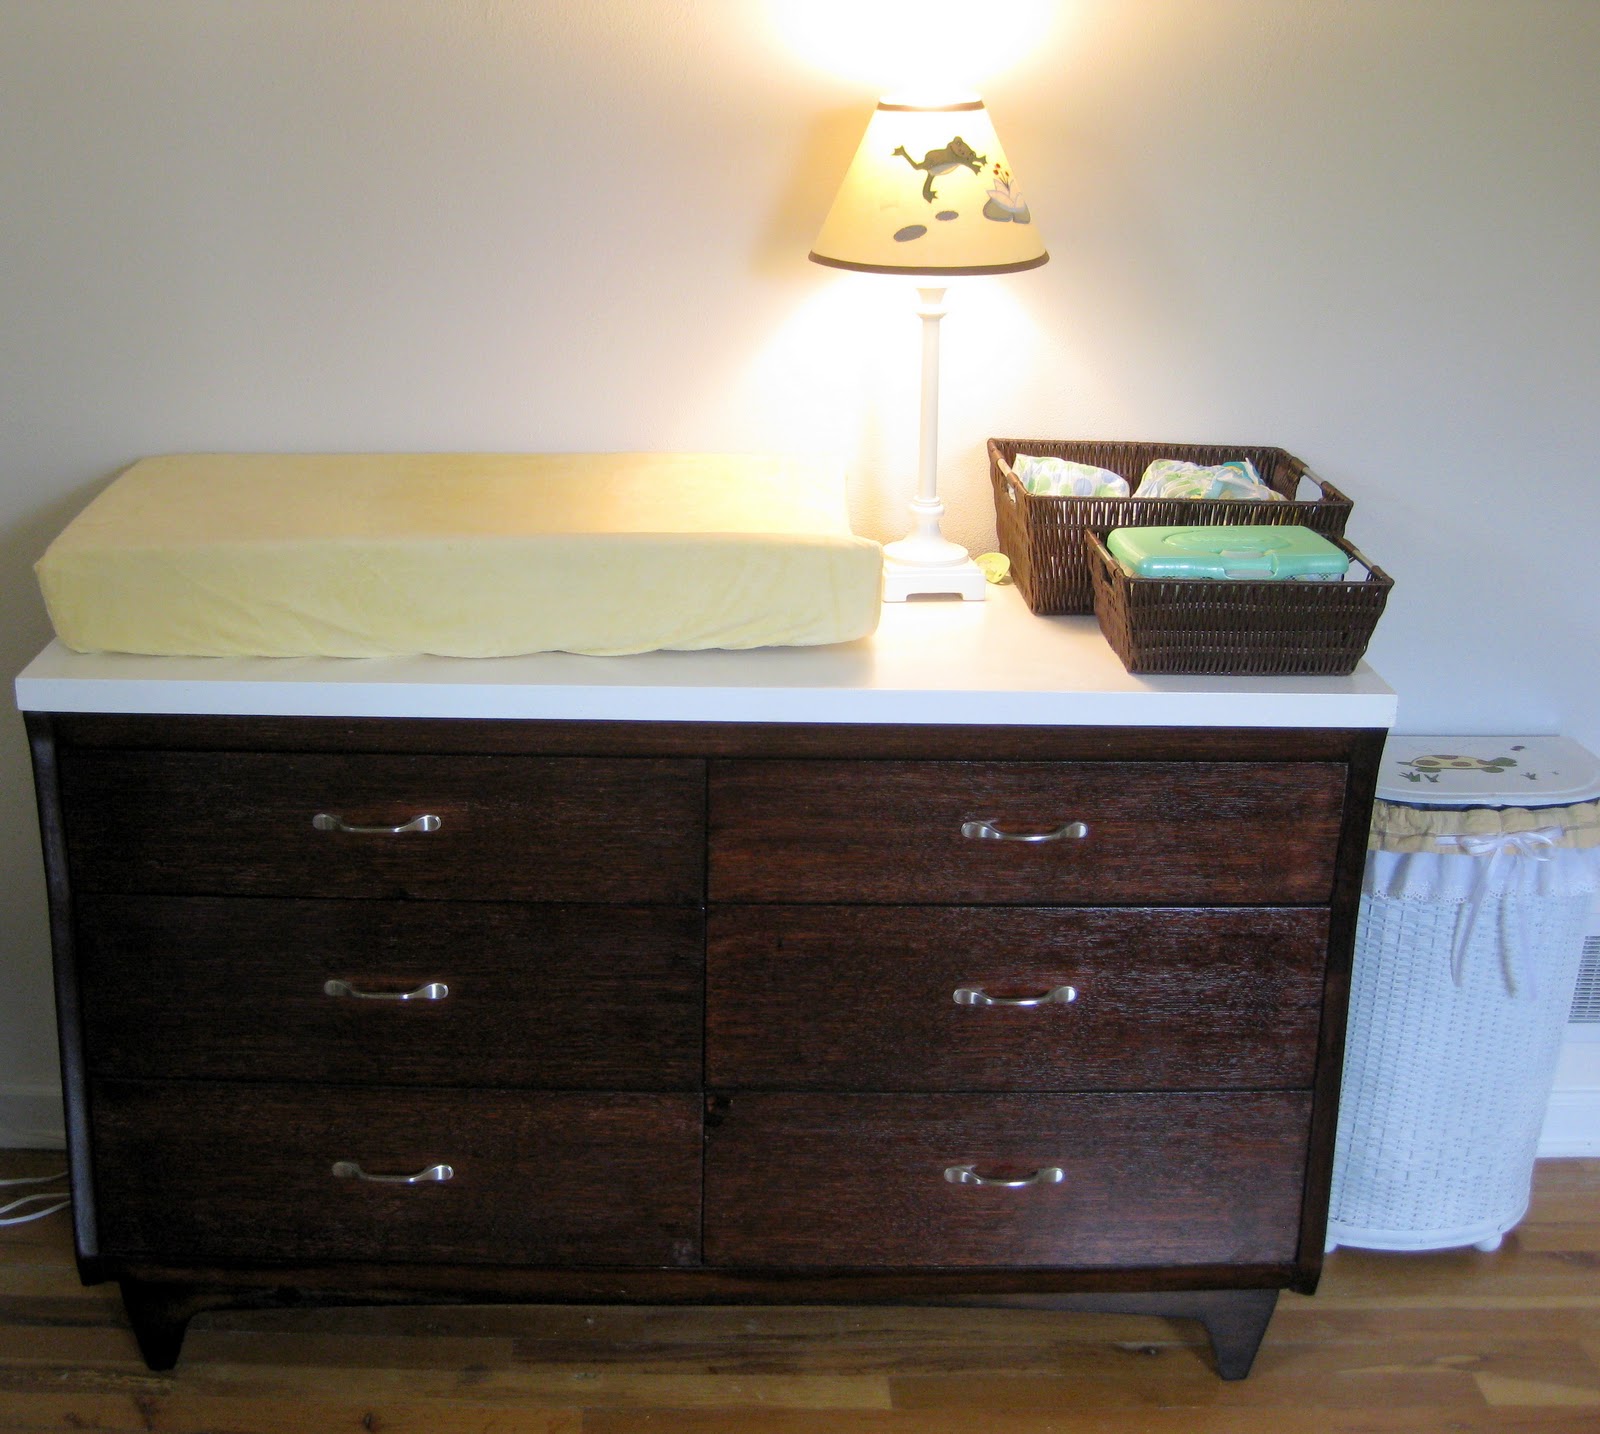
And since it’s more of a dresser than a baby changing table, it will be able to grow with her into toddlerhood, childhood, tweenhood, etc.


And here’s a picture of the little lady herself!

We love you Kendall!! May you be potty trained quickly!

Related:

  • Coffee Table / Lego Table

    We've been needing to update our coffee table situation in the living room for awhile…

  • Stripping an Old Stained Desk

    We love the original wood of our library, and wanted to find a desk that…

About Bethany Sy

Nick and Bethany Sy are the creative free-spirits behind DIY/Lifestyle blog, Reality Daydream. They recently purchased a historic mansion and have been documenting the ups and downs of renovation and making this home their own... all while sharing tips and tutorials along the way! When they found themselves in the trenches of infertility, they started a journey that would prove to be their most important DIY project ever, and have 3 beautiful girls to show for it. <3

« Amanda’s Backsplash
SWAGGER WAGON »

Comments

  1. 6

    Anonymous says

    March 1, 2013 at 12:23 am

    Searching for help and found this old post. I have a 30 year old wooden rocking horse. Appears to be made of pine. It had a destressed finish and was stained dark. I wanted to freshen it up a bit after the further distress it received from two small children. I have sanded it by hand with 150 grit paper. Its wood grain is now very obvious with lighter and darker veining. Apparently where the stain took more or less depending on the hardness of the wood grain. I don’t mind if some of the grain shows when finished re-staining, but hope to have less of a tiger-stripe appearance than it now has. Would you mind telling me what steps you used to stain over old stain, as I believe you did on this piece of furniture from this post. Thank you. Love your work and your girls are so adorable.

    Reply
    • 7

      Nick @ Sawdust and Embryos says

      March 2, 2013 at 4:06 pm

      With this project the stains were similar enough in color and the wood was a closed grain, so we sanded everything down and then re-stained.
      It sounds like your grain is a open grain which would allow the stain to seep into the grain farther, thus making it more difficult to remove. We have had some success using a Zinsser Stripfast detail stripper and a soft bristle (brass) wire brush.

      Reply
  2. 8

    Bethany says

    October 6, 2010 at 11:52 am

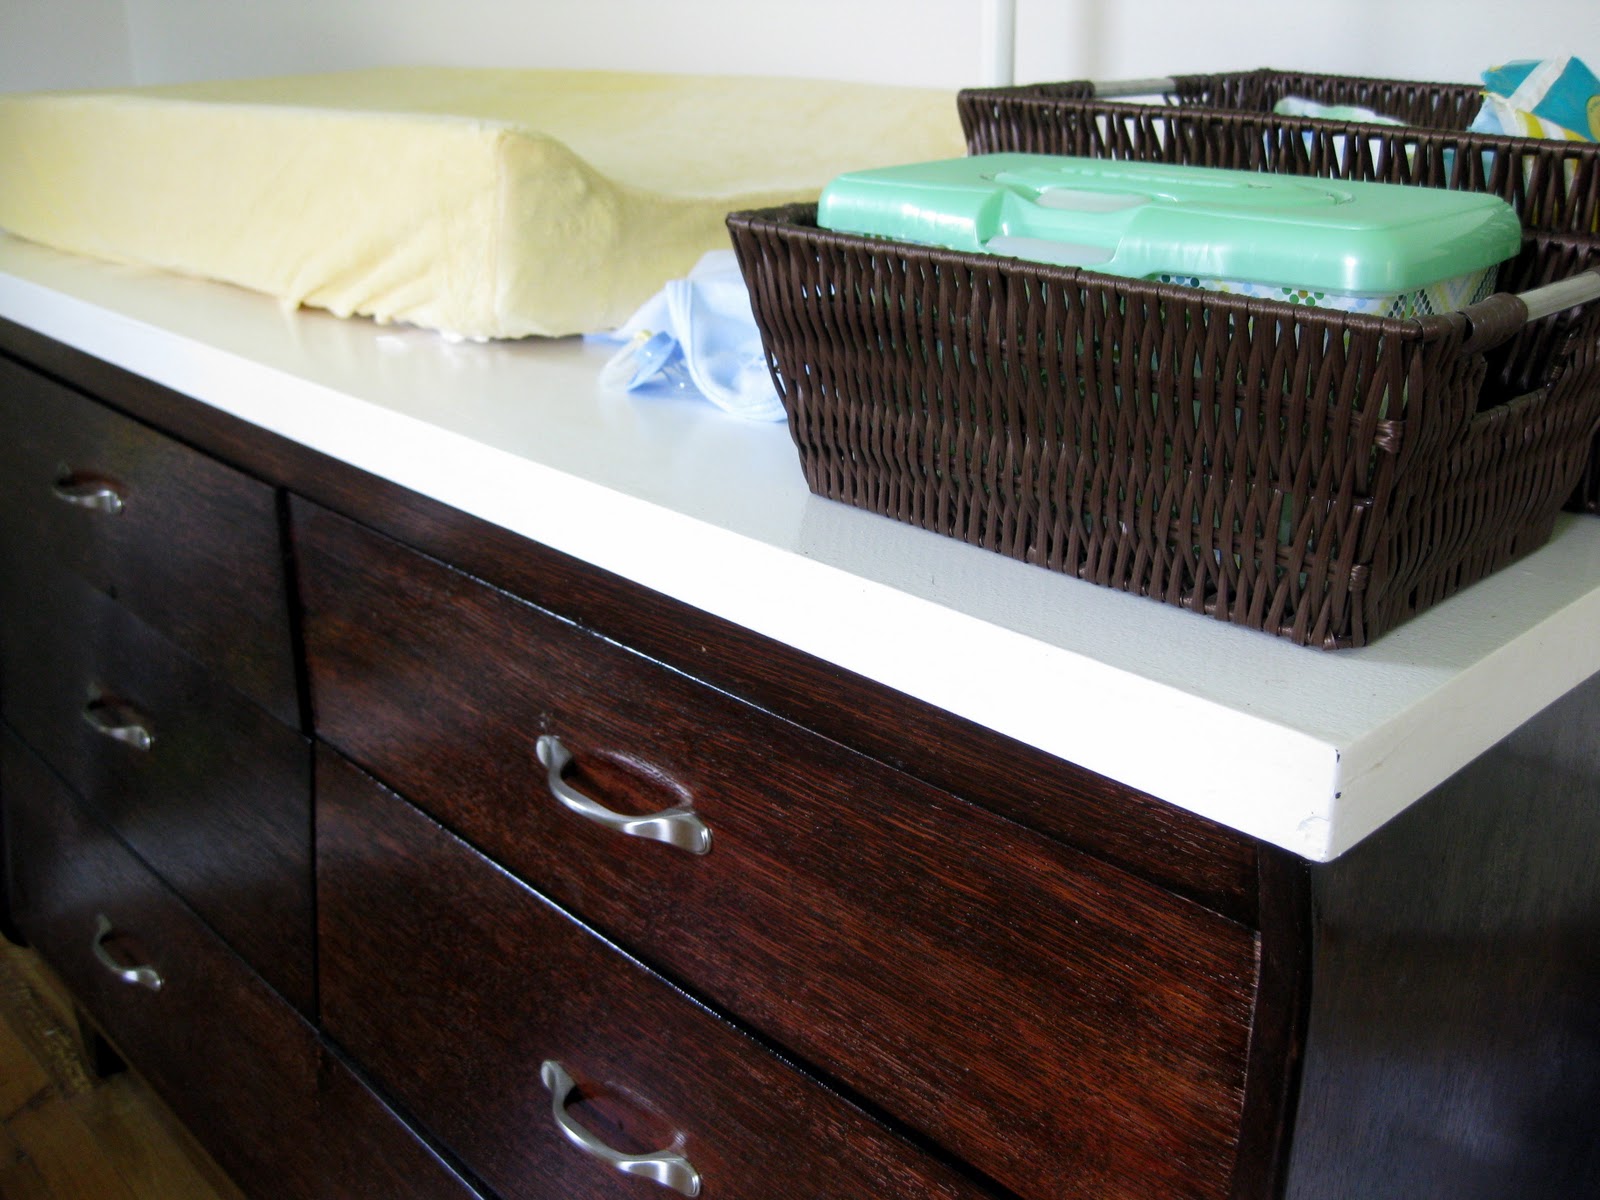
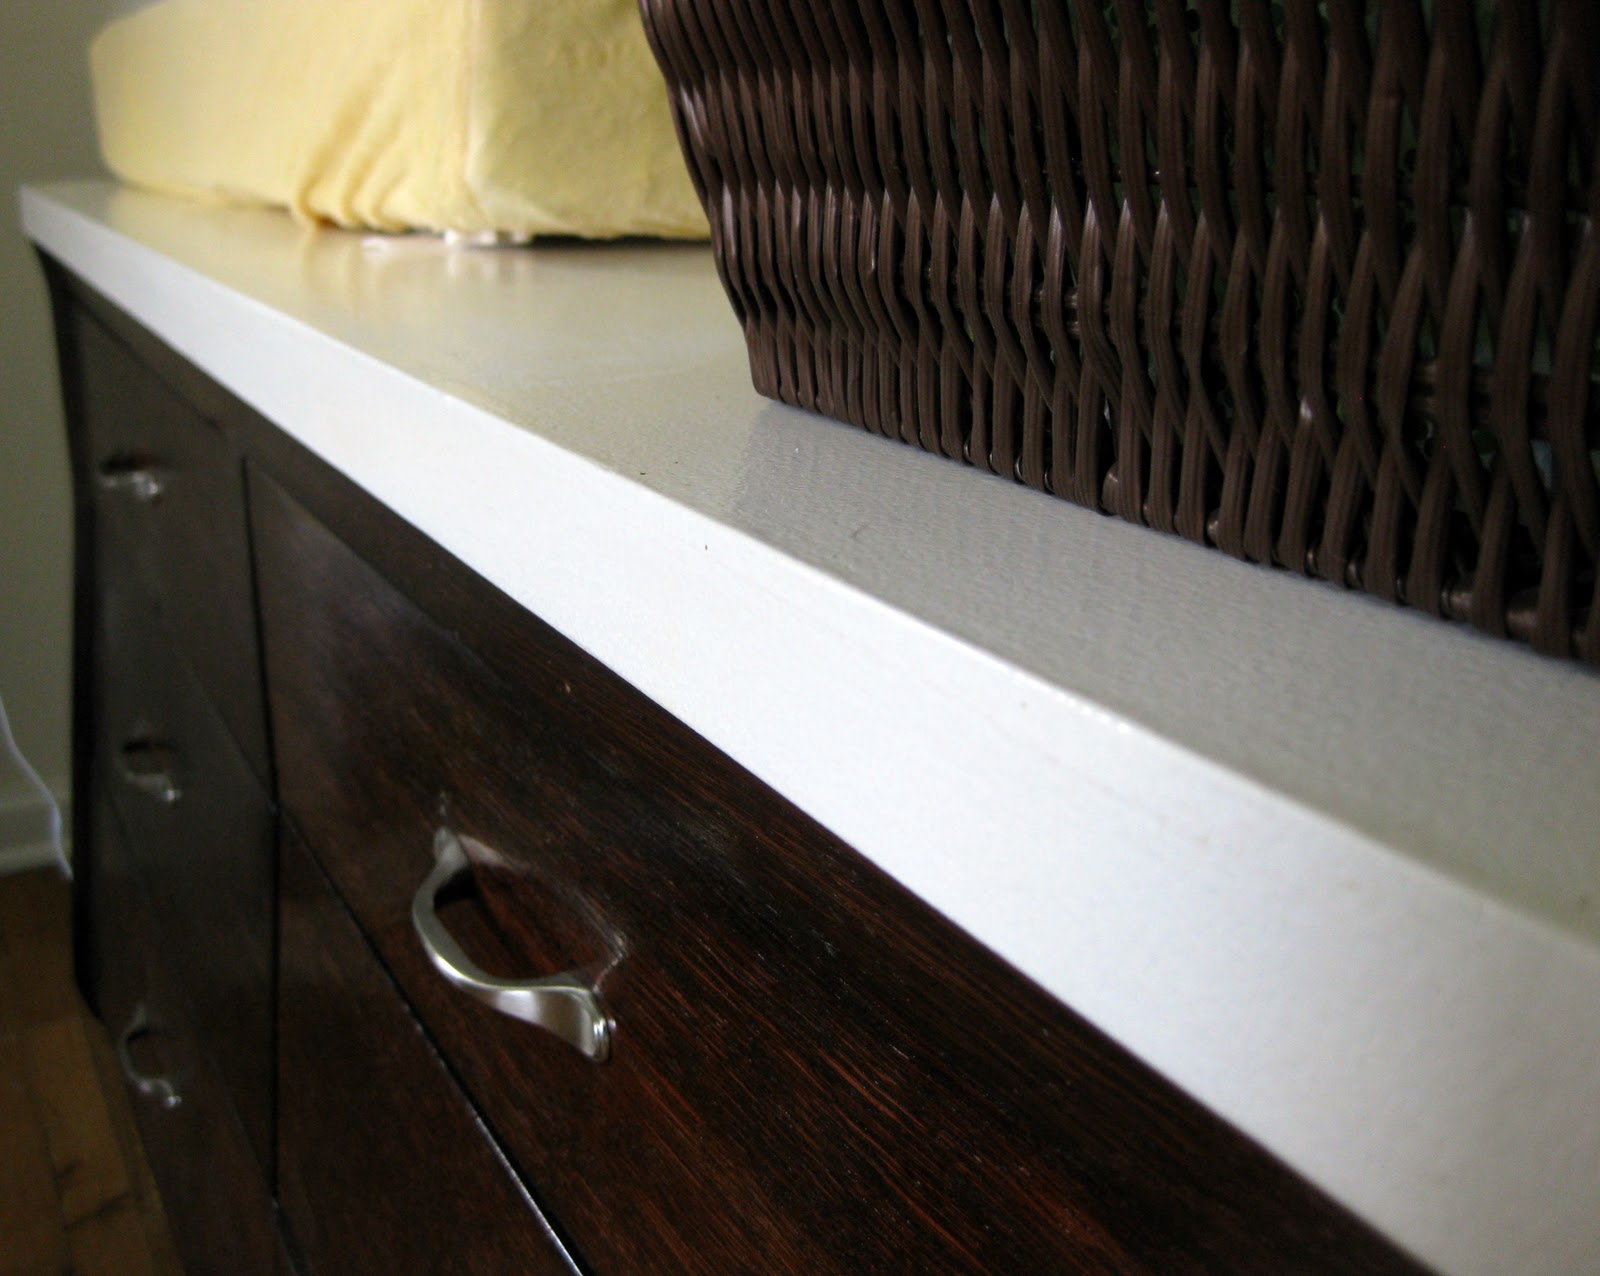
    Ang, we just painted the top surface white, and sealed it with a clear polyacrylic coat.

    Everyone else, we scour craigslist like it’s a full-time job. The good stuff goes fast, so you have to be quick!

    Reply
  3. 9

    Anonymous says

    October 6, 2010 at 11:42 am

    I have the same question: where do you find all your pieces? I’ve been looking for something exactly like that for my little guy. Your stuff is gorgeous!! Did you sell the buffet you refinished?

    Reply
  4. 10

    angie says

    October 6, 2010 at 3:24 am

    what did you use for the top? It appears that it’s a new addition to the dresser.

    ps… LOVE IT

    Reply
  5. 11

    B says

    October 6, 2010 at 2:29 am

    I just love everything you do! You’ve inspired a piece for a friend’s little one. (:

    Reply
  6. 12

    Hannah says

    October 5, 2010 at 9:14 pm

    It’s beautiful, I love the dark stain! (And it looks great next to your mom’s refinishing project!) Wherever do you find all these pieces? Not that I need any furniture but you’ve inspired me to refinish things. 🙂

    Reply

Leave a Reply Cancel reply

Your email address will not be published. Required fields are marked *

Recipe Rating


  • Facebook
  • Instagram
  • Pinterest
  • RSS
  • YouTube
We are Nick and Bethany! Welcome to our blog, Reality Daydream where we share our DIY adventures!
Click here for lots of art projects using only wood stain on furniture!!
Please feel free to share or pin my posts! You're welcome to use ONE of my images (no collages or pinnables) with a link back to the corresponding post. Please do not edit or crop that single image in any way. Improper use of my photos, ideas or words is a violation of copyright. Thank you!

Categories

Attention: Almost any do-it-yourself project involves risk of some sort. Your tools, materials, and skills will vary, as will the conditions at your project site. Reality Daydream has made every effort to be complete and accurate in the instructions of the plans on this website. Reality Daydream will not assume any responsibility or liability for damages or losses sustained or incurred in the course of your project or in the use of the item you create. Always follow the manufacturer’s operating instructions in the use of tools, check and follow your local building codes, and observe all commonly accepted safety precautions.


Copyright © 2025 · Modern Blogger Pro On Genesis Framework · Customizations by Sweet Theory Designs · Privacy Policy · Log in