We had such a great response to our Patio Makeover! THANK YOU! The video we shared included a little DIY project that we threw in, and I knew we would get lots of questions about the patio lights (and we did!), so I’m dropping in here today to give out a little more details on how to make these birch log lighting!

I’m not even sure how the idea came to me, but I know for sure I haven’t seen it done anywhere else! Here’s our supply list.
Supply List for Patio Lighting on Birch Logs
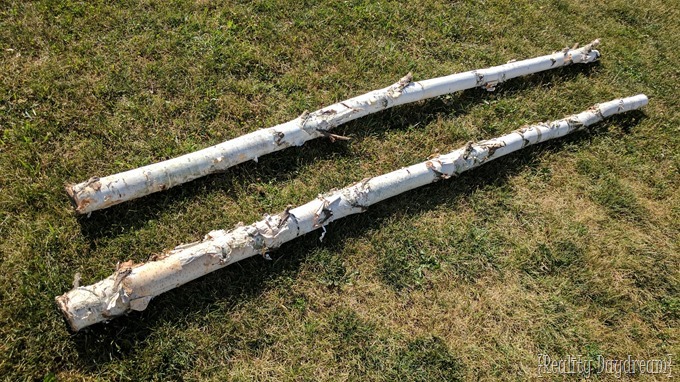
- Two birch logs (we got ours at our local garden center)
- 2 bags of concrete mix
- chain saw or reciprocating saw
- two strings of lights
- two 5-gal buckets
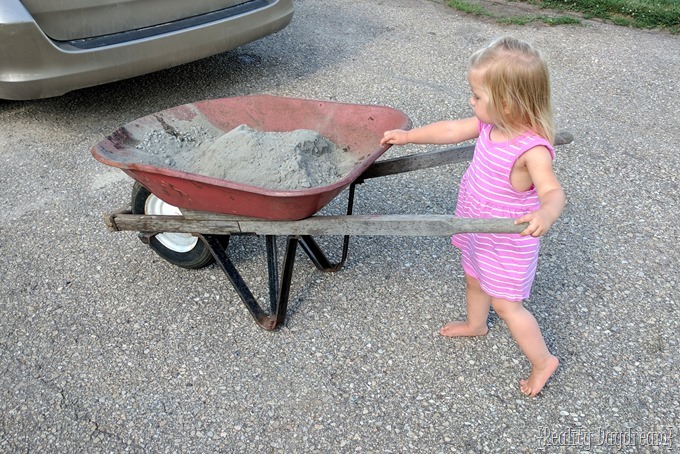
We started out by mixing our concrete using the ratio of water to concrete that’s on the bags instructions. We ended up using 1.5 80lb bags of concrete total.


Then it’s time to scoop it into the 5-gal buckets! Make sure that they end up having an even amount of mixture in them, and tap the sides to try and get any bubbles out.


Press the birch logs down into the mixture, giving it a little twist to help it make it’s way to the bottom. Make sure it’s in the center too!

You want to find something to lean these up against while the concrete sets (at least 24 hours) that will allow it to be straight up. We leaned ours against out basketball hoop! Oh! And cover the tops in plastic…

Technically it takes longer than 24 hours to ‘cure’, but it’s pretty darn set and rock hard at 24 hours. Time to pull these suckas out of the buckets! We used a board against the rim of the bucket and hit it with a hammer, turning it a few inches after each blow. It came right off!


We stood our birch logs up next to the patio set and decided just how tall we wanted them to be (to start with they almost hit the pergola!), then marked them and sliced off the top with a chain saw.

The slice at the top is for the string of lights to slide down into and hold in place.

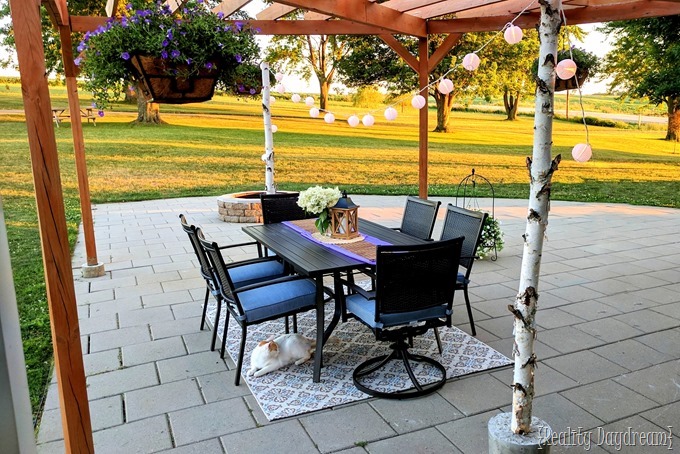
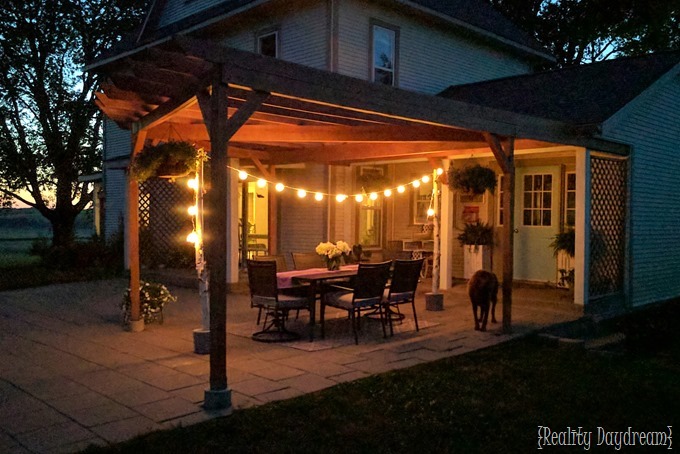
We rolled these guys over to either side of the patio set, strung up the lights, and stood back to admire!

We’re lucky enough to have an outdoor outlet nearby, but we still had to use an extension cord to illuminate the lights. So it’s not always entirely convenient. But so SO pretty/


Pretty right?! As far as DIY projects go, I would file this one under EASY! Anyone can do this will zero DIY experience, okay? OKAY?! Slowly step away from the computer, and go ask your neighbor if you can borrow their chainsaw! <3
Bethany
~~~~~~~~~~~~~~~~~~~~~~~~
Thanks for pinning!
Great idea for portable party lighting. I personally don’t like the exposed concrete look so would clad the bases in smaller birch logs/sticks.
I do agree about the exposed concrete to a certain degree. I thought about putting them in large-ish pretty baskets, but just never got around to it. 😉
Love this idea!! Thanks!