• Home
  • About
  • Tutorials
  • Recipes
  • Furniture
  • Contact
    • Contact
    • Infertility
    • Disclosure
    • Privacy Policy
  • Shop
    • Facebook
    • Instagram
    • Pinterest

Reality Daydream

The Dream is Free, The Hustle Sold Separately

  • Home
  • About
  • Tutorials
  • Recipes
  • Furniture
  • Contact
    • Contact
    • Infertility
    • Disclosure
    • Privacy Policy
  • Shop

Repair Scratches on Furniture

September 6, 2017 by Bethany Sy

We’ve had this wall in our kitchen where there’s a window AND a register on the floor. Plus it’s a walkway, so I had given up any hope that this area could be functional and have any organizational. But on a trip to IKEA, I happened upon the PERFECT piece to put here! It’s this cabinet (also comes in black/brown, and gray stain)that’s meant for putting shoes inside… but we use it for school books, papers, etc. And on top, its my plant propagation station! I love everything about it! It even is set up on legs to let the air out of our register!

HEMNES Shoe Cabinet organization for mudroom or entryway! {Reality Daydream}*This post is sponsored by Mohawk. Thank you for supporting the fabulous brands that make Reality Daydream possible! This post contains affiliate links.*

Since this is a high-traffic area AND we have young children (who are surprisingly aggressive for being girls), I just kinda knew that it would get scratches and knicks here and there. Having scratches on furniture is just an inevitable part of life, and I think a lot of us have just come to live with it. Right? You too?

Scratch Repair Fill Stick by Mohawk - perfect for IKEA furniture shades! {Reality Daydream}

Ironically, the first scratch happened on the top surface, which would be MY fault and not my aggressive children. And I was recently introduced to a product by Mohawk called 3 in 1 Repair Stick that fixes scratches by not only matching the IKEA furniture shades perfectly, but it also fills the scratch to make it completely level and basically invisible when you’re done. And it takes about 30 seconds… sooooooo.

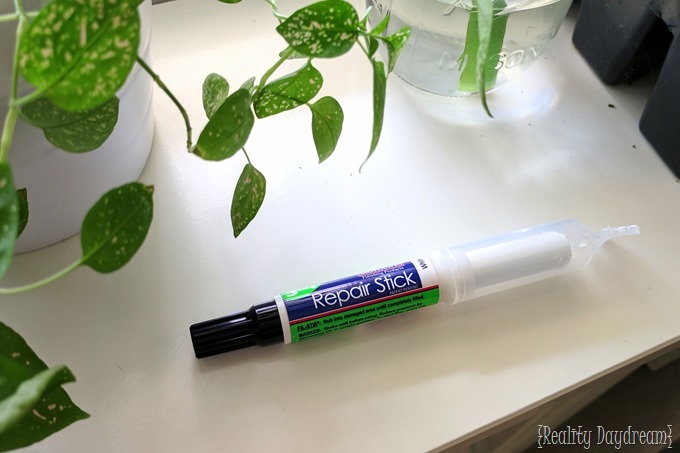
Fill a scratch on your furniture! www.realitydaydream


Mohawk repair stick for furniture scrathes (Reality Daydream)

Simply take the clear cap off the fill stick side and rub the scratch at a 45* angle until it’s good and packed. It’s ok if there’s excess! Because then you’re going to use the flat scraper side of the clear lid and level things off by scraping in the direction of the scratch.

mohawk repair stick fixes scratched furniture! (Reality Daydream)

Finally, take the black cap off and depress the tip with your finger, then press the tip several times onto a cloth until the ink starts flowing. Use it just like a marker and draw a line over where the scratch was, and dab it with your finger to feather out the finish and make it seamless with the rest of the furniture finish!
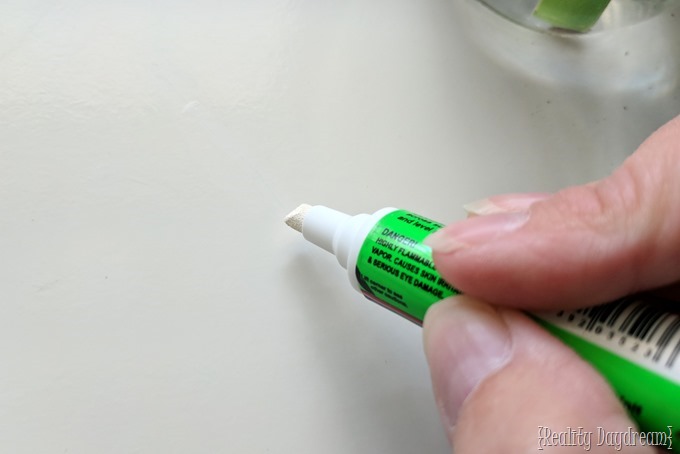
Fix furniture scratches EASILY with this mohawk product that matches perfectly with IKEA furniture colors! {Reality Daydream}

I literally can’t even find where this scratch was. And the best part is that I can just keep this handy Repair Stick in the nearby junk drawer for future scratches to this piece (and any other white IKEA furniture we have in our house)!
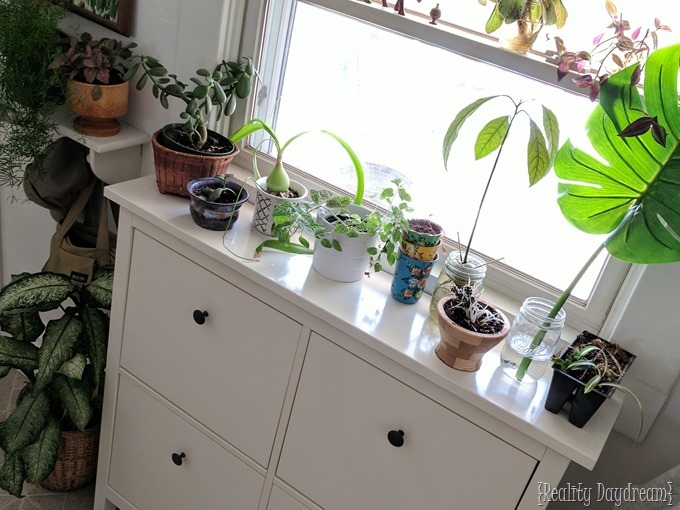
How to fix and repair furniture IKEA furniture scratches {Reality Daydream}

Now you have no excuses for those scratches on your furniture! This quick fix is instant gratification!

~Bethany

~~~~~~~~~~~~~~~~~~~~~~~~

Repair Stick fixes scratches on furniture and has PERFECT color matches for IKEA furniture! {Reality Daydream}

Related:

  • Stripping an Old Stained Desk

    We love the original wood of our library, and wanted to find a desk that…

  • Plaster-Hardened Fabric Planters

    I've had this idea in the back of my mind for quite awhile... why not…

  • Installing a Sliding Barndoor

    This is a sponsored post written by me on behalf of Masonite Doors. All opinions…

About Bethany Sy

Nick and Bethany Sy are the creative free-spirits behind DIY/Lifestyle blog, Reality Daydream. They recently purchased a historic mansion and have been documenting the ups and downs of renovation and making this home their own... all while sharing tips and tutorials along the way! When they found themselves in the trenches of infertility, they started a journey that would prove to be their most important DIY project ever, and have 3 beautiful girls to show for it. <3

« Wood Veneer Lampshade with Stained Art!
Kids Craft: Salt Dough Suncatcher »

Comments

  1. 1

    Nayara says

    May 18, 2020 at 7:23 am

    That’s an awesome tip! I have several scratches on my IKEA desks and I can’t wait to try it out.
    Quick question: did you use White or True White?

    Thanks a lot!
    Nayara

    Reply

Leave a Reply Cancel reply

Your email address will not be published. Required fields are marked *

Recipe Rating


  • Facebook
  • Instagram
  • Pinterest
  • RSS
  • YouTube
We are Nick and Bethany! Welcome to our blog, Reality Daydream where we share our DIY adventures!
Click here for lots of art projects using only wood stain on furniture!!
Please feel free to share or pin my posts! You're welcome to use ONE of my images (no collages or pinnables) with a link back to the corresponding post. Please do not edit or crop that single image in any way. Improper use of my photos, ideas or words is a violation of copyright. Thank you!

Categories

Attention: Almost any do-it-yourself project involves risk of some sort. Your tools, materials, and skills will vary, as will the conditions at your project site. Reality Daydream has made every effort to be complete and accurate in the instructions of the plans on this website. Reality Daydream will not assume any responsibility or liability for damages or losses sustained or incurred in the course of your project or in the use of the item you create. Always follow the manufacturer’s operating instructions in the use of tools, check and follow your local building codes, and observe all commonly accepted safety precautions.


Copyright © 2025 · Modern Blogger Pro On Genesis Framework · Customizations by Sweet Theory Designs · Privacy Policy · Log in