For some reason, lately, when I sit down to write a post… my first thought is to write the words “as it turns out…” I think I started a post this way last week, and subconsciously I must think it sounds really intellectual or something.
Anyway.
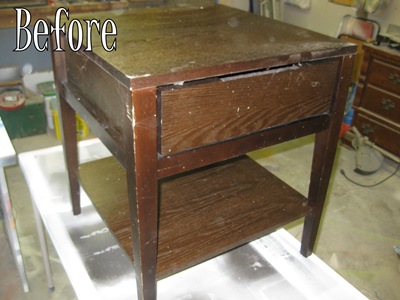
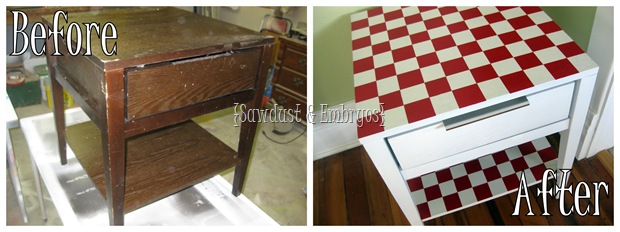
As it turns out, I have a little makeover to share today! We did an end table and desk for a client (who’s on her way to pick them up now!), and we just love how they turned out! Today we’re going to show you her end table! Here’s the before:
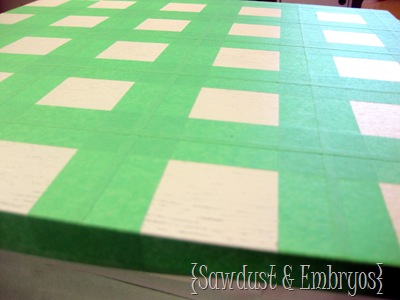
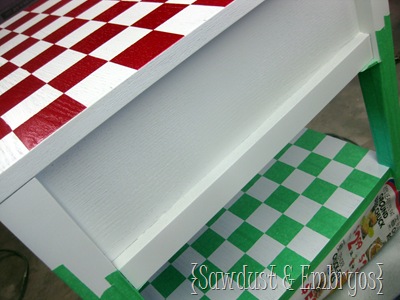
We did all the regular prep work… sanding, priming, and painting white. But here’s the fun part! We taped out a grid on the top surface, as well as that bottom shelf surface.
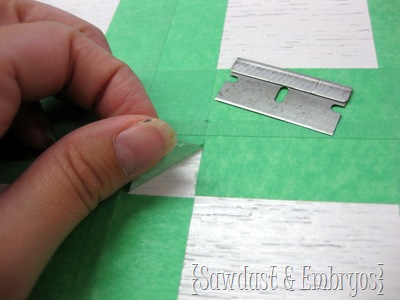
And using a razor, cut out every other square to make a checkerboard! Super easy yo.
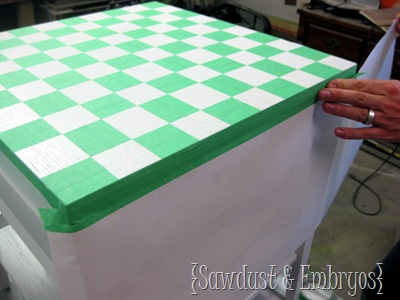
Then, we taped off everything but the top to protect the body of the end table from overspray.
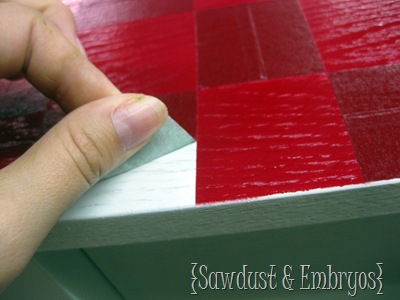
We painted her RED (per Leah’s request), and started peeling off the squares of tape!
We repeated this process on the bottom ledge!
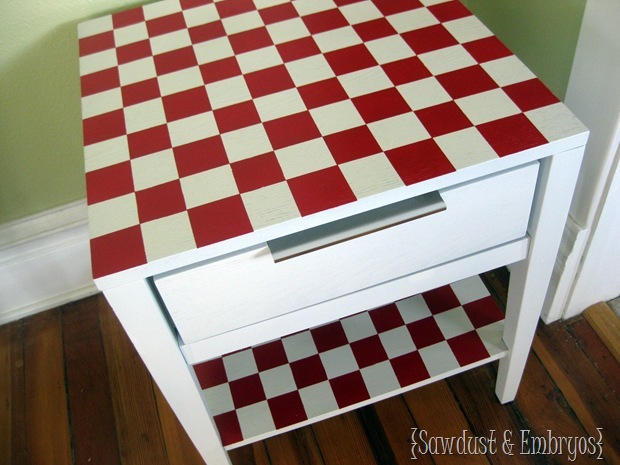
Such a simple little easy update can give a piece some serious custom attitude!
Not bad, eh?
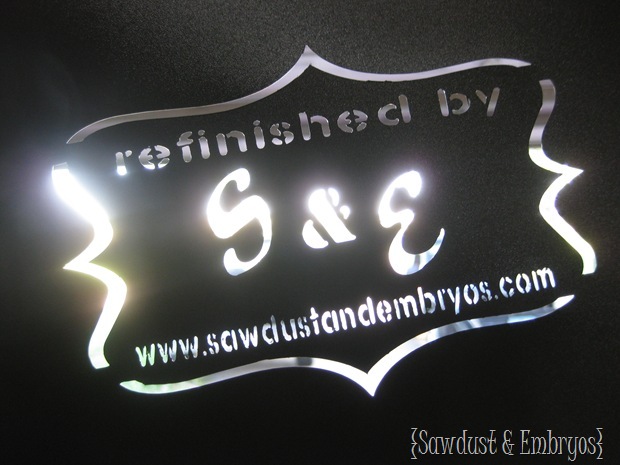
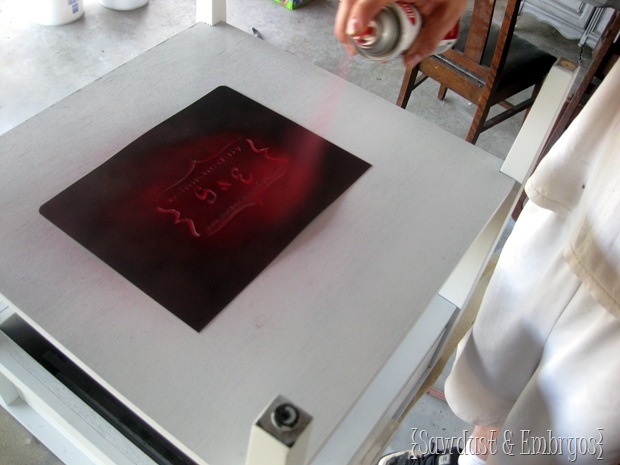
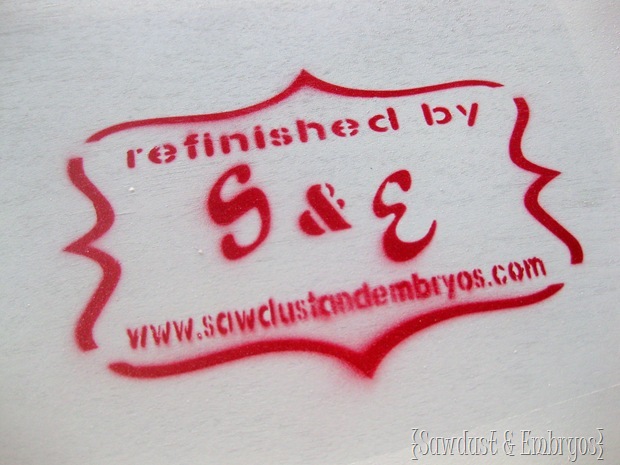
But WAIT! Our girl Dana designed and cut us a stencil to BRAND the bottom of our pieces. I’m sort of crazy-excited about this…
That girl might as well be an honorary Graphic Designer, cause she’s that creative.
This way, 50 years down the road… people will know who to blame for painting perfectly good pieces of furniture, and cursing us as they strip and sand away. (evil laugh!)
Isn’t that the coolest thing ever? I wish we’d had something like this a long time ago. There are so many of our sweet pieces out there floating around with no evidence that they’re our ‘artwork’! But that’s ok. From now on, we’re BRANDING our livestock furniture!!
Here’s one last gander at Leah’s sweet ‘new’ end table!
Happy Hump Day!
oooo such a brilliant idea! And i loooove the lego idea! Pleeeease send pics when you’re done! 🙂
I just bought a cheap 19.23″ ‘end table’ (partical board). I would love to paint a ‘checker-board’ type style, but maybe 4″x4″ red & black. Any suggestions (BTW, when it comes to the ‘C’ word…I usually FLEE) {C word being CRAFT-aaahhhhh}.
You can do it Patti! Do just like we did in this tutorial, only with your larger 4″ squares. It will be awesome! Please send pics when you’re done!
do you do a round table the same way?
Sure! You could have the checkers go all the way out to the edge, or you could just have a square part of the tabletop that’s checkered. If you try it, send us pics!
I love how this came out! Just a tip that I’ve learned recently, (if you even need it!) sometimes with tape I get a little leak through.. so I read somewhere that if you do your first layer in the color underneath (in this case, white) the leaks will all be the same color as under the tape, hiding them. Then do your red. Nice work!
That my friends, as it turns out, is the TIP OF THE DAY!! Thanks for sharing! And LOVE the table Nick and Beth!
How cute is that table, you guys make things sound so easy to do but I know that was alot of work. What a transformation from the before pic to the after, love the red checkers and branding is very stylish.
I LOVE THIS TABLE!!!! It turned out super cute. You guys are very talented and have such fantastic ideas to inspire !!!!
As it turns out, I love following your blog.
And that table? So sassy! Love it!
I also love that stencil-banding.
so fun! you folks are amazing. Mary in NY
sweet!! ok what about my chandy?? can’t wait! lol.
Brenda
Sweet table and really sweet “brand”! Should have done that a long time ago!
Good idea to “brand” your products. You ought to take the credit for your work.