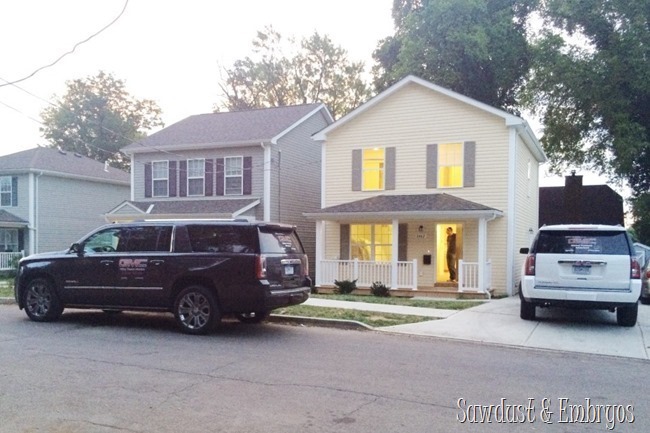
Dudes… I’m sorry for leaving you hanging yesterday, but there was just too much content and I didn’t want to rush through it! In case you missed it click here to read about our experience with the GMC Hidden Treasure Hunt. We traveled along The World’s Longest Yard Sale, snagged some treasures along the way, and fixed up/furnished a home for a family in need in collaboration with Habitat for Humanity! We left you yesterday with a photo of the house… still empty and waiting for some TLC.
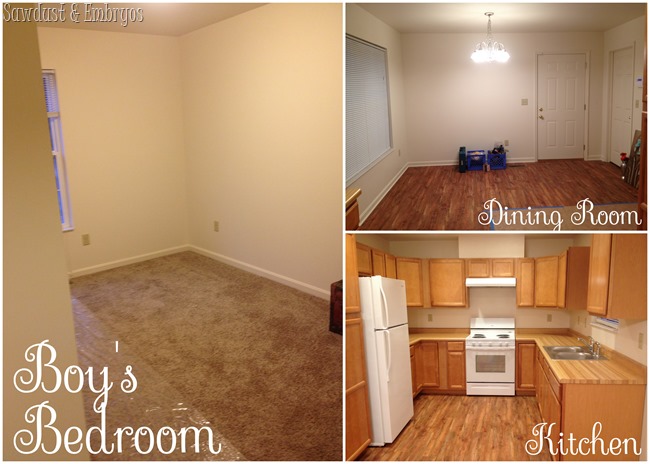
It was bright and early in the morning, and we had our work cut out for us to finish all our projects and furnish/decorate the rooms we had been assigned before we reveled it to the homeowner at 2pm. Here are our rooms all neked-like.
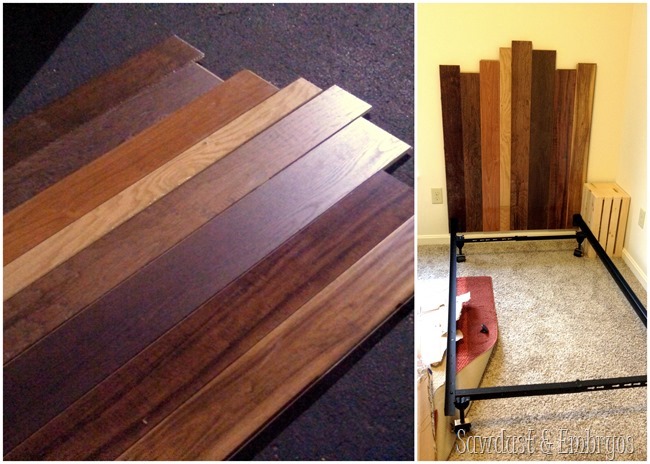
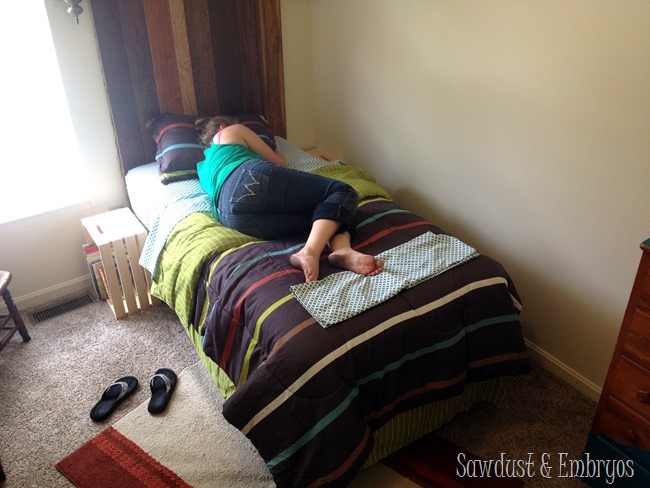
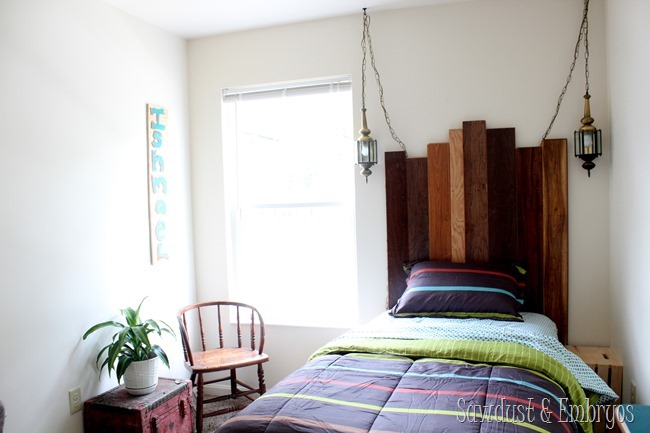
We bought some laminate floor planks in different wood tones at the Habitat Restore, and affixed them onto a piece of plywood to be the little boy’s headboard.
The bedding we wanted to purchase brand new for the little guy… because yard-sale bedding? Not good enough for our buddy. We stopped at a Kmart along the way, and the Manager gave us a 10% discount when he heard about what we were doing.
You can see the newly wired pendant lanterns (in the above pic) hung on either side of the bed. We Velcro’d them to the wall so the little guy would be playing tether ball with them in the middle of the night.
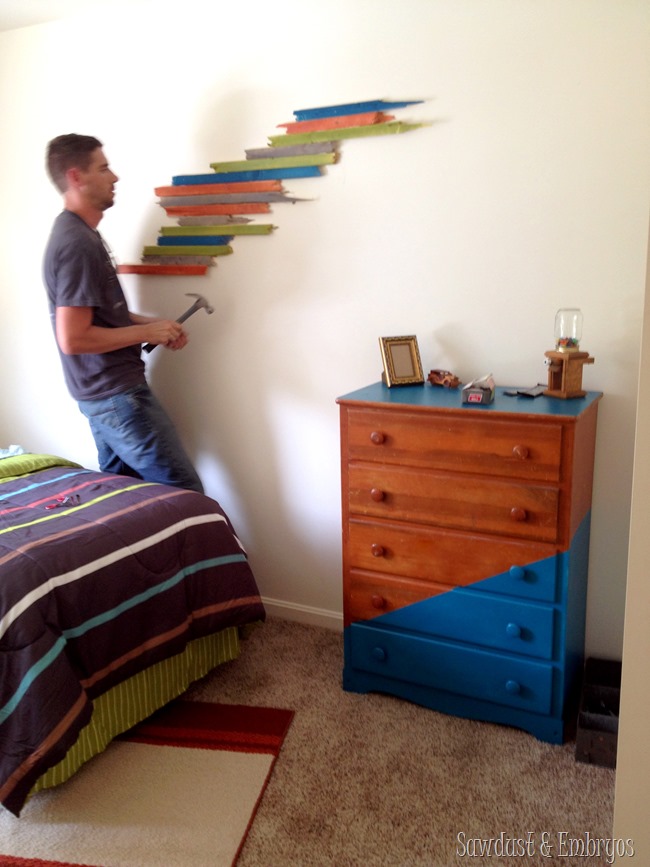
I mentioned yesterday that we painted the dresser to look like it was ‘dipped’ in paint. We accomplished this by simply taping off the top half of the dresser at an angle, and painting! This color is Rustoleum Blue Lagoon. {sorry about these crappy iphone pics… the few good pics are courtesy of Danielle}
Nick made his wall art by breaking 1×2 planks of pine and painting them a variety of colors using inspiration from the colors in the comforter. I may or may not have taken a short nap. It was necessary. It just was.
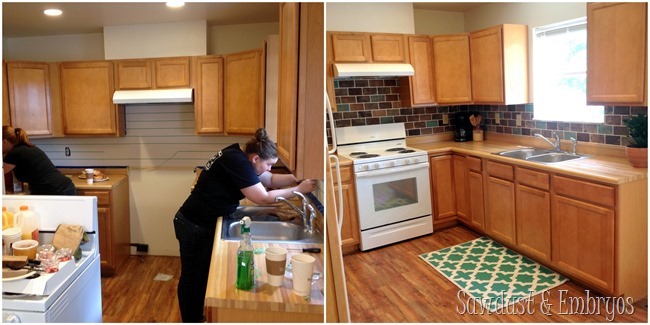
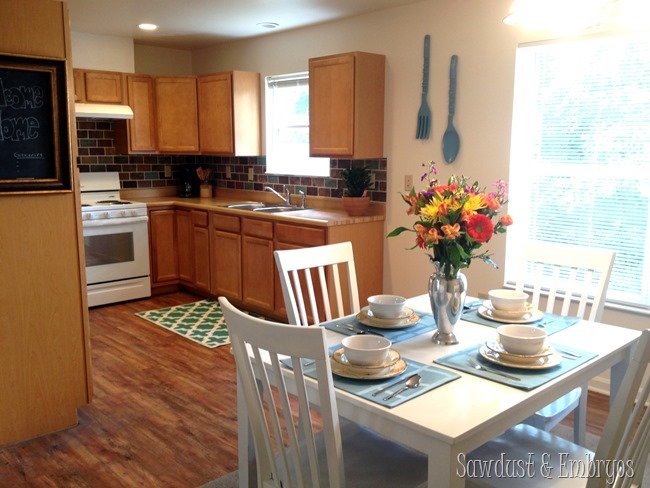
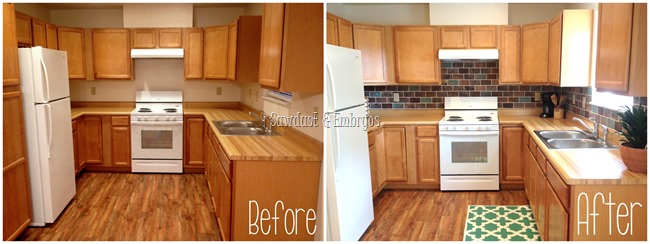
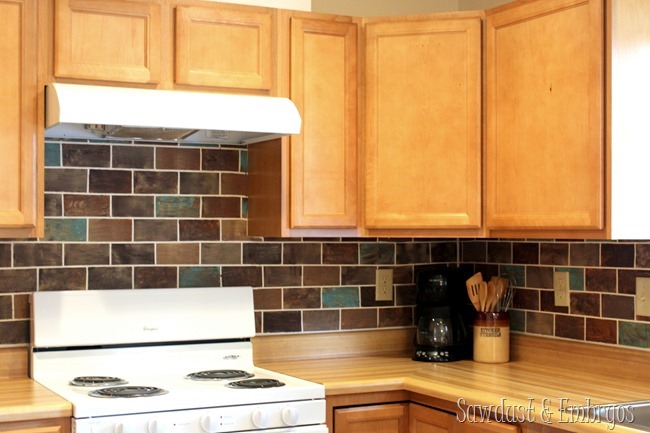
Meanwhile, things had been getting all cray up in the dining room/kitchen. Since there’s not much of anything we needed to do to ‘furnish’ the kitchen (other than fill the cupboards with dishes and cookware), it was important to me that we paint the backsplash to look like tile. We all know what a HUGE difference that can make in a kitchen. And I wanted this kitchen to have an amazing before/after! We had recruited a couple of our readers/friends to help us tape and paint the backsplash. Abbey and Alyssa did an AMAZING job… and the 3 of us knocked this bad boy out in just a couple hours (while Nick was doing man-ish things). Abbey actually blogs too! So go check out her work at The Cards We Drew!
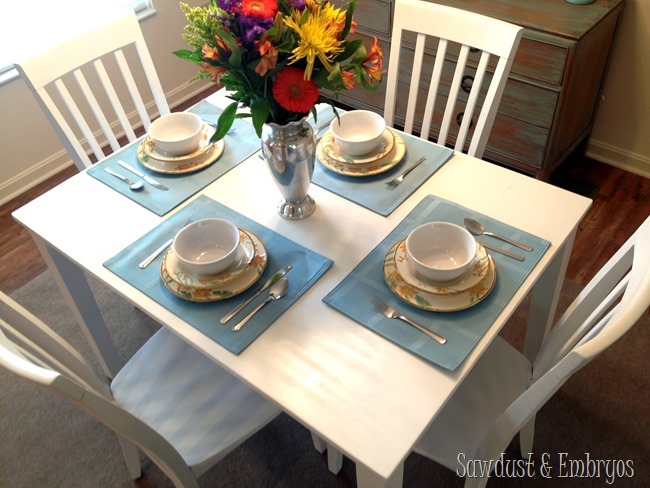
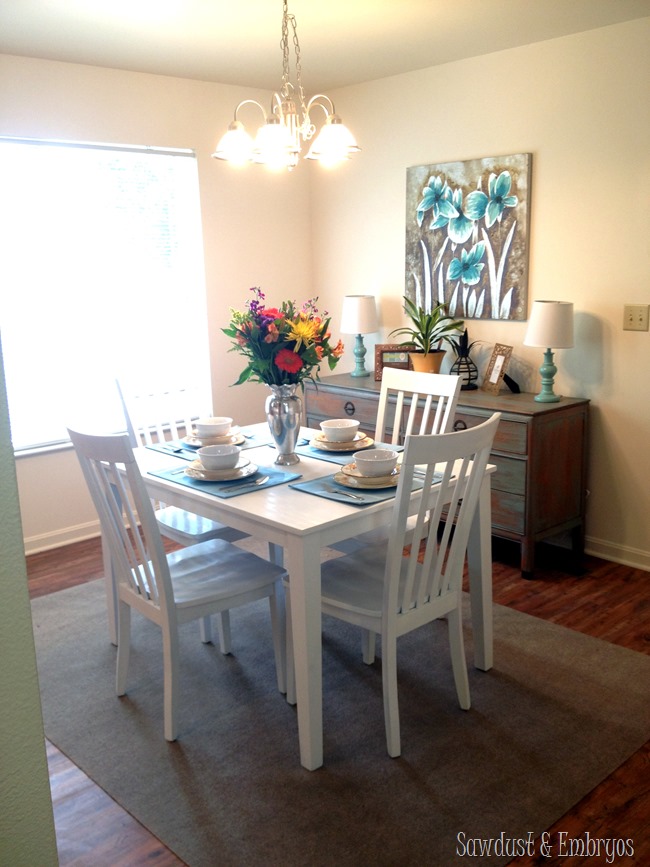
In the dining room, we had done most of the work the night before by graywashing the dresser/buffet and touching up the artwork… but we still had to PAINT THE DINING TABLE AND CHAIRS. Luckily, spray paint dries pretty fast, and gives a great finish. Rustoleum to the rescue again! I reeeeeeally wanted to strip the top surface of the table and do a stained flower, but it turned out to be laminate… and I just cried. But the crisp white table does look pretty nice (if I do say so myself)!
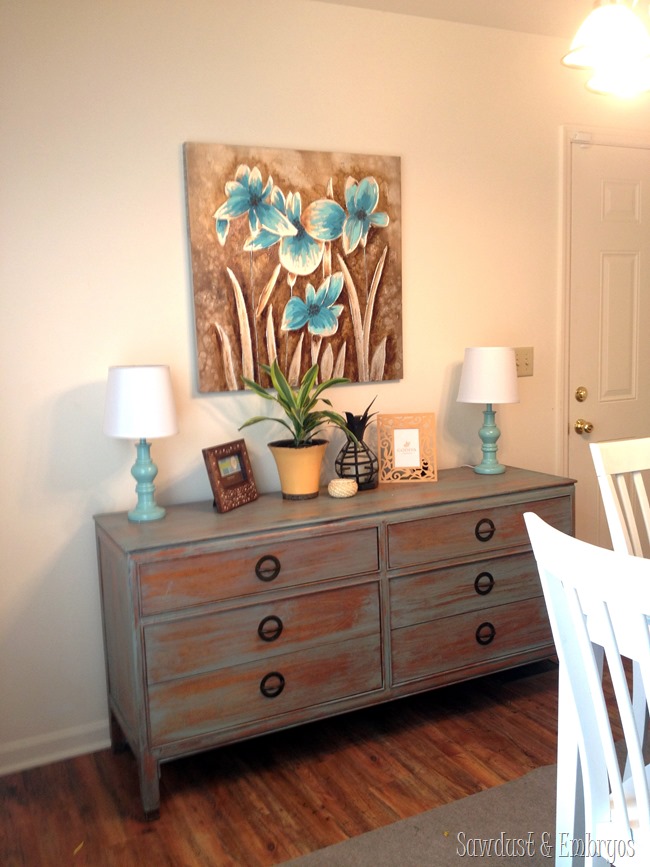
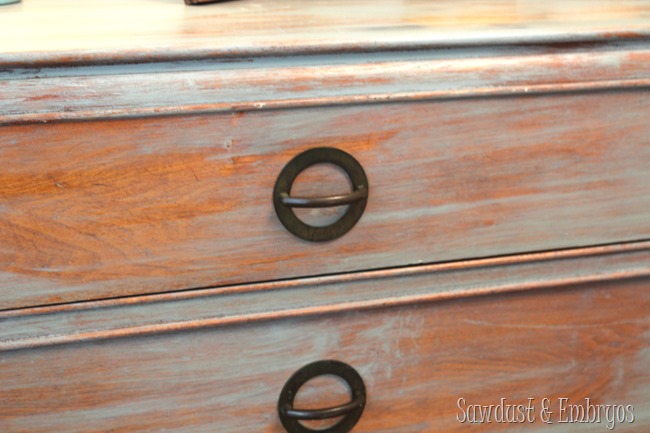
I wish I had a before picture of this dresser-turned-buffet. Please just imagine that lovely shade of ‘honey oak’.
This entire furniture transformation took me less than 30 minutes. I just lightly brushed on some flat gray paint, and then immediately wiped it off with a cotton cloth (tutorial here). THAT.IS.IT. Doesn’t it look amazing? I would put this in my house in a heartbeat.
Here are some money shots of our rooms when they were completed!




Can you tell me the colors you used for your backsplash? I.LOVE.IT. I have a huge (42×42) canvas in my breakfast nook that has the same teal color and would love to do those colors on my wall…and where do you get your 1/4″ masking tape!? I’ve looked everywhere! I know I can order it online but wondered if you bought it local. You guys are so awesome. You make everything so easy. Maybe I should just hire you instead of doing it myself!
That kitchen backsplash is amazing and warm and homey-nice! All the rooms are awesome. Great job you 2.
Bethany, I LOVE that dining room!
And I was thinking – there’s a habitat house going up in Ames. Wonder if I could donate some HomeShed decor? Do they always furnish them?
it looks amazing!!! i love all of it but my fav is the headboard and the buffet. good job guys, and espicially you beth- being pregant and doing all this!!! wonderful!!!
I’m not surprised you needed a little nap…. Your rooms turned out gorgeous. I LOVE the tile backsplash! I also want that dresser with the round hardware! x
What an amazing transformation and an inspiration for others to Pay it Forward for deserving folks… God Bless…
Love it! I especially love the dining room! You guys perform magic with everything you touch. God has given you two talented people a great gift. And to think you found each other; what are the odds of that happening? And what a gift to the family; to walk in and find so much beauty in your home. AMAZING!
I love how the rooms turned out! I gotta remember that “dipped” dresser trick.
Great job, love it. You folks are amazing. I need a nap just thinking about what you accomplished. thanks for sharing. How are you feeling?
You’re sweet Mary! I feel like I’m starting to turn a corner with my fatigue and morning sickness, so it’s a nice little burst of energy! I have a lot to catch up on! HAHA!
What color did you paint the table/chairs?
AJ, we primed with Kilz (after sanding everything down) and then painted with Rustoleum’s White Painter’s Touch 2x spray paint in Satin. It has great coverage, and we looooove how it turned out!