You again?
Hehe… JUST KIDDING! You’re my favorite!
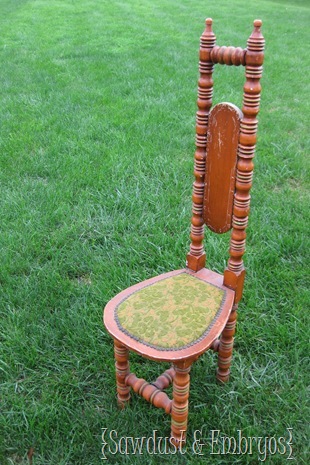
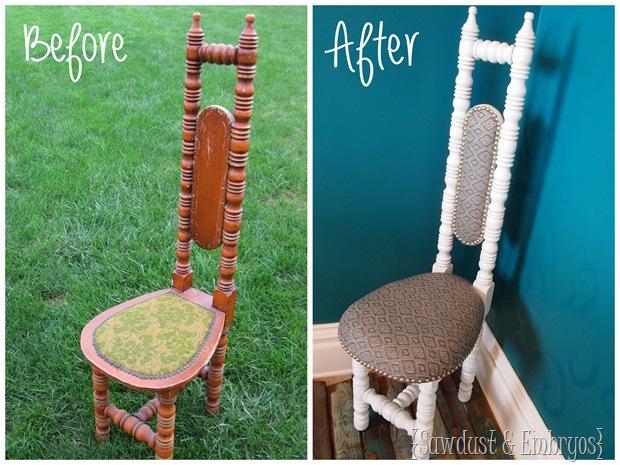
We have a little furniture transformation to share today. One that I can take zero credit for. As in… Nick did EVERYTHING. Here’s the before picture!
 |
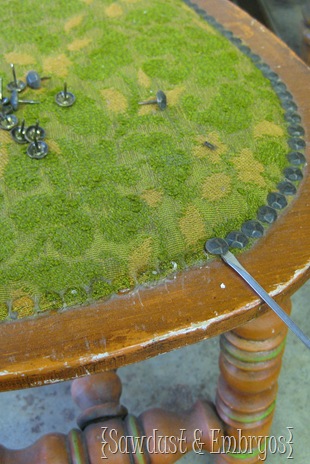 |
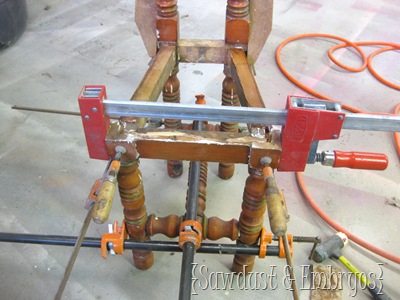
As you can see, that before picture is not recent (I can assure you our grass isn’t this green right now… under all that snow!). This little guy has been sitting in our garage for two years… no joke . We snagged him from craigslist because we loved the character and detail, and how incredibly unique it is. But it was seriously unstable, and we later realized, needed to be completely rebuilt. Hence the two-year-procrastination-period.
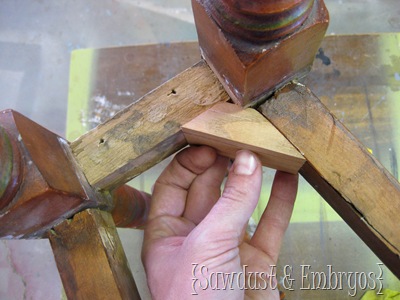
We only got as far as the ‘tearing apart’. And then it’s pieces sat around in a pile.
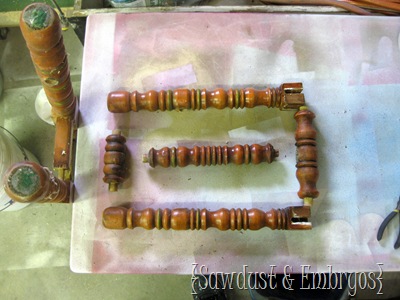
Finally, Nick was struck with inspiration apparently… YOU GO HONEY!
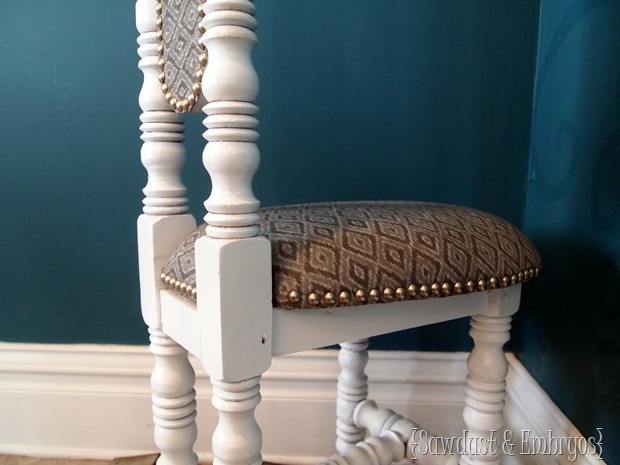
He rebuilt the entire thing (to be more stable), primed with Kilz, painted white, sealed with this non-yeallowing poly, and upholstered.
FAV UPHOLSTERING TIP… use an electric knife to slice through that foam like buttah! Why didn’t we think of this before?!
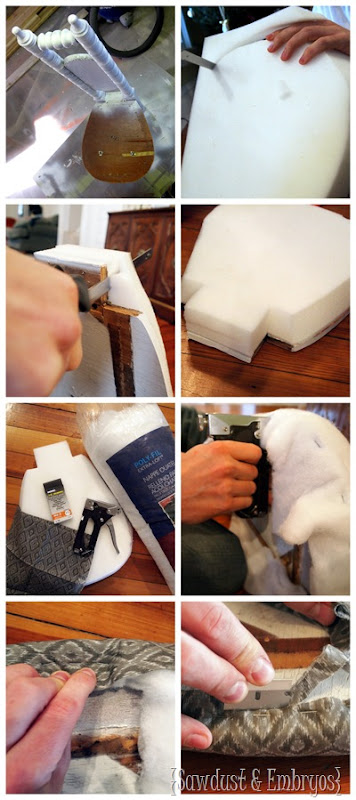
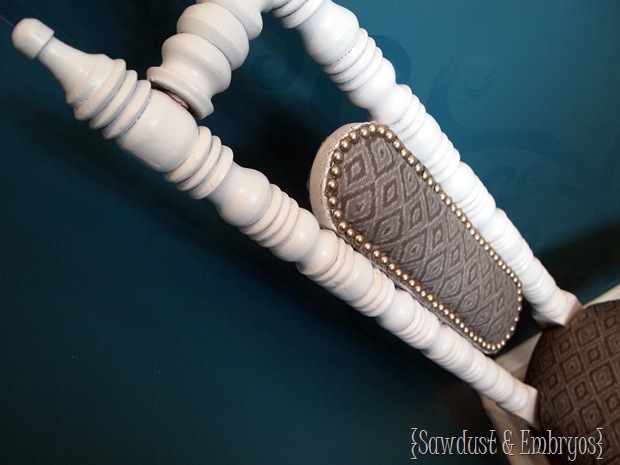
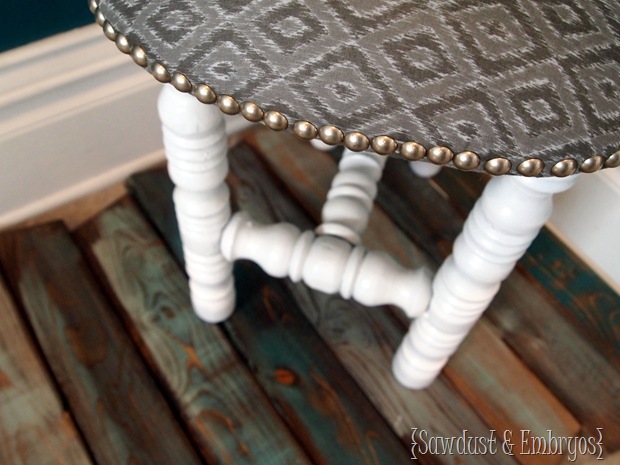
And wouldn’t you know it? That boy finished things off with upholstery tacks… the perfect touch in my opinion.
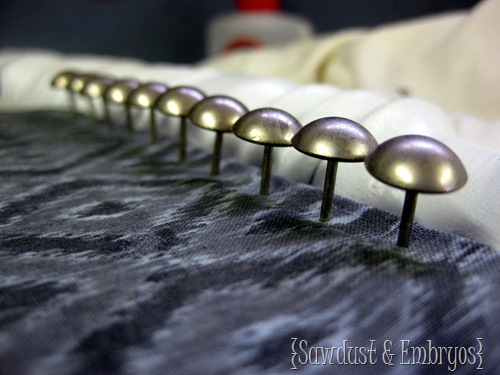
We plan to eventually do tutorials on each process here… (Stabilizing a chair, upholstering, and applying decorative upholstery tacks), but for now, we just wanted to show you the finished product!
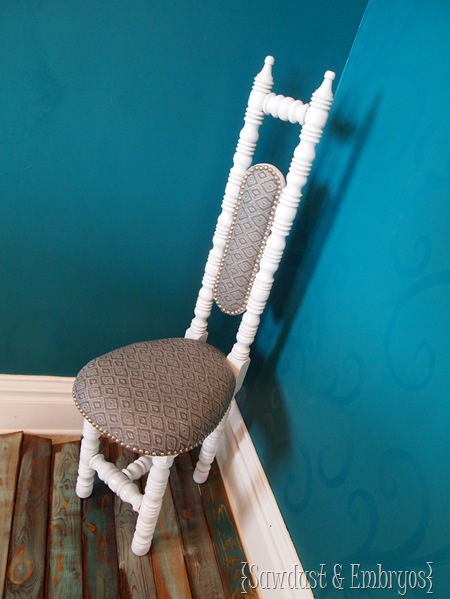
Didn’t that boy do a stellar job?
My love for this chair is two-fold… it’s BEAUTIFUL, and, I didn’t have to do a darn thing. Score!

Has your hubs outdone himself lately? Is he inexplicably multi-talented? I should add that, my man-child may be multi-talented, but he canNOT multi-task to save his life. Everyone has their strengths and weaknesses I reckon.
(P.S! If your interested in re-upholstering and child-proofing your dining chairs… this post might be of interest to you! Our dining chairs are still going strong!)


Thanks for the helpful info but OMG your real talent is that floor. I totally love it.
Di
Love the chair so unique and wow hubby did a great job
Wow, the chair looks so unique, love it!!! You guys are amazing!
can’t wait for the details on how he reinforced (stabilized) the chair. I have this chair I picked up at a yard sale for FREE because it was broken – that I really, really, want to fix! It will take a miracle because I’m no wood-working expert. But I am certainly up for the challenge! Oh, and by the way, “Way to go, Nick! You GO boy!”
What an incredible transformation – the chair is amazing!! And even better that you didn’t have to do any of the work yourself 🙂 I loooove the nailhead trim. Gorgeous!!
That is very cool! I have never seen a chair like that before. Very nice job Nick! I think he is pushing you Beth to be the most creative one in the family! As for my husband, he cannot do anything creative! He doesn’t have any vision when it comes to transforming things. However, he is very tall and very strong. When you are 5’2″ and very weak, he comes in handy when you are making something creative! I think I will keep him anyway!
This is absolutely wonderful 🙂 I love the way it turned out! He did a great job on the project!
cute!!! What is going on with the floor planks in the pic??!! I am interested!
Haha! I was wondering if anyone would notice that! Remember a couple months ago we posted about making barnboard signs? (I’ll post the link below), well we made several signs as Christmas presents this year, with various quotes on them. We used one (pre-quote) to set the chair on so you wouldn’t see our nasty linoleum flooring in the kitchen! 🙂 Sneaky, aren’t we?
After posting these pics, I started thinking about how AWESOME it would be to have an entire floor with these rugged boards… got my wheels turning a little… HA! 🙂
https://realitydaydream.com/2012/10/barn-boards-thoughtful-diy-gift-ideas.html
oooh yes I do remember! it would be so cool to have an entire floor of those planks! might take some work before you could walk on them. I have a pin where someone made their hard wood floor out of plywood that they cut into planks. could do that and then stain and distress.hmmmm
Holy sh*t that chair is ADORABLE!! Love it 🙂
way to go Nick! And, that is the strangest chair I have ever seen!!
Mine outdoes himself a lot!!! I am blessed with a man and brother-in-law that can fix and build ANYTHING!!
Sunday, Christmas Eve Eve, he decided it was time to pull up the carpet in the livingroom and start to redo the 80 year old original floors. On Christmas Eve we rented a floor sander and he sanded and cleaned the floor. Went that evening to celebrate Christmas with my fam and at 10 pm he and my bil stained and sealed the floor. It looks absolutely beautiful. Now we will get it clear coated this week and complete one room at a time. Oh…he also installed my new gooseneck kitchen faucet. I am a lucky girl!!
Wow! What a job to tackle on Christmas Eve! That’s one productive guy! 🙂 Congrats on your new beautiful original wood floors!