A couple weeks ago, I was lamenting in my Instagram Stories about how cute and ridiculously expensive this wooden colored pencil holder from Amazon is. I put up a poll asking my peeps if they thought I could make this myself, and while the overwhelming majority voted yes, that 1% that didn’t believe in me felt like a challenge.

*This post contains affiliate links!*
I don’t have a choice, right? I HAVE TO MAKE THIS.
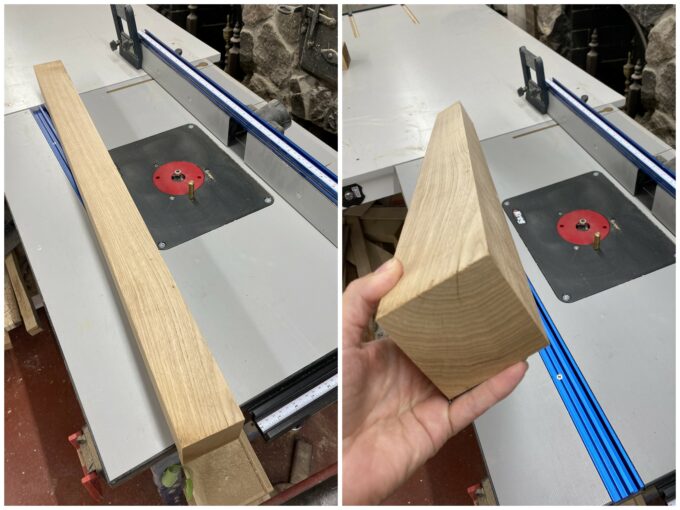
I started off with this slab of scrap wood cut to 2.75×2.75 with a length of 35″. You could totally glue two 2x4s together and cut them down to these dimensions to get the same result.
Supplies for Colored Pencil Holder:
- Wood (2.75×2.75×35″)
- Router/table w/ roundover bit
- Drill Press w/ Forstner bits
- Orbital Sander and sandpaper
- Spray Primer
- Rainbow Paint Colors
- spray sealer
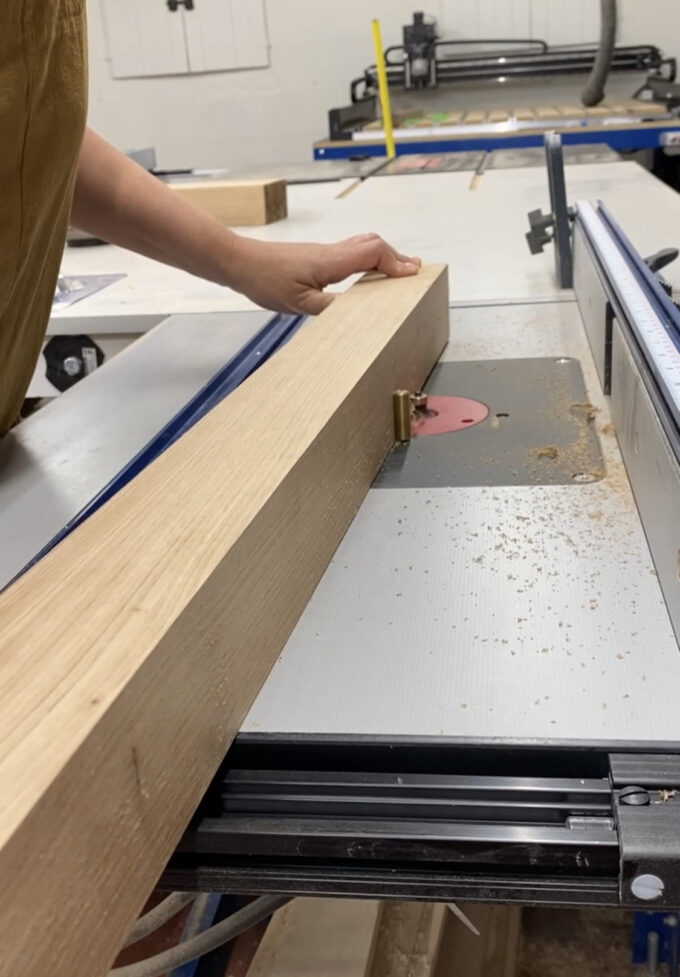
Route the edges
Using a roundover bit, route all four edges of your board to make them smooth and rounded.
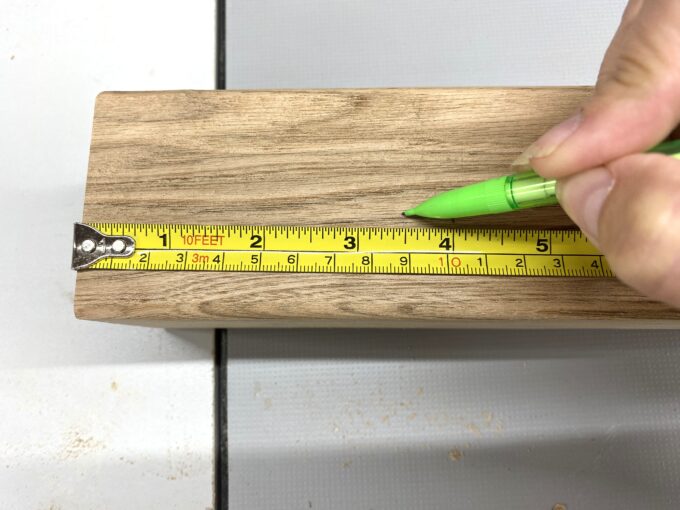
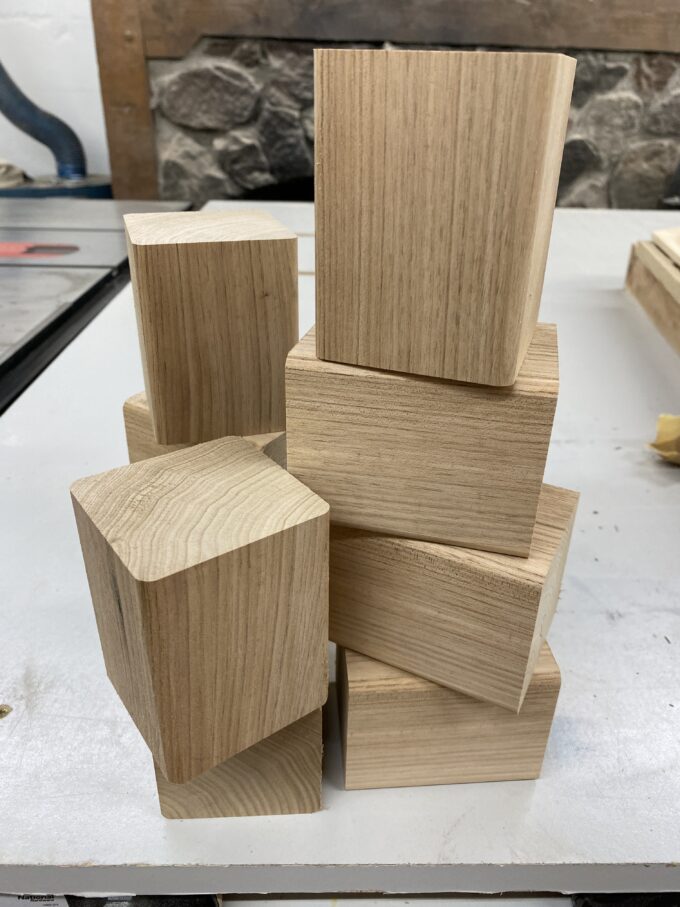
Cut
Measure out 3.5″ and cut. Repeat until you have 9 blocks! I used our miter saw.
Do you spy my little helper? Cypress was very invested in this project from the beginning!

Drill
Time to get our your set of Forstner bits! Based on the dimensions of our colored pencil holders, we wanted the opening to be 2″. We started drilling away! Cypress was loving that this was one power tool she can totally use.
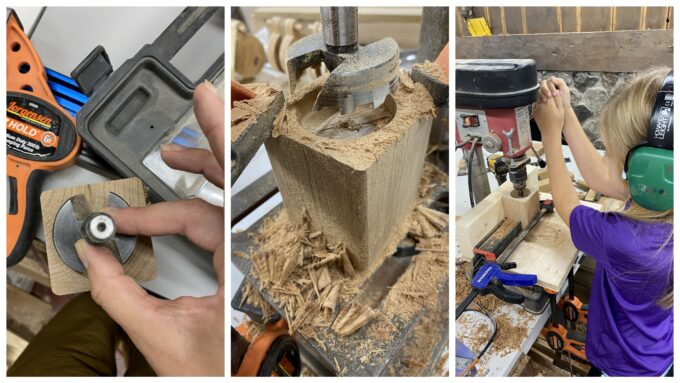
The odds were stacked against us, because not only were we trying to drill the end grain of a hard wood, our drill press is also very old and not great. We ended up having to start with a small forstner bit and work our way up to the larger one so each bit wasn’t trying to cut out so much wood.
Sand
These were pretty rough and needed some sanding love immediately! I sanded the outside edges with the orbital sander, and Cypress tackled the inside by hand. This was a tedious project, but luckily Cypress hyperfixates on things and LOVES to do repetitive tasks!

Look how smooth and glorious these are! Soon they’ll be ready for colored pencils!

Prime
I took these outside and primed them using spray primer (this is my favorite kind). Whenever you’re painting something, be sure to paint them upside down first. You want your top surface to be the most perfect, and the best way to achieve that is to paint it last!
Sorry about how bad the coloring is on this photo below. Shame on me for using my cell phone camera!

Paint
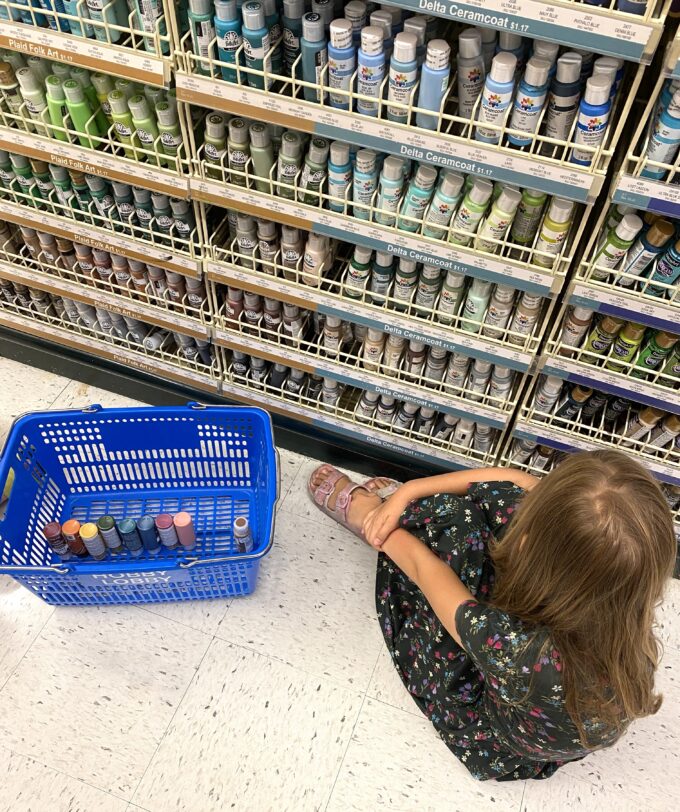
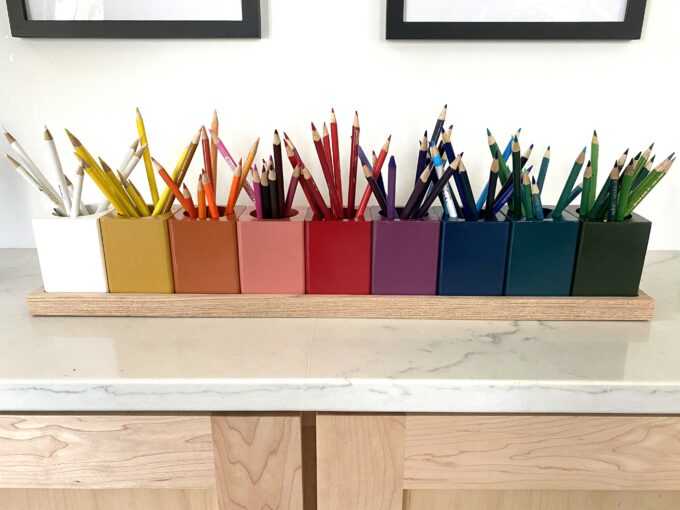
Obviously this colored pencil holder needs to be rainbow, right?! The whole point is to sort out the colors and have each colored pencil in the corresponding shade of the colored pencil holder! I would have preferred to use spray paint because it gives the most flawless and professional finish, but Cypress had been looking forward to the painting part from the very beginning of this project. I couldn’t disappoint her! So off we went to the craft store to pick out a rainbow of colors.
Acrylic craft paint isn’t the post durable paint, but I knew that we could seal it afterwards and it would work! Look at the excitement on this girl’s face.
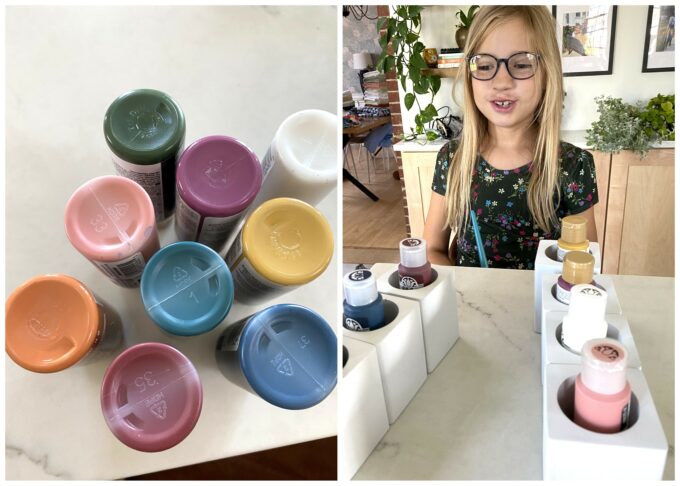
I had to remind myself that memories and relationship matter more than perfection. She painted them, and then I smoothed out the paint before it dried, and they turned out pretty fabulous! It took 2-3 coats, so I did the subsequent coats without her, and she never knew. 😉

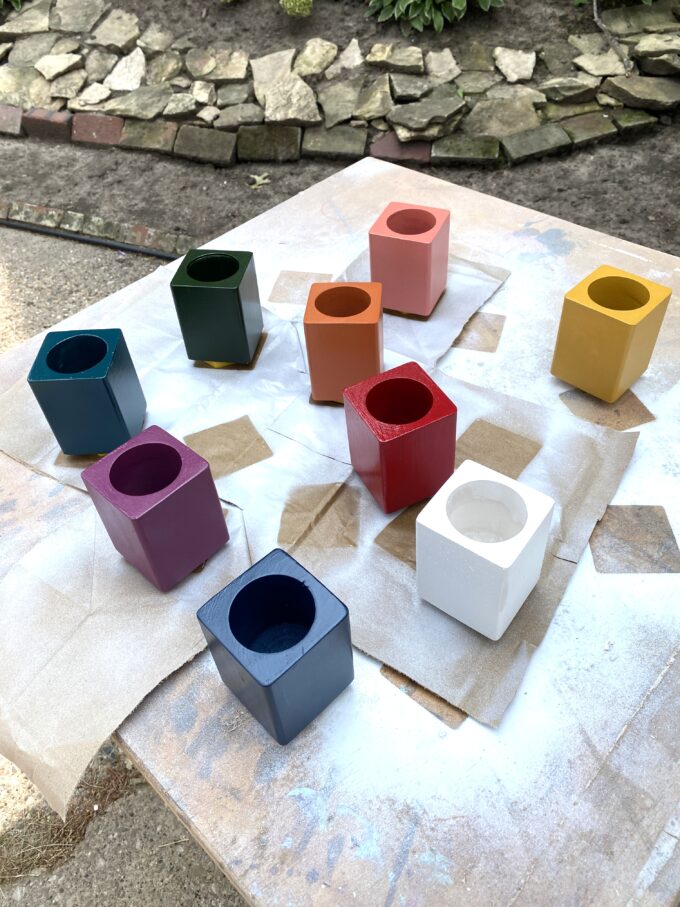
I sealed them with a spray sealer, and did several coats for maximum durability! The key is to do several light coats. If you put it on too thick with a single coat, you’ll get drips… and that’s so frustrating! We want this colored pencil holder to look as much like the inspiration pic as possible!
Tray / Holder
This part is totally optional, but you can build a tray to hold your colored pencil holders, just like the one on Amazon! I was fully planning on just using a piece of wood, and cutting a second piece of wood with the scroll saw to act as a ‘lip’ and clue it down. But since we have a new Carbide 3D CNC machine and Nick is VERY PUMPED to use it whenever possible, he cut one for me! It basically just carves out the wood. So convenient and precise!

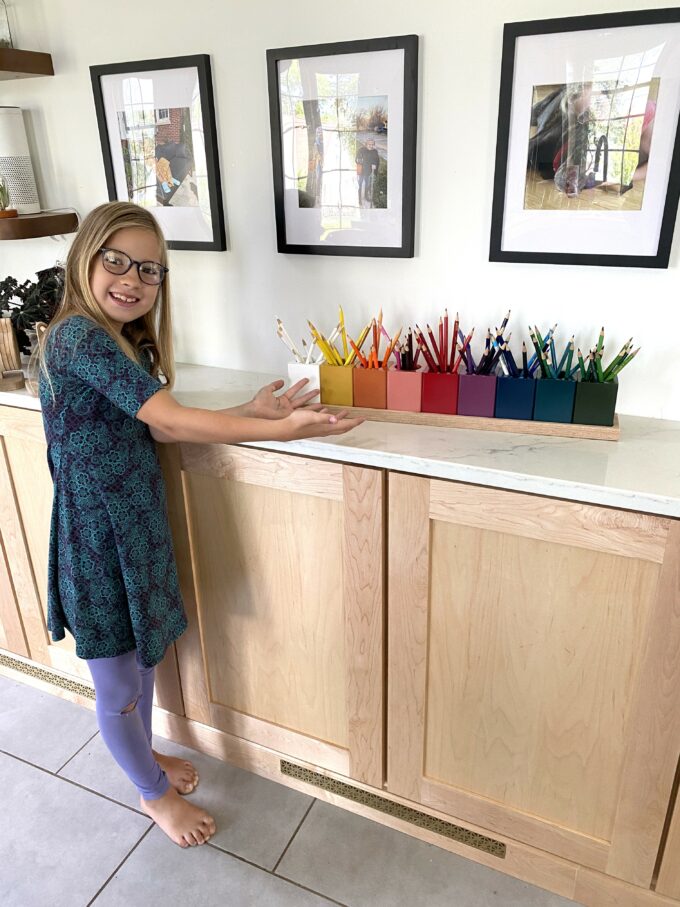
Load up the colored pencil holder!
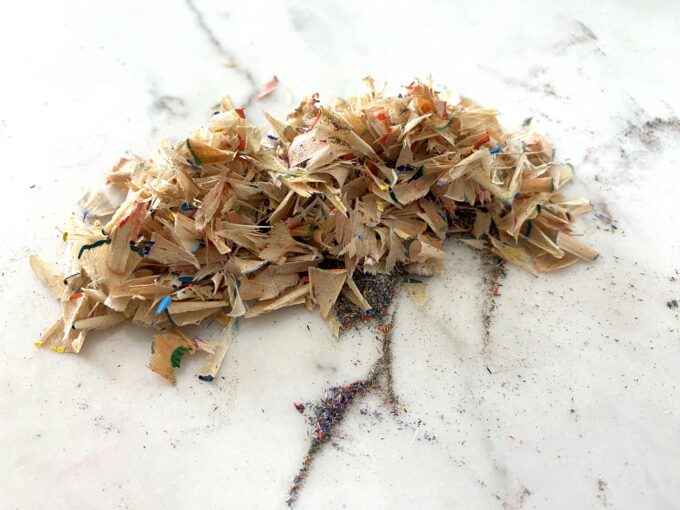
Cypress sorted our giant tub of colored pencils into the colors of the rainbow, and meticulously sharpened them because she wanted to. LOL This girl doesn’t stop!
It brought her so much joy to sort these into this colored pencil holder. And I’m so proud of her for helping out so much with this project! She shares my love for craft storage and organization.

Be sure to check out this other craft storage project from our archives! How cute is this rotating marker holder?!

You might also love this Montissori wooden rainbow stacking toy for babies and toddlers!

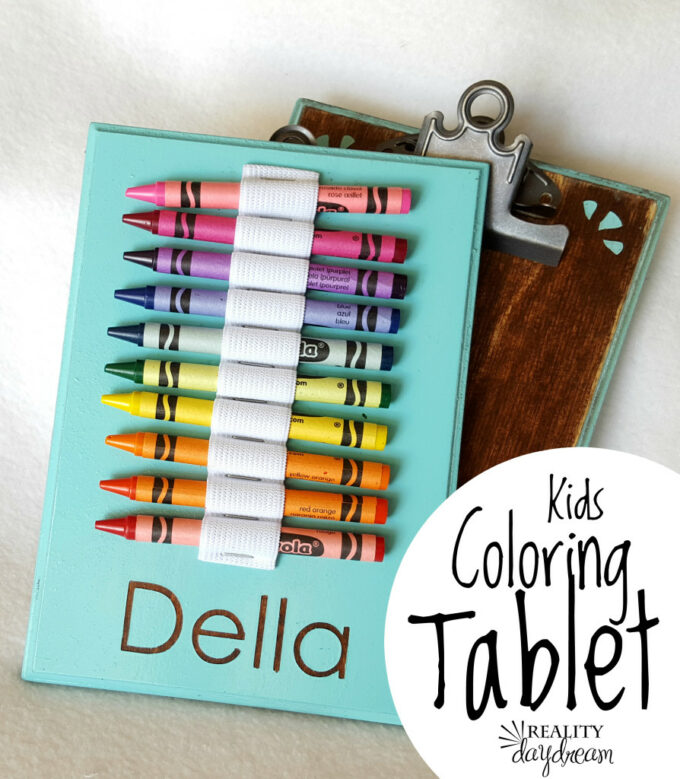
Also, how cute is this little wooden “tablet” that holds crayons and has a clipboard for paper! I loved sharing this tutorial.
Be sure to check out our master list of DIY Handmade Gift Ideas!

Thanks for pinning!

Leave a Reply