Good morning! Isn’t it a gorgeous Monday? Aren’t you so happy to be alive? Is it safe to assume you’re a morning person like me?
<awkward silence>
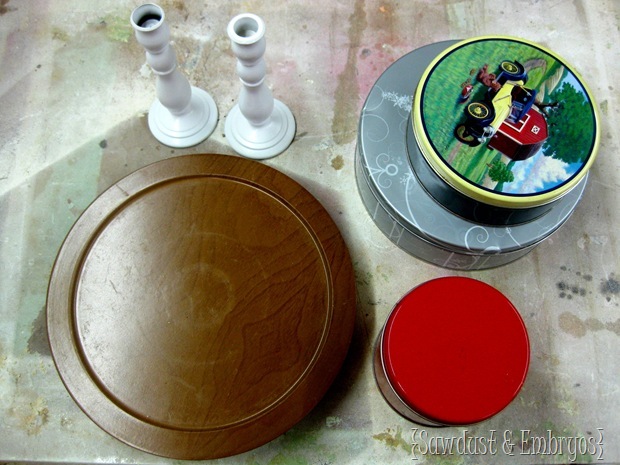
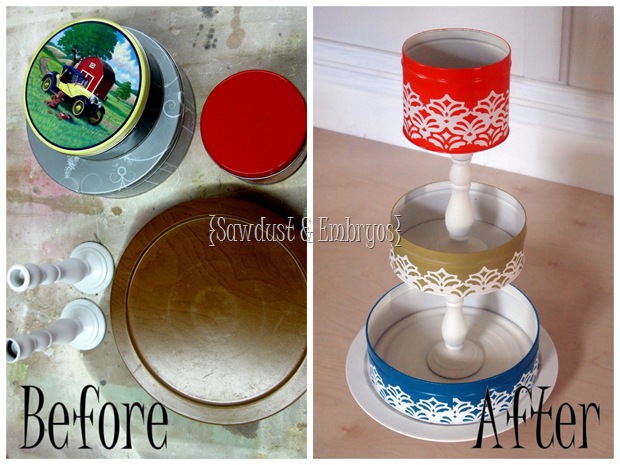
OK! Well then, I have a super bright/colorful/cheerful project of the crafty variety to brighten your Monday-blues. It involves items that I purchased at ONE GARAGE SALE:
-
3 different size tins
-
a small lazy susan
-
2 candle sticks
If this was something I wanted to last for eternity and pass down to the generations that follow me, I would have opted to sand before priming. But I didn’t feel like it, and I won’t cry when the paint starts chipping in a couple years. Or tomorrow.
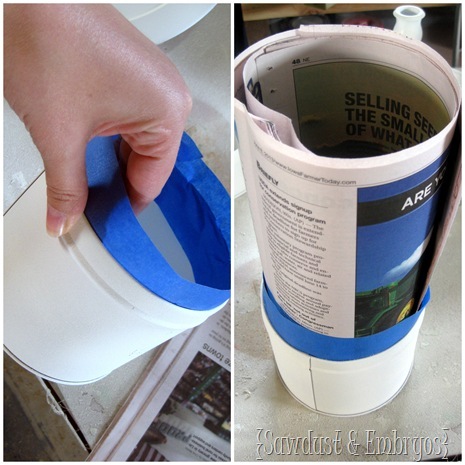
After priming the inside and outside of all the pieces (including the lazy susan and the candlesticks), with the tape facing OUT, I taped off each tin, and put some newspaper inside to block overspray, like so:
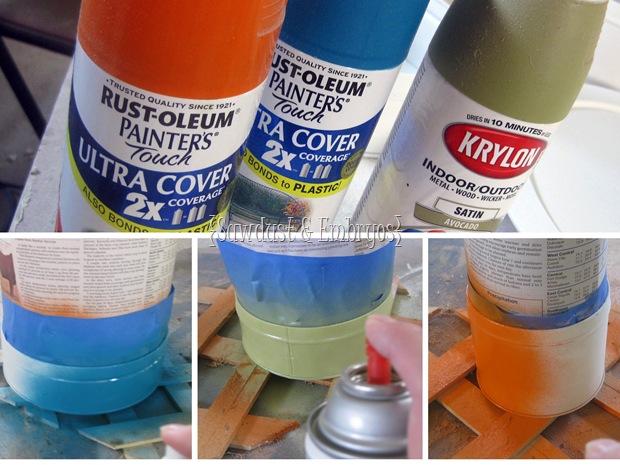
Then I picked 3 random colors from our spray paint collection and went to town.
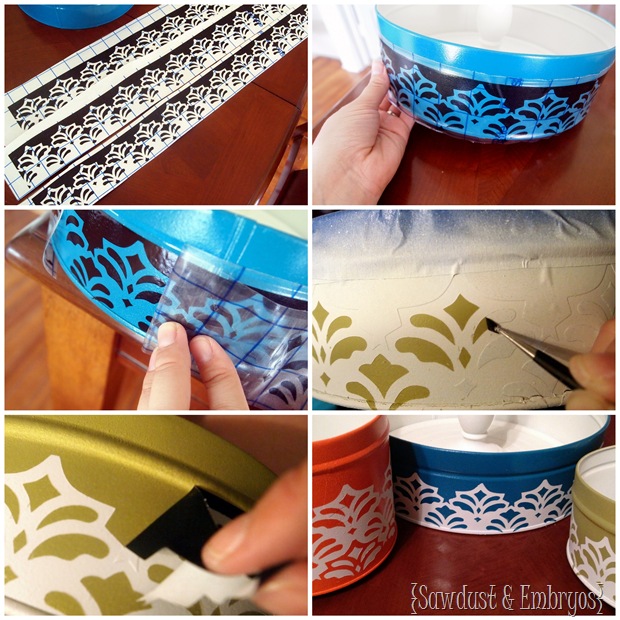
I let these dry for, I don’t know… like 2 weeks. I may have *COUGH*forgotten about them. But you could probably get away with overnight, yo. Then I slapped on some vinyl that my girl Dana cut for me, painted white, and peeled back the vinyl.
This whole process took me about an hour. I started peeling back the vinyl about 10 minutes after I painted. I have a sweet vinyl tweezer thing, but you could use a needle or exacto knife too.
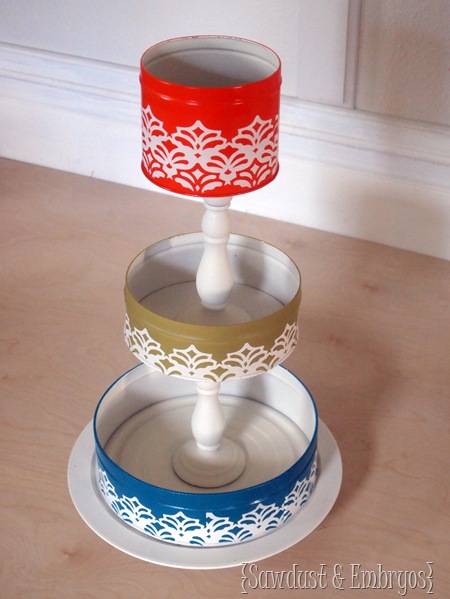
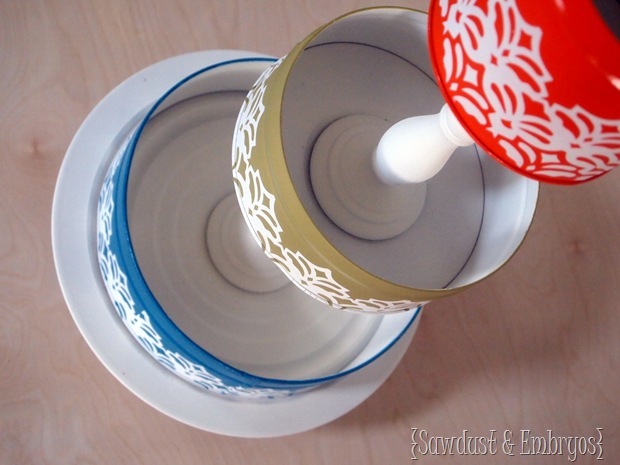
FINALLY, I glued these buggers together using E6000 glue. THAT STUFF ROCKS. And I’m not being paid to say that. I didn’t even get free product. I just think it’s the shizzle. I got mine at Walmart in the craft section when I was mingling with the ‘people of walmart’ earlier this week (you really should follow along on our Facebook page y’all).
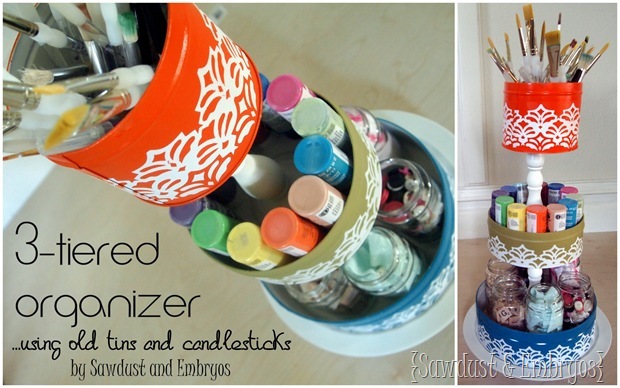
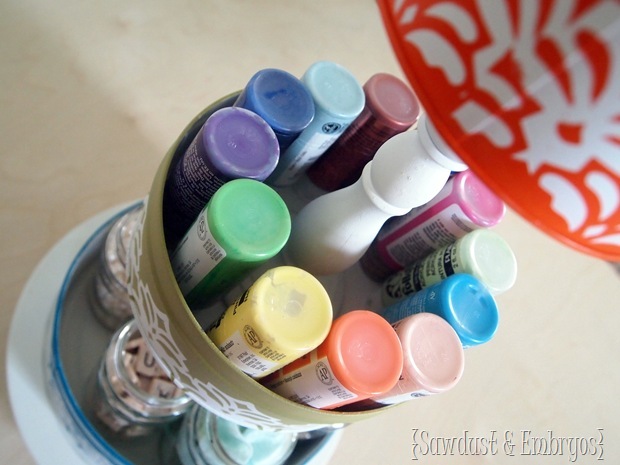
And here it is loaded up with some crafty stuff to go in my future craft room (slowest room makeover evah). My favorite part is that is spins on the lazy susan… making it easier to find what I’m looking for!
Now if those bright colors don’t brighten your dumpy Monday blues, it may be time to plan a vacation. HEHE! This project was super simple, SUPER CHEAP, and super fulfilling! You can get these things at any old thrift shop or garage sale, and you’re set! If you decide to give this a try, please send me pictures! I’d love to see what you come up with!
And come over to see the other projects we’ve done using vinyl as a stencil. It’s one of our FAVORITE techniques!




I’m loving the ideas using vinyl. Not sure I Completely understand all the steps. But am sure will fall into loa once I get my hands on it. I’m having to start over collecting craft tools and items I had saved over the years for future projects. As someone got into my craft storage when was between moves. And availed themselves of everything! So am back to searching thrift shops. And hunting for new ideas. Spent most this afternoon prowling your site. Just love it!
OMG! This is so awesome! I need to make one asap. I have craft stuff everywhere, and I can never find what I’m looking for when I need it. UGH!
How awesome!! Very creative and fun!! Hope
Great project. Thanks for the tutorial! I love the colors you chose. I did something similar here http://somethingbeautiful19.blogspot.com/p/crafy-corner.html?m=1
LaurenMarie, for some reason most of the pictures on your blog are showing up as broken links. 🙁 I wish I could see your project!
Cute. I noticed the top one too. Great idea- very creative.
Ack. I read your blog all the time, never comment, but my OCD is telling me the red tin is off center. 🙂 Love it!
You are absolutely RIGHT Sarah, and it’s driving me completely bonkers now that I noticed it. Nick is going to re-glue them for me. I should have just had him do it in the first place. 🙂
Phew, thanks for confirming I’m not crazy 🙂
This is funny! I noticed it was off-center too. Beth, I would have to glue it to ensure it’s centered. Hubby just “eye-balls” stuff, and it drives me insane because his eye balls must be off….. LOL!
I’m definitely the one that eyeballs things in this family. If something ever looks off-centered or crooked around here, it’s most definitely me being lazy and not bothering to measure. 🙂
This is PERFECT for storage. I love it! And it’s SO cute!
oh I love that you put it on a lazy susan, what a good touch! 🙂
Thanks! That might be my favorite part actually! 🙂
Hmmm maybe it is time I pick up thrift shopping..I live out in the middle of no mans land so it is rare I go out to anything like that… but THIS is motivation enough for me to do so… it would go perfect in my daughters room holding all the various hair clips and so forth that I like to collect for her.
Holding hair clips is a GREAT idea! I keep thinking of more and more things I could use this for. I may just need to make one for every room in the house! 🙂
Soooo… It’s Monday. It’s raining in OK. Woke up with a headache. Late to work. Tire hissing and going flat upon arrival at said work. Detour to the tire shop. Money we don’t have to fix tire. Standing in rain waiting for my ride. So no. I’m not a morning person today.
But the good news is: Your post DID perk me up! 🙂 That and my Caramel Macchiato coffee. Super cute idea. I have always loved lazy susans and always have my eye out for one at garage sales.
Oh man Meagan, major bummer dude! I’m glad that your Macchiato and my brightly-colored post perked you up a bit. Here’s to hoping your day IMPROVES!