I haven’t been very good with thinking of crafts for the sisters to participate in. Sure, they’re not even two yet, but this is such a crucial time in their development to learn about textures and color and get real dirty. I need to get on the ball!
Since they’re always seeing me paint something or other, I thought whipping out some finger paint with paint brushes could be fun.
This ended up being a Mother’s Day craft (for the grandma’s), but it could be for ANYTHING… so I thought it was still worth sharing!
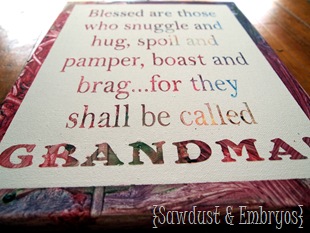
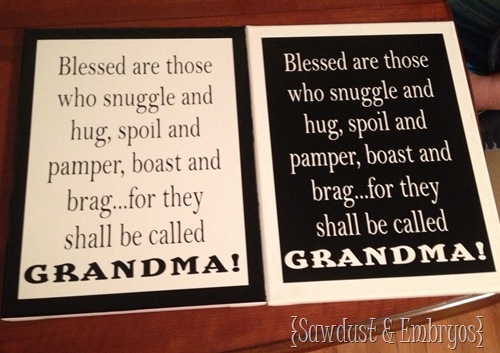
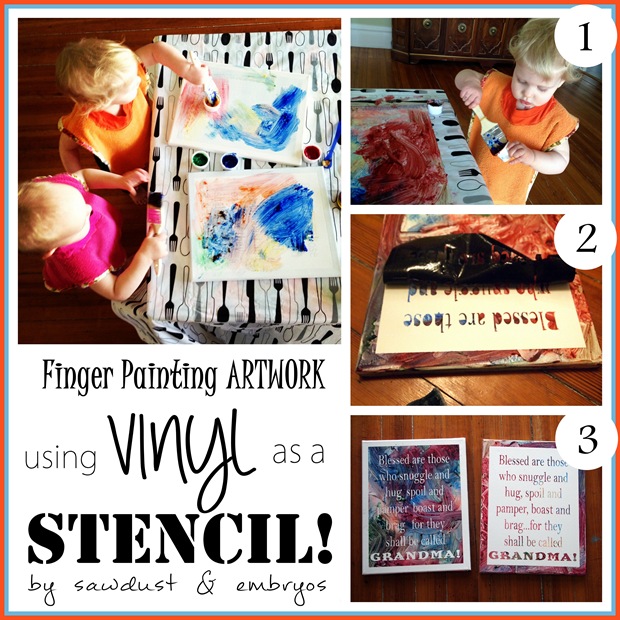
I bought two blank canvases, and had my friend Dana cut me some vinyl (her Etsy shop is here) with this little saying on it. (you could use ANY saying, or just a design with no words)
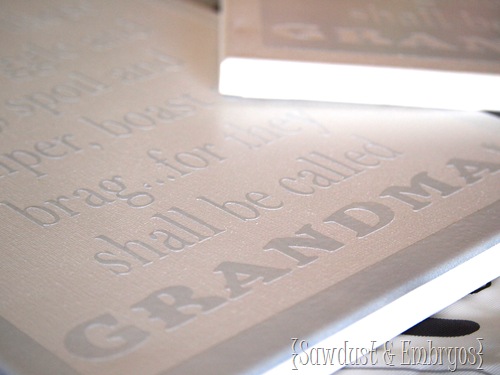
After applying the vinyl to the canvases, I spray painted it with white paint to ‘seal’ down the vinyl. That way if there was any paint seepage… it would be white and blend right in with the canvas.
And then it was TIME.
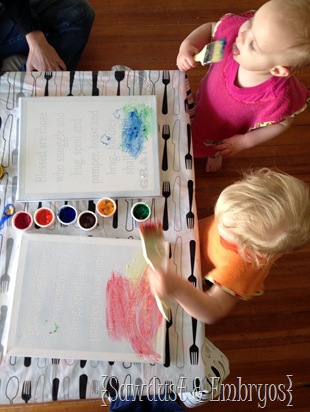
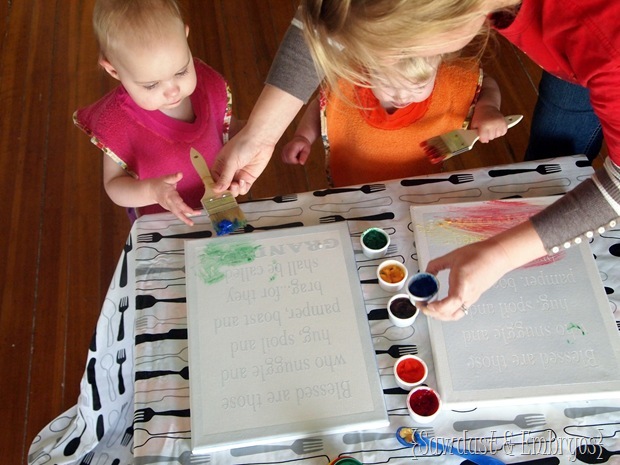
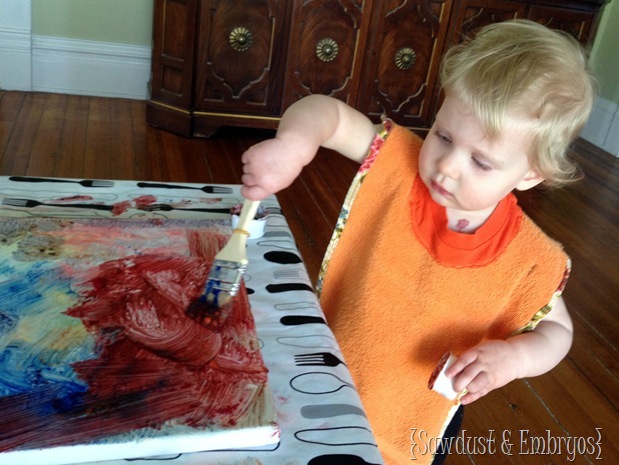
We outfitted the girls in massive bibs (made by my friend Leah!) and set ‘em loose! At first they looked at me like… you want me to do WHA?
I can’t find the exact paints that I used, but they were basic finger paints… similar to this stuff.
 |
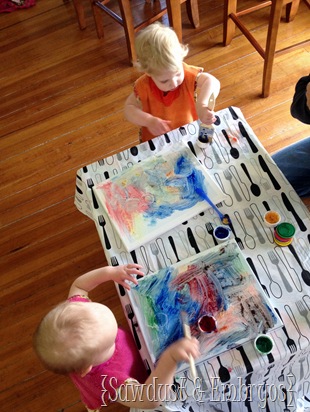 |
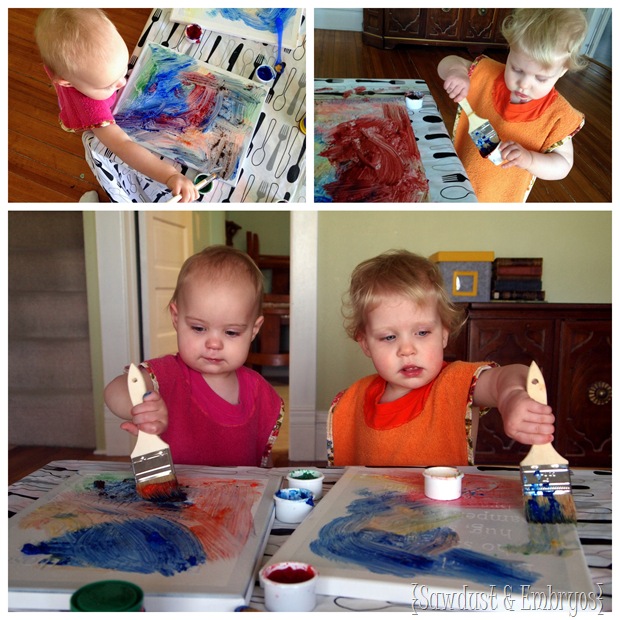
It was really fun to watch them. You could see the little wheels in their head turning, deciding what color to paint where. They were surprisingly thoughtful about it! (ish)
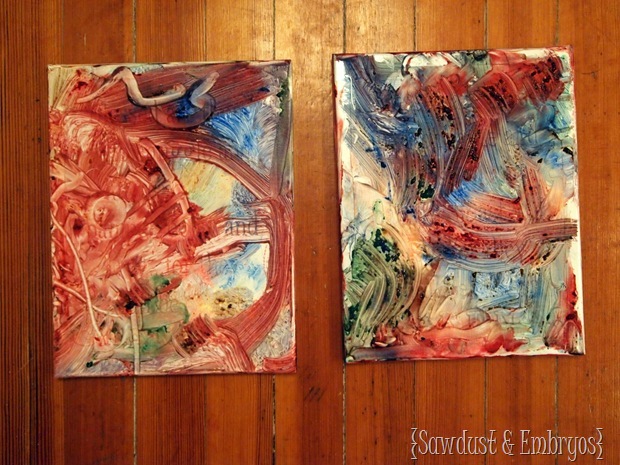
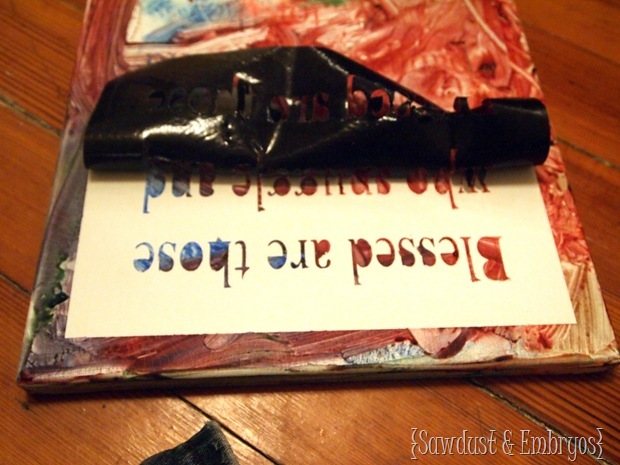
The canvases were finally done! We hauled the girls up to the bathtub, and let these priceless masterpieces dry overnight since they were pretty thick and globby. Then the next day, we carefully peeled back the vinyl!
There were a few places where the finger paint DID seep under the edges, but I just went at it with a little craft brush and some white acrylic paint and touched things up lickity split!
 |
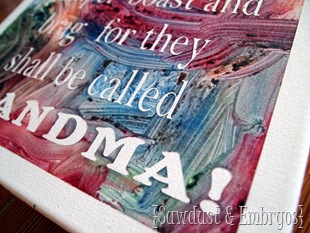 |
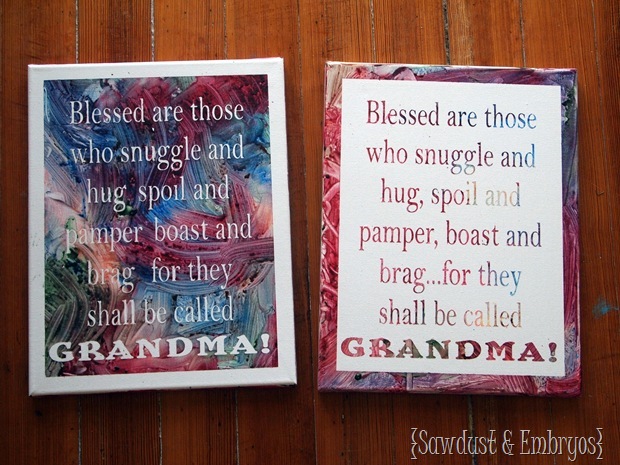
SUCCESS! The Grandma’s love them, and they’re actually pretty enough to display! You could totally use a ‘Daddy Quote’ and have your tike whip one of these out for Father’s Day!
Here’s to hoping I continue nurturing the sisters’ creative sides! It can be so hard to come up with age appropriate crafts! Do you have any good ideas for the toddler age group? Or good websites to use as resources for toddler creativity?
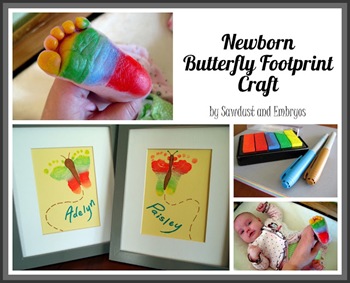
P.S… here’s another little craft we did when the girls were itty bitty. You could do this with ANY age though!
And check out our other projects where we’ve used Vinyl as a STENCIL!
*this post contains affiliate links




How did you get the vinyl to stick to the canvas.
The vinyl is sticky on one side!
Simple crayons and newsprint, also stickers are manageable for this age.
I’m curious as to how you got the opposite effect on one canvas
white edges and white letters with colorful background and the opposite on the other one?
Did i miss the details?
Oopsy! I probably should have mentioned something about that in my post! When we ‘weeded’ the vinyl we just pulled off the opposite pieces on the second vinyl. It definitely gives a different look, and I’m glad we did because I like them both equally! 🙂
Does this make sense?
Curious, also…It makes sense to me as I’ve been trying to find a reliable method for using both the positive and negative of a vinyl stencil. It’s a tedious process (if you can get it to work. Would you mind sharing your method (and type/brand of vinyl, transfer tape)?
Lauren, we get our vinyl from my friend who sells her stuff on etsy (here>> https://www.etsy.com/ca/shop/decalsNdecor) …she would be able to answer your questions about quality vinyl and transfer tape brands. You can email her directly at dashoop@hotmail.com if you want. Tell her I sent you!! 😉
SWEET JOB!!! luv Pais wanting to lick the brush… so did the white paint stick to the vinyl when you pulled it off? any thoughts on how to prevent that in the future?? maybe a pre-vinyl coat of paint? or is it so tiny that it doesn’t matter for touch-up?
some day when i find a painted canvas on garage sale, I’d like to try a vinyl over the top and then paint over it all- just to see what it looks like.
Thanks for the shout-out!
~dana~
danadashoop
dashoop@hotmail.com
I’ve just discovered you guys via The Idea Room and am in <3 with all your crafty DIY projects! This activity, with the vinyl handpainting is so great and I’d love to try it with my kids. I’m so excited about following along with ya’ll and seeing what you come up with next. 🙂
Trinity
I was just exploring this site for summer school activities. She has great sensory, art, outdoor play and more! It all looks so fun! http://www.growingajeweledrose.com/
GENIOUS…I love this! May have to try it out soon.
I Love this.. I have a 6 and two year old that I will try this with. I did your butterfly art with both of them creating a meadow of butterflies with their feet.. their grandma was in love.
This melted my heart like a popsicle on the fourth of july. I LOVE IT! I bet they had so much fun. And the canvases turned out SO cute! You did great! And it’s something the grandmas will cherish forever.
Your creativity amazes me. This is a great idea and a beautiful gift.
Grannypip
AWESOMENESS!
OMG!!!! You have done an amazing thing passing down,to the sisters, a gift of creativity. I love how in the one pic Paisley wants to lick the brush..haha! God Bless your little family, I enjoy the updates!