Join us as we take an IKEA Rast dresser and hit it with an IKEA side table makeover that’s perfect to use as bedside tables for the girls’ room!
It’s no secret that the twins’ bedroom is my all-time favorite room in our entire house. And I’ll admit I was a little sad when the girls out-grew their Fainting Couch Toddler Beds.

*This post contains affiliate links*
Our twins are extra tall for their age (after all, their daddy is 6’8”) so I knew their time in the toddler beds would be short. Nick and I have been tossing around different ideas for new sleeping arrangements. Because of placement of windows and doors, there’s no good configuration for two twin-sized beds. And if we put bunk beds in, they would fight over who sleeps on the top. I’m just sure of it. PLUS, I don’t want to change sheets on the top bunk, or clean up puke way up there in the middle of the night. Can I get an amen?
So we settled on a full-sized bed centered on the Herringbone Accent Wall.

In addition to the awkward lack-o-headboard, we were left with some equally awkward blank spaces on either side of the bed. There was suddenly a DESPERATE need for nightstands. And even though I love asymmetry, this configuration is so ‘centered’ that we agreed that they should have matching nightstands. And that they should be more like little dressers so they would have a place to keep things that were just theirs. Because as twins, the few things that they don’t share are super special to them!
And that’s where the IKEA Rast dressers came into play. Perfect size! They may be a dresser technically, but after we get our hands on them and give ’em an IKEA sided table makeover, they’ll be EVERYTHING!
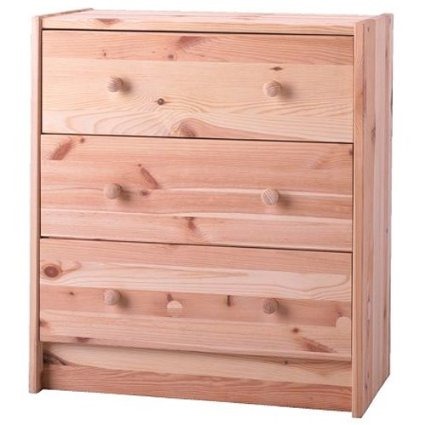
I love a good blank slate for a furniture makeover!
If I remember correctly, these little pine dressers are cheaper IN the Ikea store than on Amazon, FYI. But I wanted to link to an alternative in case you (like me) don’t live anywhere NEAR an actual IKEA store.
Nick and I slapped these suckers together while watching Big Brother (I’m rooting for Paul. Or James), and they went together so fast and simple! And they’re surprisingly sturdy!

We didn’t put the hardware on because, you guessed it… we have PLANS for this IKEA side table makeover!
We removed the drawers, measured the faces, and cut some 1/4” plywood to the exact same dimensions.
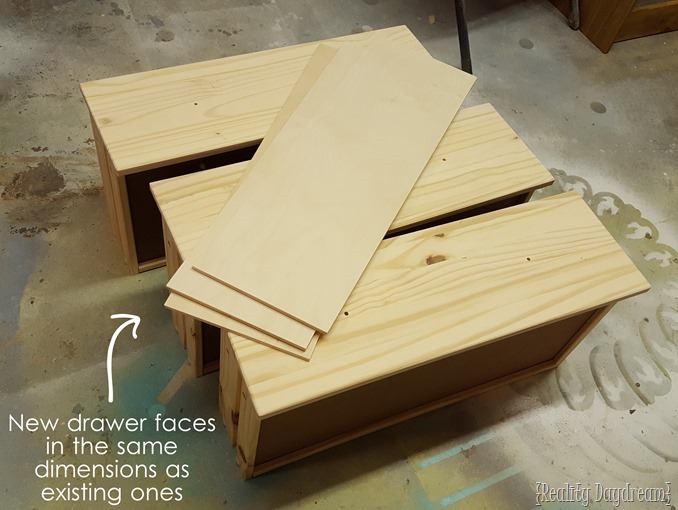
Using a straight edge or scrap piece of wood, I found the center by drawing a line to connect the corners. Then I had Nick bend a scrap piece of plywood so I could trace the perfect curve. Then repeat on the other side!

You only need to do this on 1 drawer face, because after you cut out the shape (we used out Band Saw for this), you can just trace it out onto the other drawer faces using the one you just cut as a template!

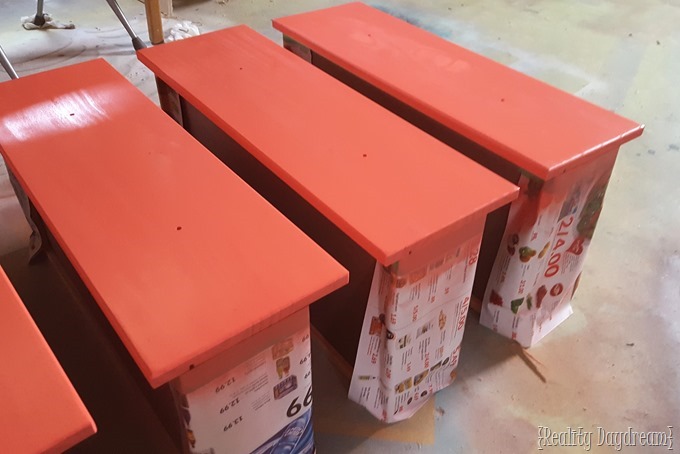
I sanded down all the drawer fronts with my Orbital Sander. Then taped/papered them off, and spray painted them this pretty coral color to coordinate with the rest of their room.
The new drawer faces I had just cut got a coat of stain, as well as the body if the dresser using Minwax Provincial.

It was at this point that I realized that this 1/4” plywood is thin enough that I could put a spacer behind the center of the shape, and have it ‘bow out’ a bit… enough to use it as a handle! This is perfect, because the dressers that had this style in the 50’s didn’t have hardware. They were curved just like this!
So I put a dot of wood glue on my ‘spacers’ and placed them exactly in the center of my drawer face. Then I put a line of glue on the very edges, and used my cordless AirStrike Nailer to pop in some brad nails and hold everything into place. Then I simple wiped off any excess glue that bulged out the sides.

I was DONE! Except I wasn’t loving the shade of the stain I had chosen. It was a little too ‘golden oak’ if you know what I mean. I was hoping for a deeper ‘chestnut-y’ shade that mimics the genuine mid-century pieces that we’ve all grown to love.
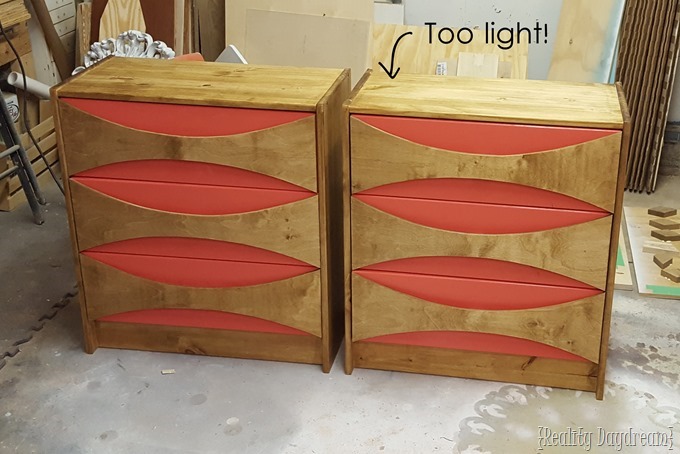
I was a little sad, because I had already sealed these pieces before deciding I didn’t love the stain color. If you’re going to give an IKEA side table makeover, you want to get it right! But I remembered that Minwax carries a product call PolyShades that can be applied on top of existing varnish or polyurethane. I was desperate to make the tint darker, so I found the perfect chestnutty shade in the PolyShades collection, and tried it out. I looooooved how it brushed on, and was the perfect color!
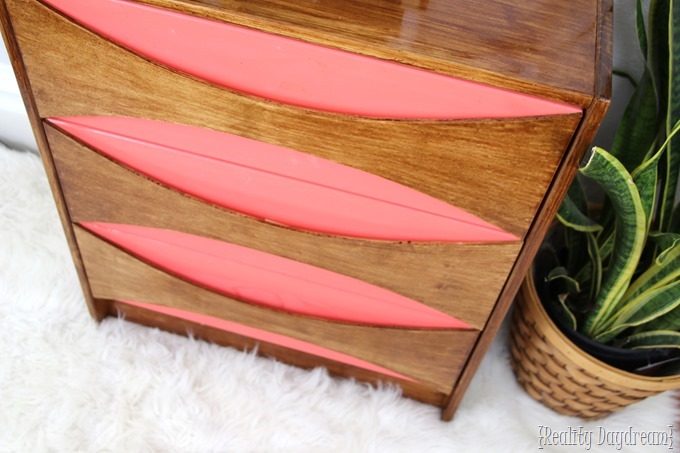
My honest review of PolyShades is that it’s PERFECT for this type of situation where you just want to darken an already sealed piece without having to strip the sealer. But while it does allow the woodgrain to show through, it also leaves some slight streaking from brushstrokes. In this case, I was totally ok with that, and almost liked that look! This is another one of those things that you’ll just want to take at a case by case basis.

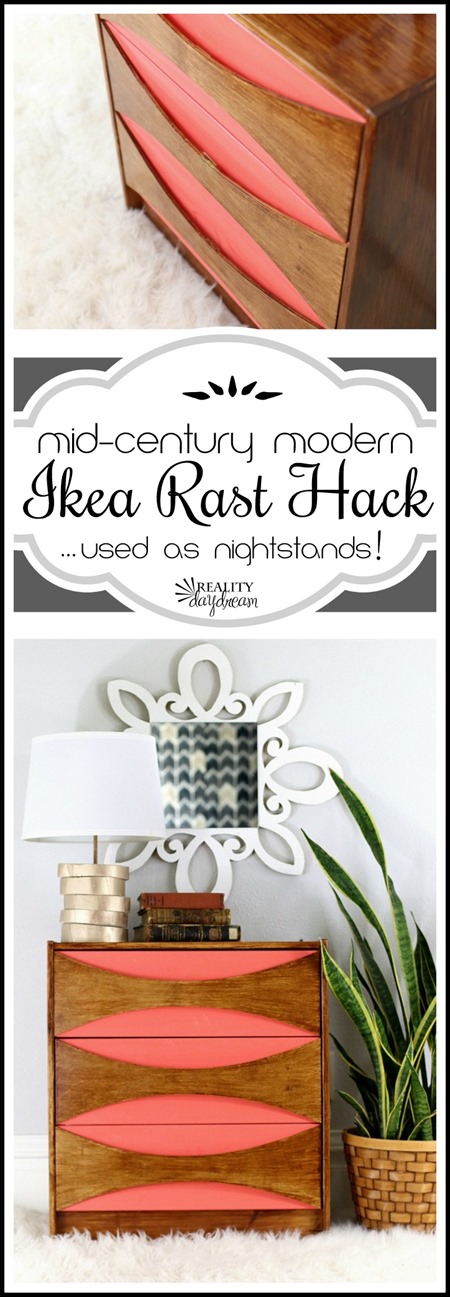
I absolutely LOVE how the fronts of the drawers bend out to be used as a handle.

I staged up these little dressers in the dining room where the light is amazing. And I took the opportunity to play around with my new camera and photography equipment! The children saw an opportunity too. LOL!
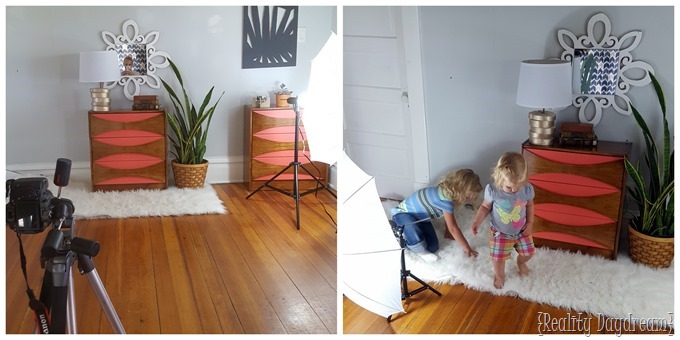
We hauled these guys (the night stands, not the kids) up to their bedroom, and they fit beautifully! The girls have already arranged their ‘special things’ on top, and filled the drawers with dress-up clothes. Oh to be a kid again!

This IKEA side table makeover were a success! Now we just need to figure out what to do with the headboard situation. I still love the Patterned Herringbone Wall, and don’t want to change it. So that means the headboard will have to be pretty plain so it doesn’t get too busy. We have a few ideas we’re tossing around, so stay tuned!
~Bethany
~~~~~~~~~~~~~~~~~~
Be sure to check out all our other Furniture Transformations from our archives!
Thank you for pinning this IKEA side table makeover! MUAH!


I’m a design/builder and live mcm design – you nailed it! This is stunning, sophisticated and eye catching. It’s also convincing, looking impressively like a period piece. Bravo!!
Hey,
I really love this makeover and I would like to try something similiar. Die you leave the nails in the plywood? Can one see them or are they kind of invisible?
Thanks for helping!
Kind regards from germany!
Sina
I really love this idea for the Rast Dressers – beautiful! Thanks so much for the inspiration. 🙂 I actually decided to begin blogging a few weeks ago after reading blogs for years. Your blog was one of the first I found somehow on Bloglovin and I’ve been a reader ever since!
Gorgeous! I think this is the best Rash hack I’ve seen!! 🙂
I love these! Well done!